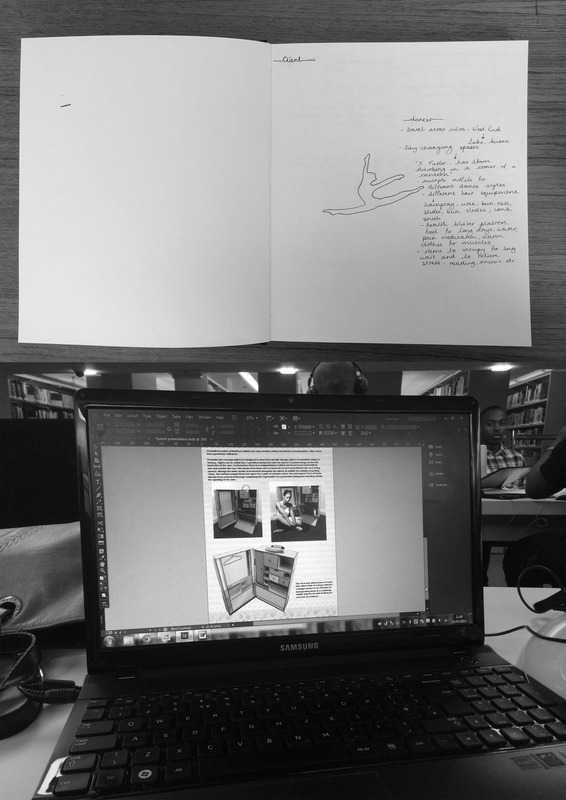
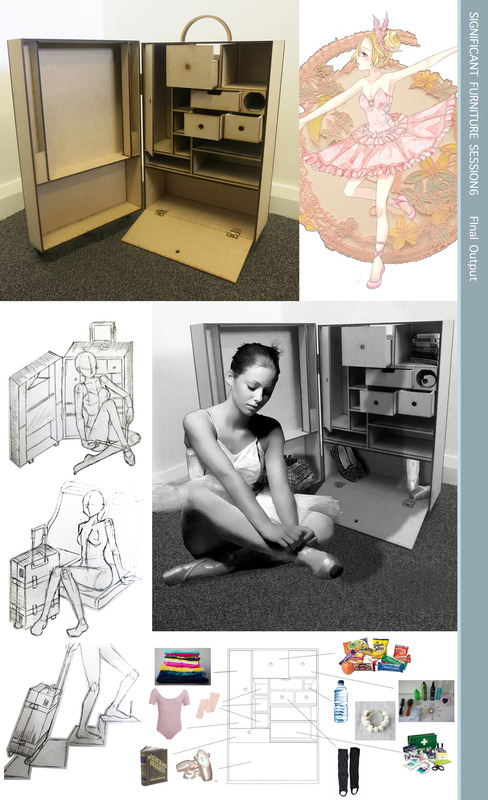
Finally the initial client analysis of the ballerina had developed into 2 presentation sheets to be submitted to the Significant Furniture competition.
Posted 16 May 2014 23:44
Group 3 Final presentation
Posted 16 May 2014 18:33
Final Presentation with collaborator
Posted 16 May 2014 18:32
Final presentation
Posted 16 May 2014 18:31
Preparing for our final presentation.
Posted 16 May 2014 17:38
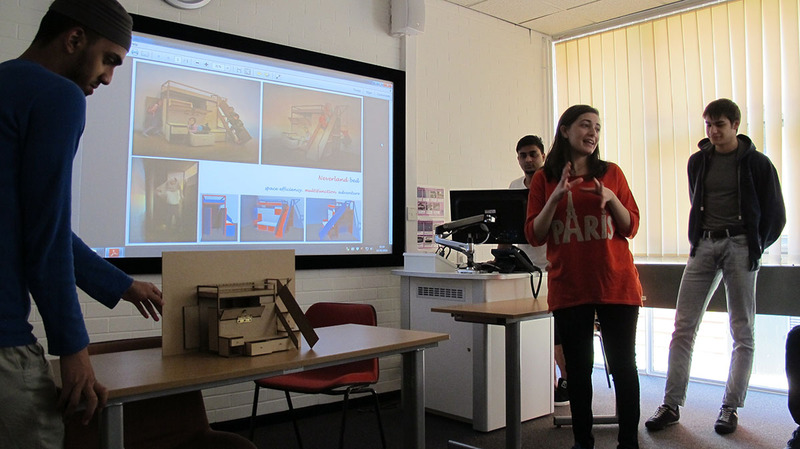
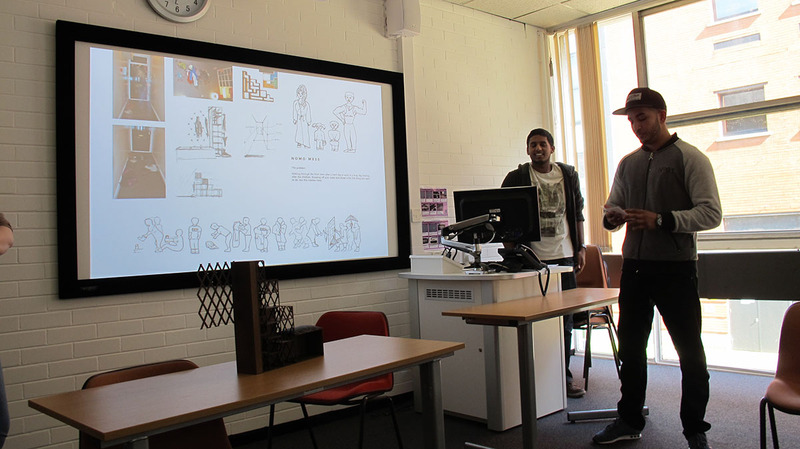
On our last session for event 13, we put together our presentation sheet. Then we presented our design showing its progress from day 1.
Posted 16 May 2014 17:38
Our final model at a scale of 1:10
Posted 16 May 2014 17:36
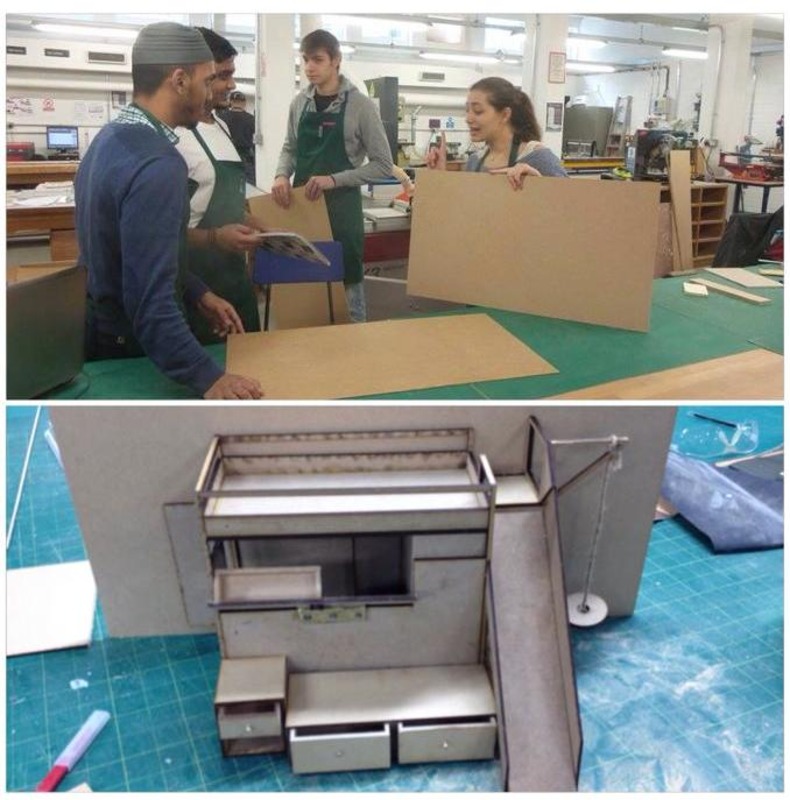
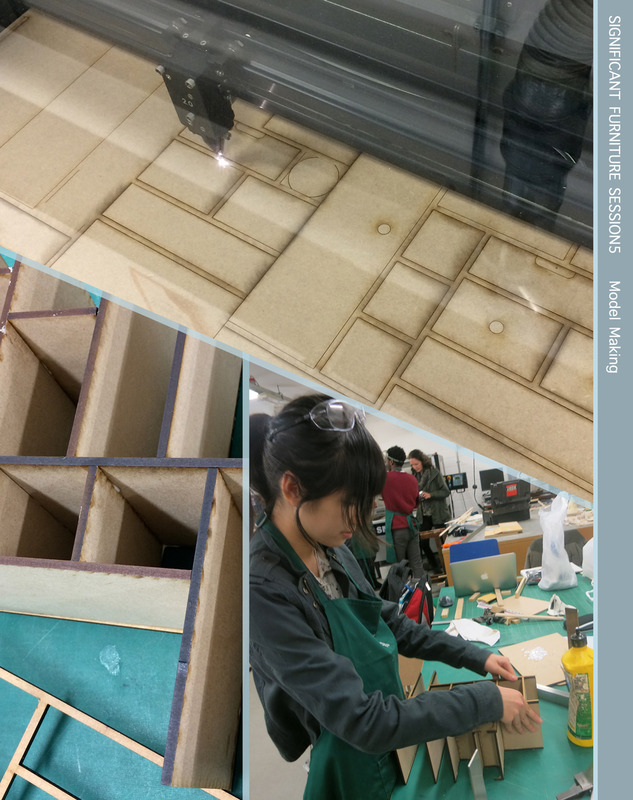
This day was dedicated to the final high quality model. So we spent the whole session in the workshop after having laser cut all the pieces.
Posted 16 May 2014 17:35
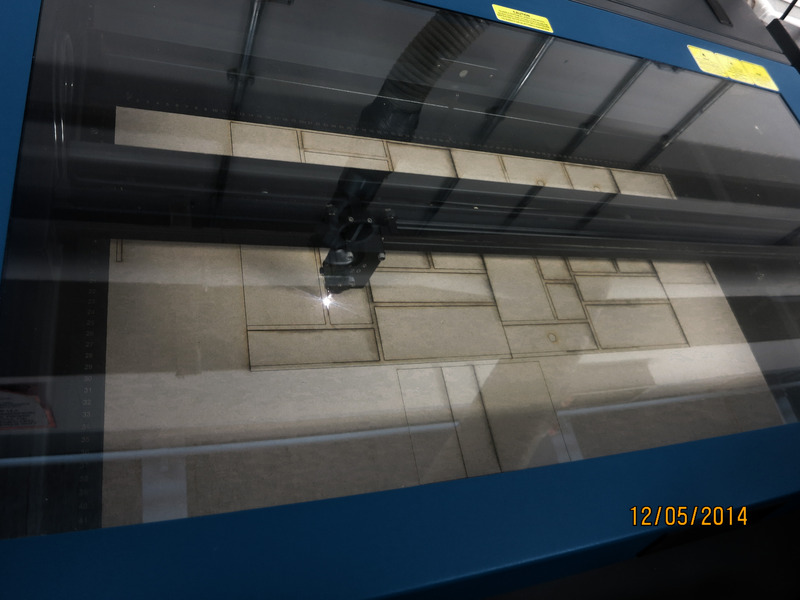
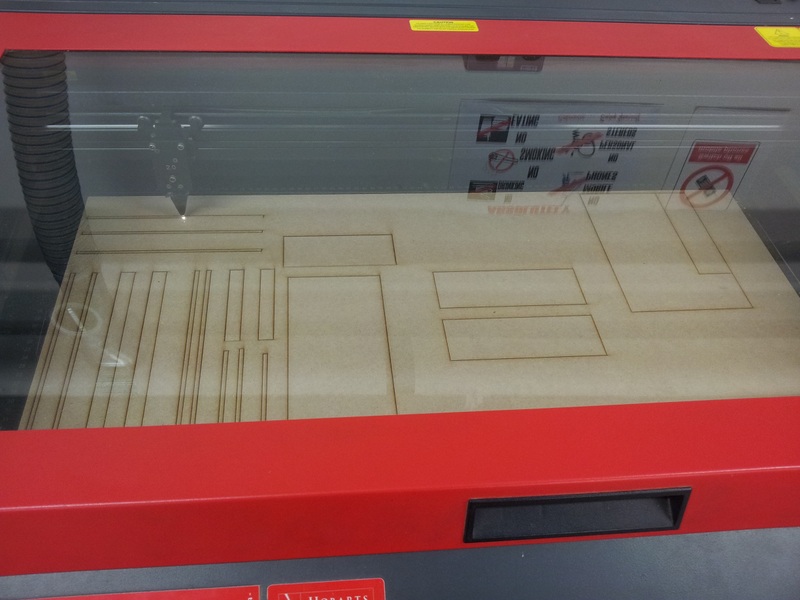
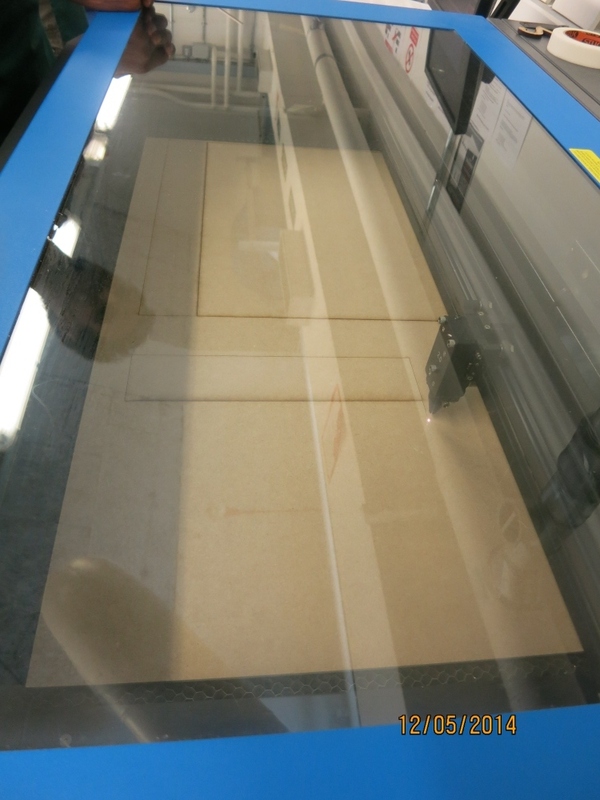
Laser cutting our pieces for our final model.
Posted 16 May 2014 17:33
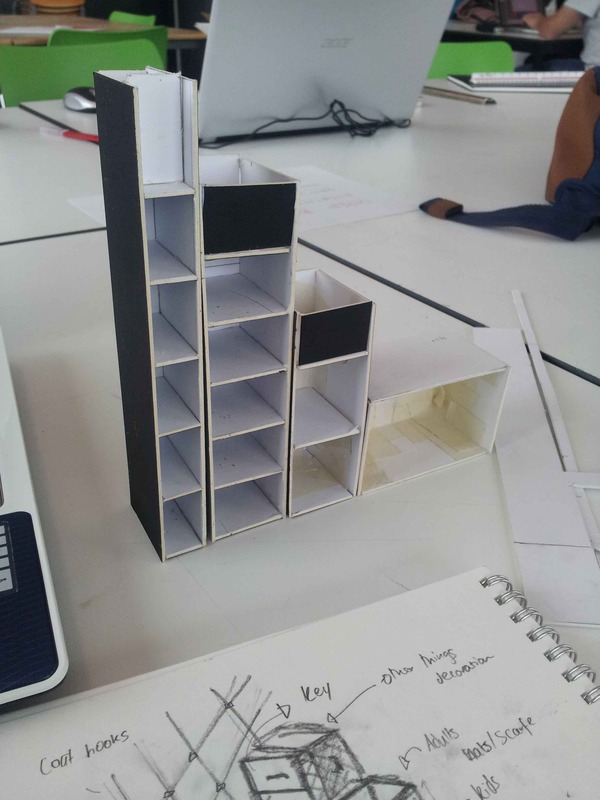
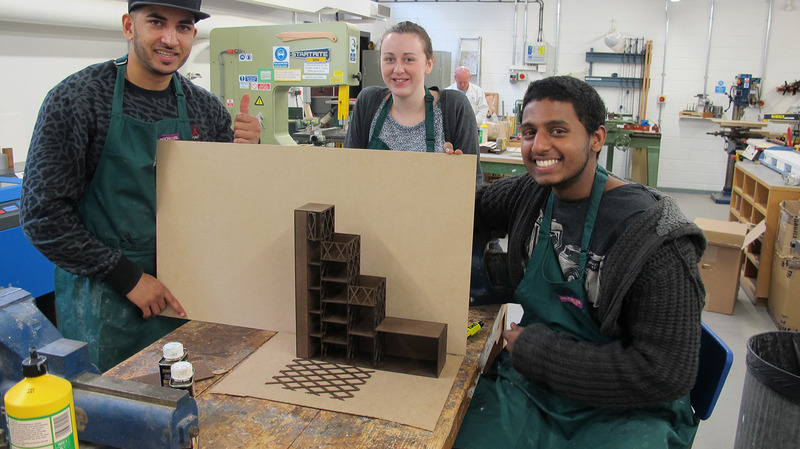
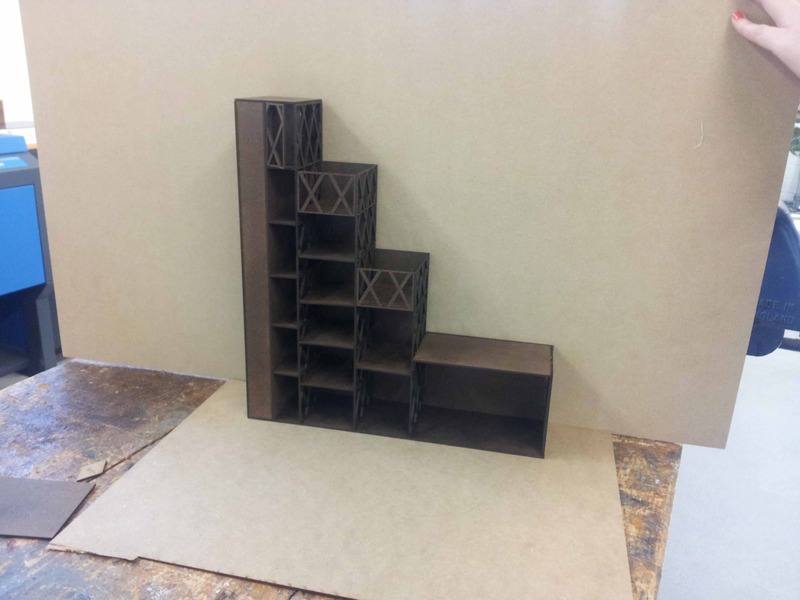
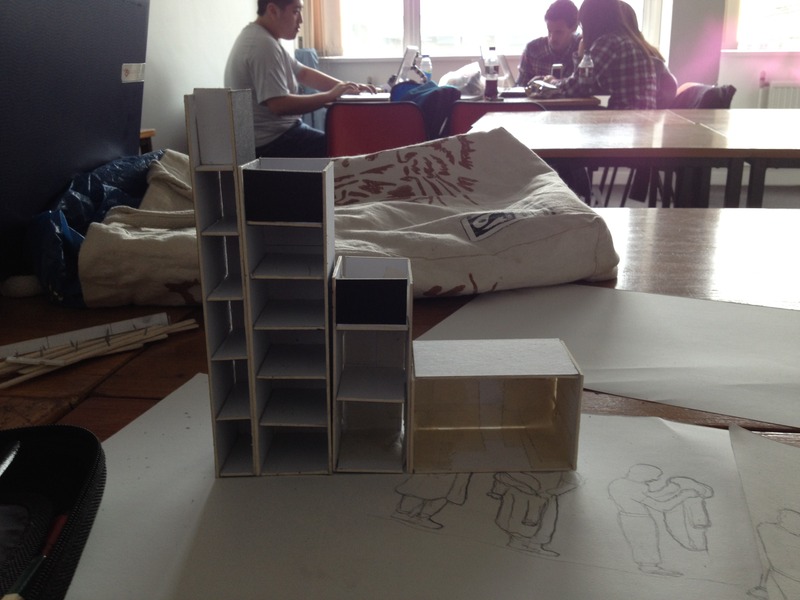
This is a small model we made for testing before our final quality model.
Posted 16 May 2014 17:31
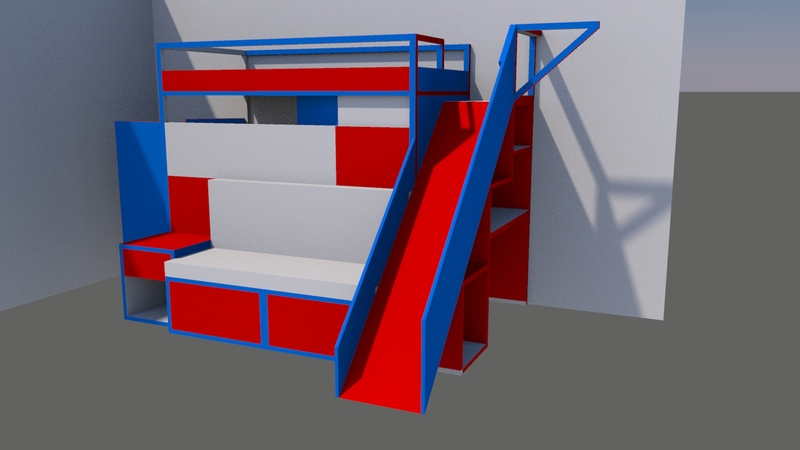
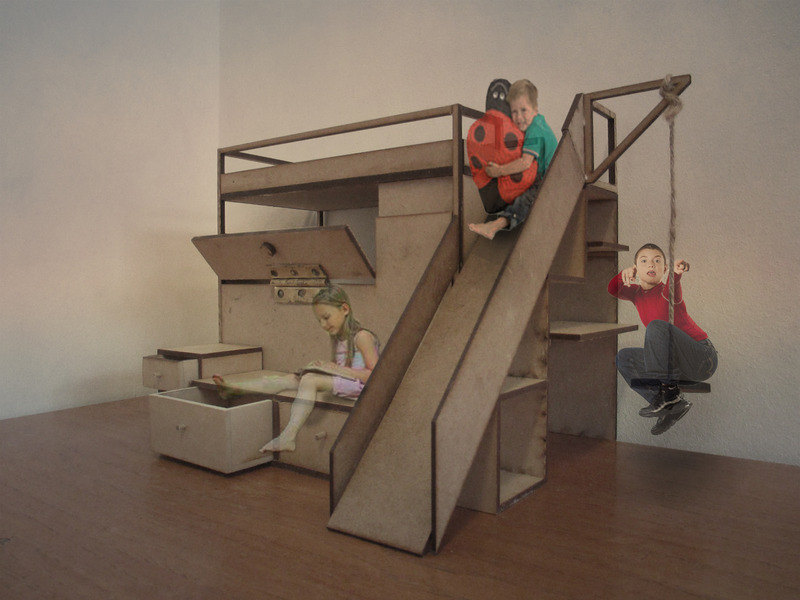
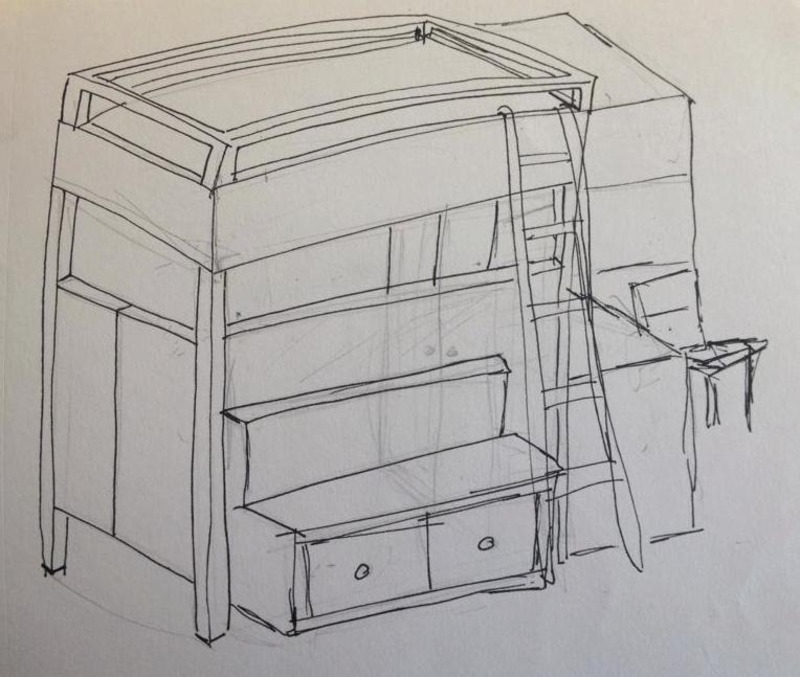
We decided to improve our initial design by adding extra components and features such as slides, wardrobe and climbing ropes.
Posted 16 May 2014 17:27
We added features to the design (slide and rope swing) to make it more interactive. We also agreed on the colour scheme for our unit.
Posted 16 May 2014 17:27
Everyone had to come up with a design concept for a furniture, my design idea was to create a multi-purpose furniture which would also provide your own privacy space.
Posted 16 May 2014 17:14
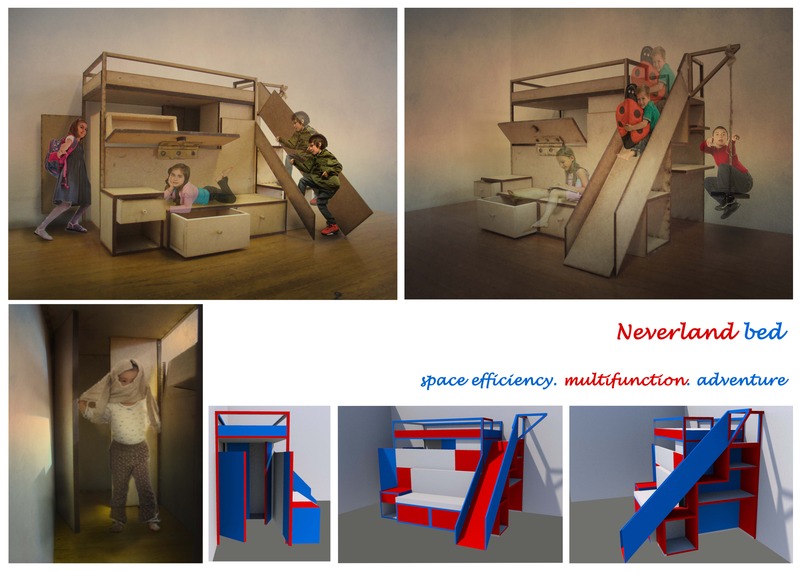
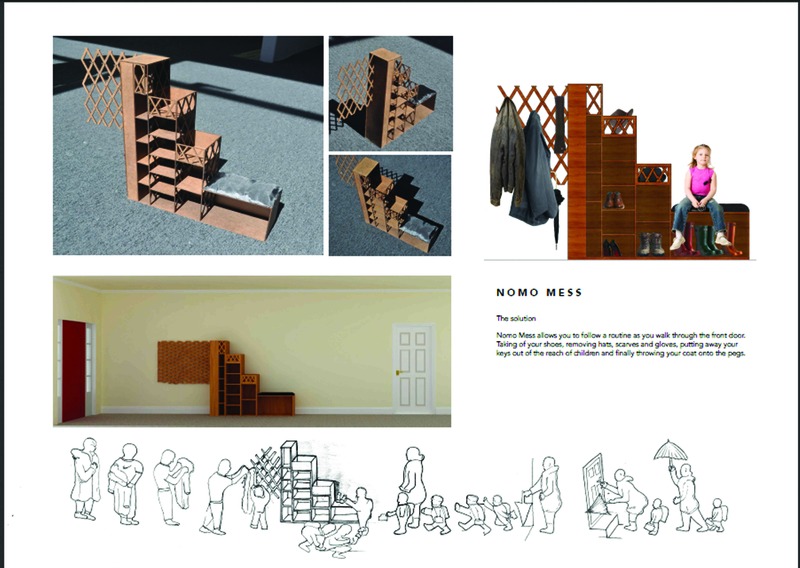
this image is of the second sheet required for the competition. It shows what the bed would look like if it was occupied. It shows what the different parts of the furniture can be used for.
Posted 16 May 2014 03:42
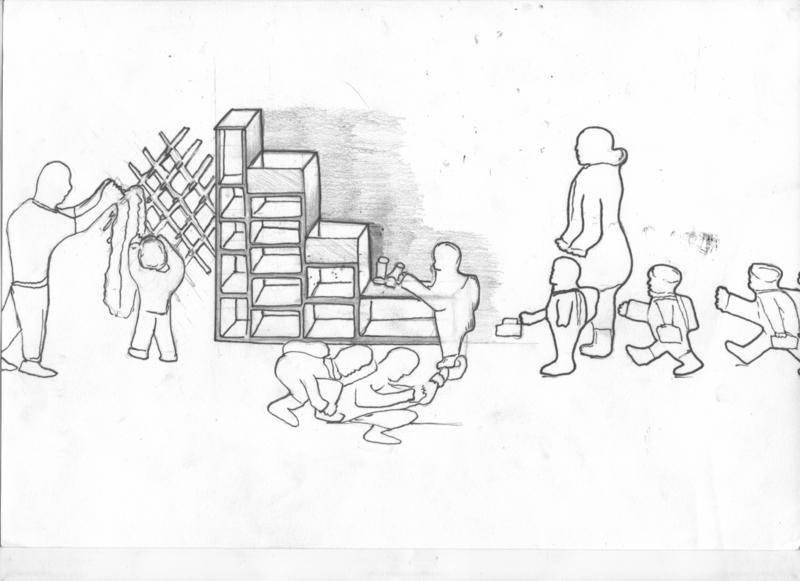
This image show one of the presentation sheets we were required to produce for the entry requirements for the competition. It shows the different ways in which children can use the furniture and it different aspects
Posted 16 May 2014 03:39
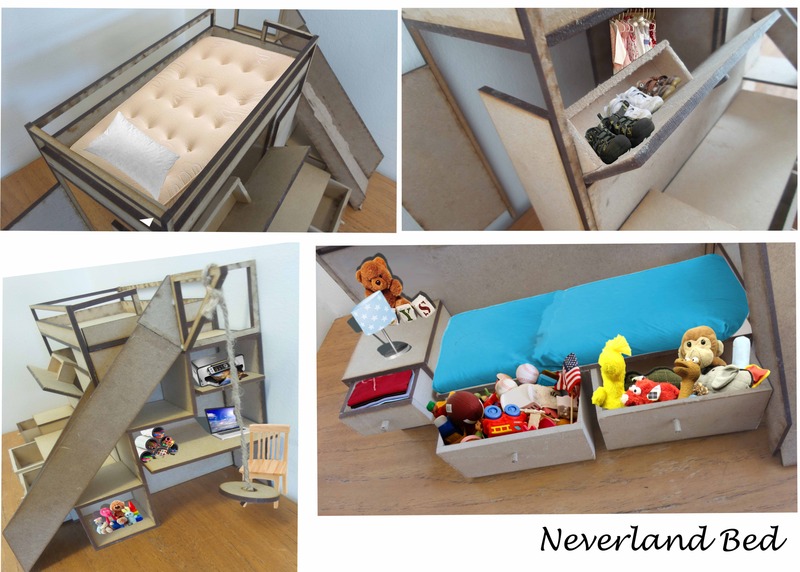
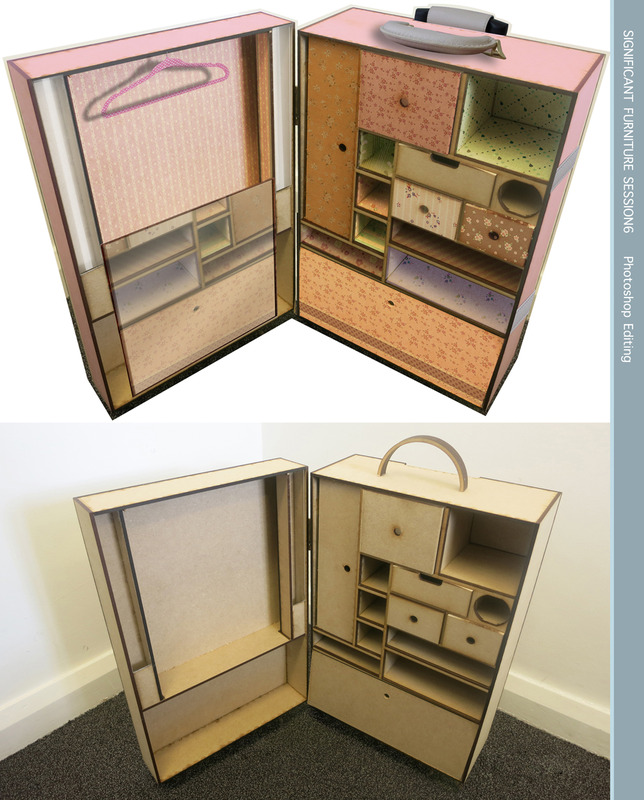
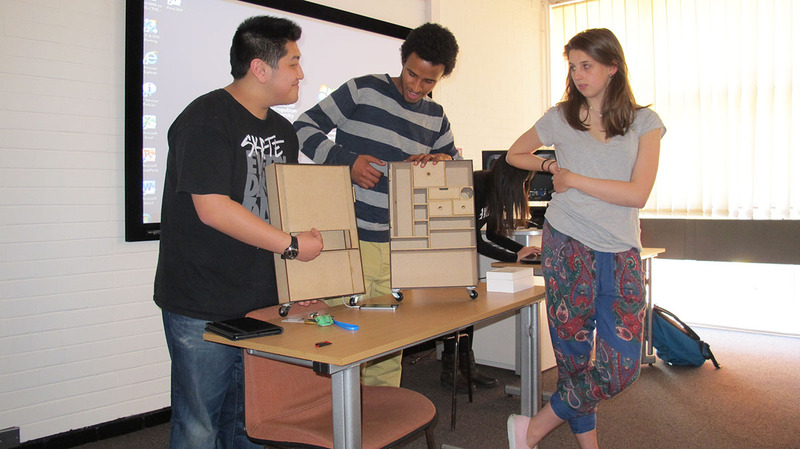
this is what the final model looked like. As you can see all the parts which would move in a 1:1 scale are shown in the model. I was impressed with this model and felt the group worked efficiently together.
Posted 16 May 2014 03:33
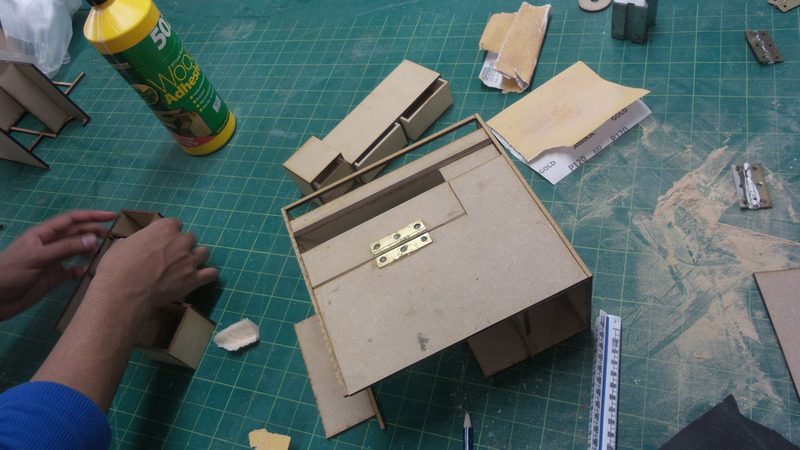
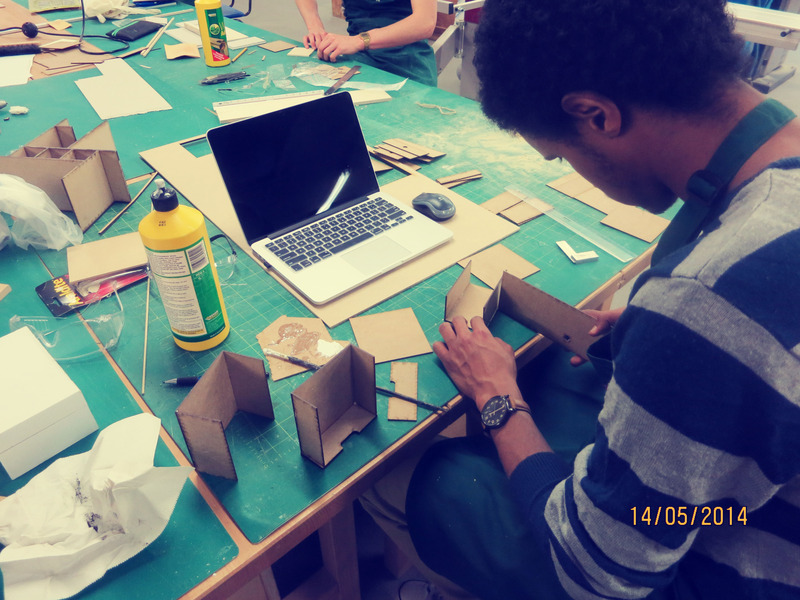
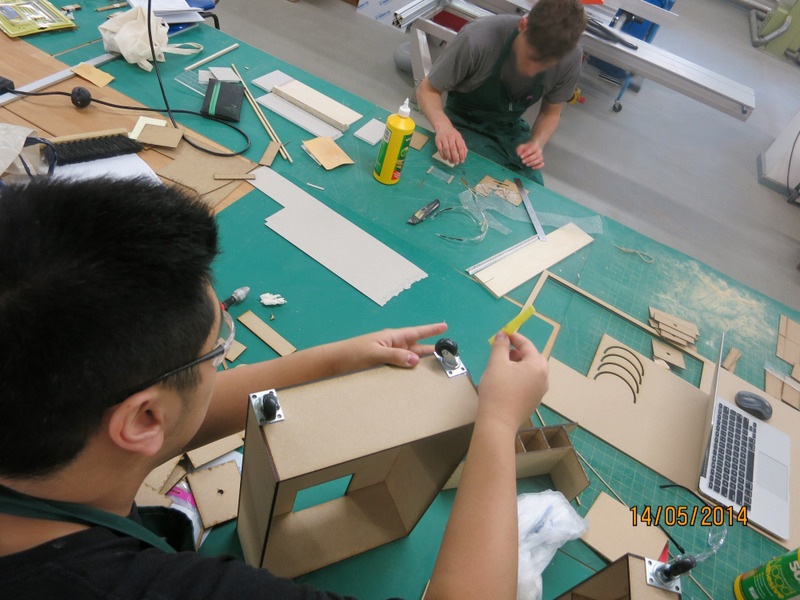
This image shows the model under construction. We decided to use hinges to show the moving parts and we thought it would add a toy box feeling to it by doing this.
Posted 16 May 2014 03:31
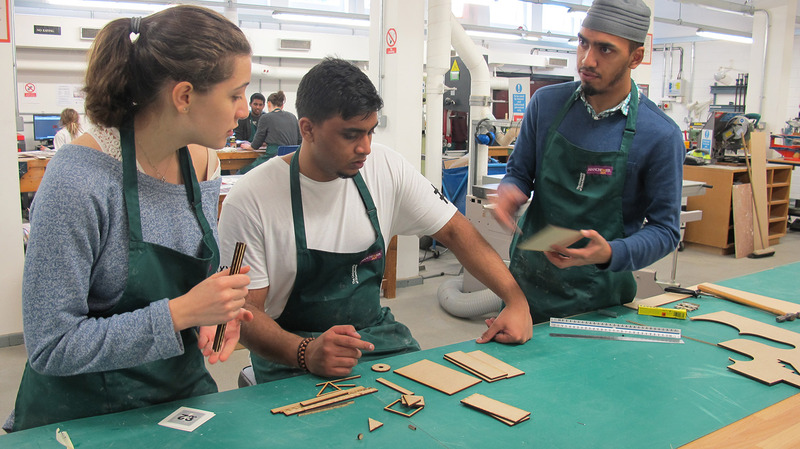
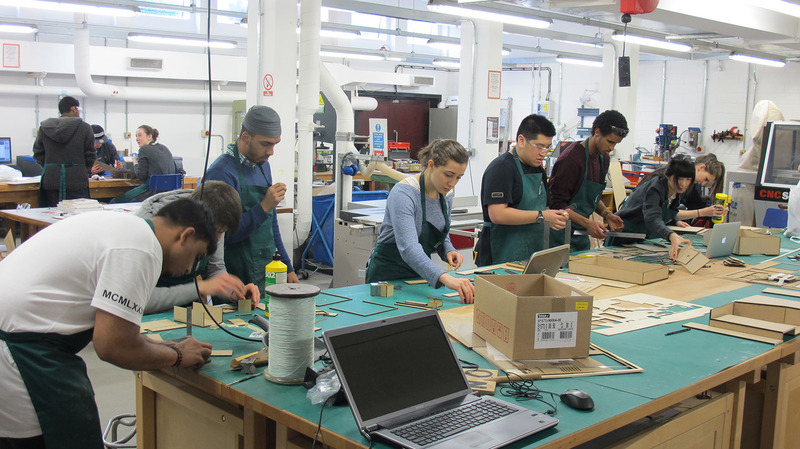
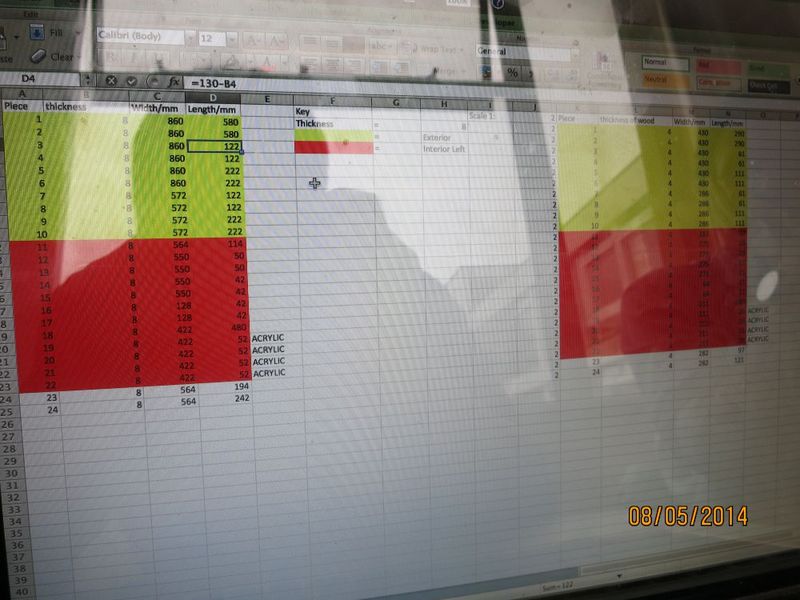
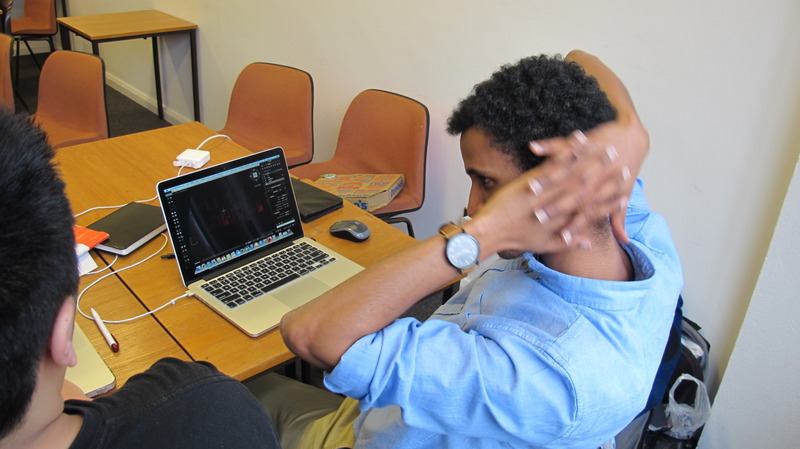
In this image we are deciding on the thickness's of the would we would require for the laser cutter. We were also talking about how the model should look and how were are going to show how different components move.
Posted 16 May 2014 03:28
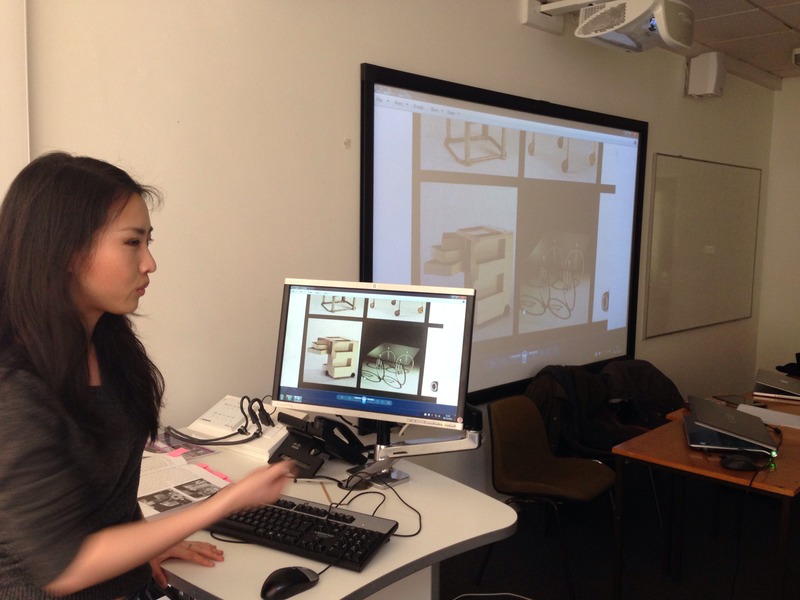
And this is the image included in the presentation sheet. We made a few sketches and photoshop image to demonstrate how our client use our product .
Posted 15 May 2014 23:30
We took photograph of the model and started to edit it by photoshop. As our client is a girl dancer, we decided to add flowery patterns on it in order to make it looks more fancy and feminize.
Posted 15 May 2014 23:27
We lacer cut our model and built it out together.
Posted 15 May 2014 23:21
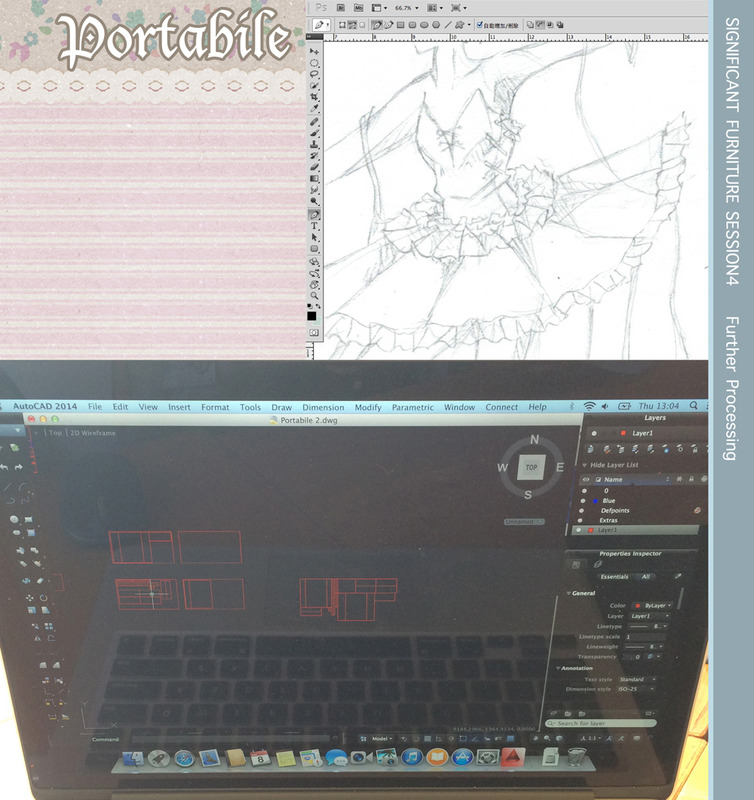
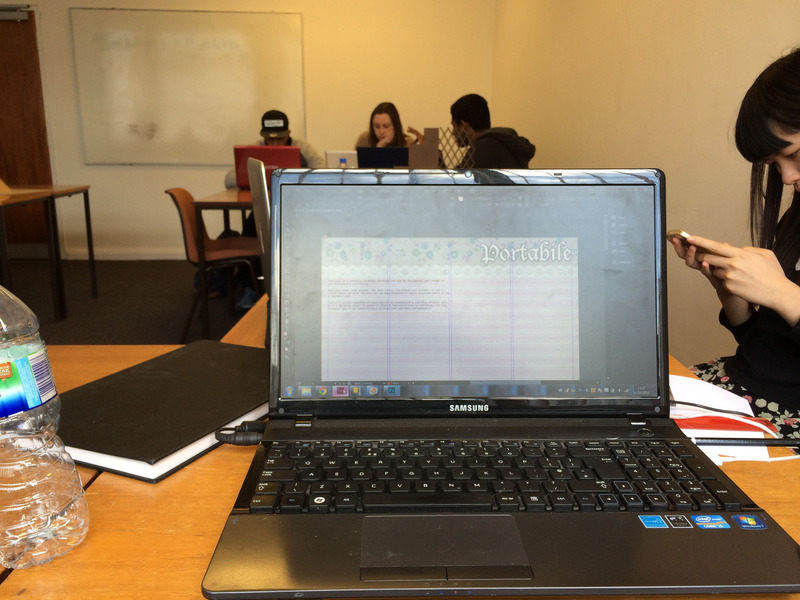
We have designed the presentation sheet's background as well as illustrated the client. Also, we started to do the autoCAD drawing for the laser cutting.
Posted 15 May 2014 23:17
Day 6: Finished model of "Portabile".
Posted 15 May 2014 20:33
Day 6: Last day. The task was split in two; model making and presentation document.
Posted 15 May 2014 20:24
Day 6
Group 3 making presentation
Posted 15 May 2014 18:49
Day6
Group 2 making presentation
Posted 15 May 2014 18:48
Day 6
Group 1 making presentation.
Posted 15 May 2014 18:48
Day 5
Finished model makin'
Posted 15 May 2014 18:47
Day5
Group 2 in the workshop
Posted 15 May 2014 18:46
Day 5
Group 0 came and took photo.
Posted 15 May 2014 18:38
Completion of the final model and showing how kids would occupy it.
Posted 15 May 2014 10:27
final model.
Posted 15 May 2014 00:40
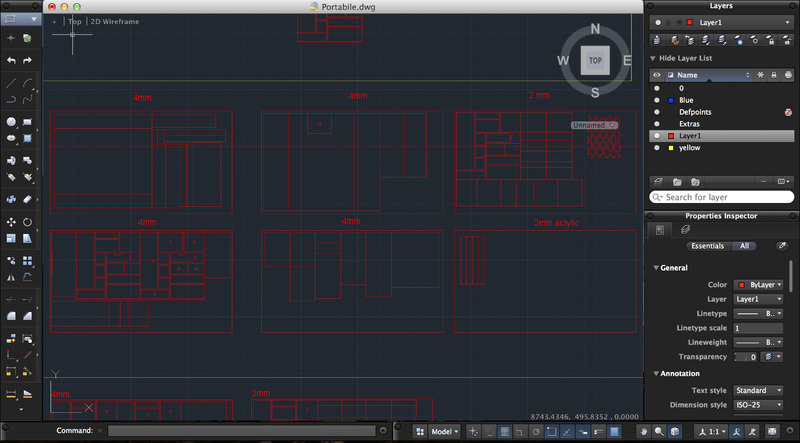
PDF file prepared for LAzer cutter.
Posted 15 May 2014 00:20
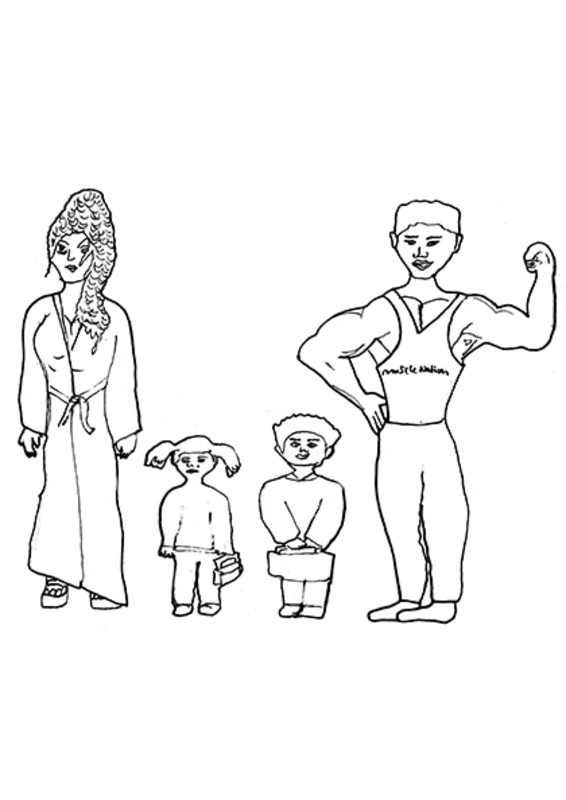
sketch of the client's (Familey of 4)
Posted 15 May 2014 00:18
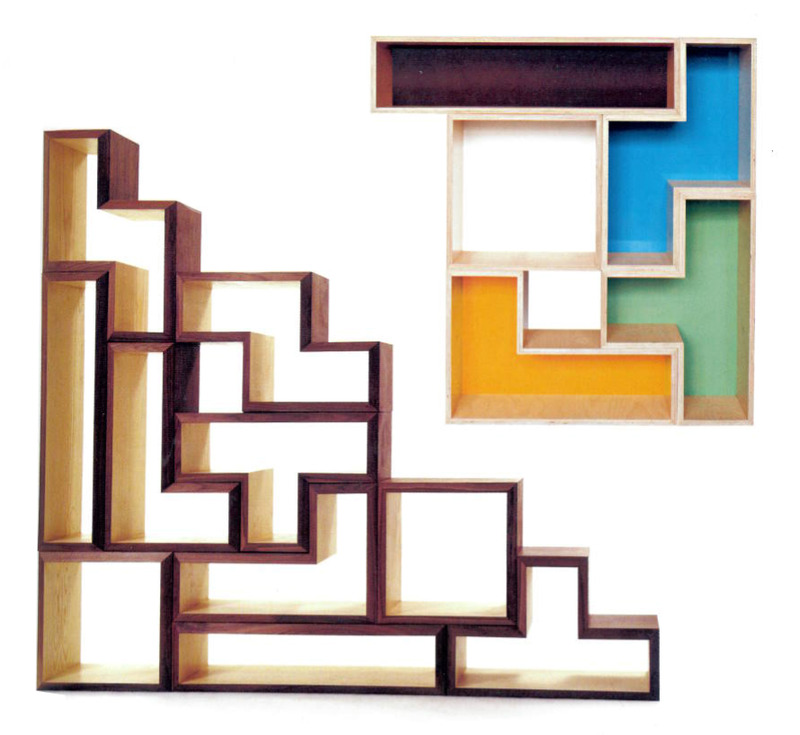
inspirationa design by john alex.
Posted 15 May 2014 00:11
Final Presentation Model
Posted 14 May 2014 23:46
Gluing on the hinges for the model
Posted 14 May 2014 23:42
Gluing on the wheels for the model
Posted 14 May 2014 23:41
Day 4: Laser Cutting the main pieces for the presentation model
Posted 14 May 2014 23:34
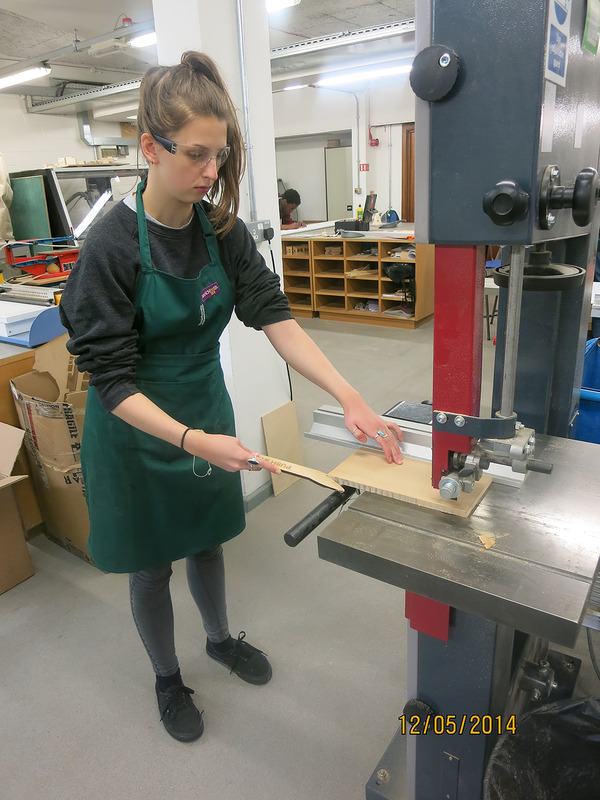
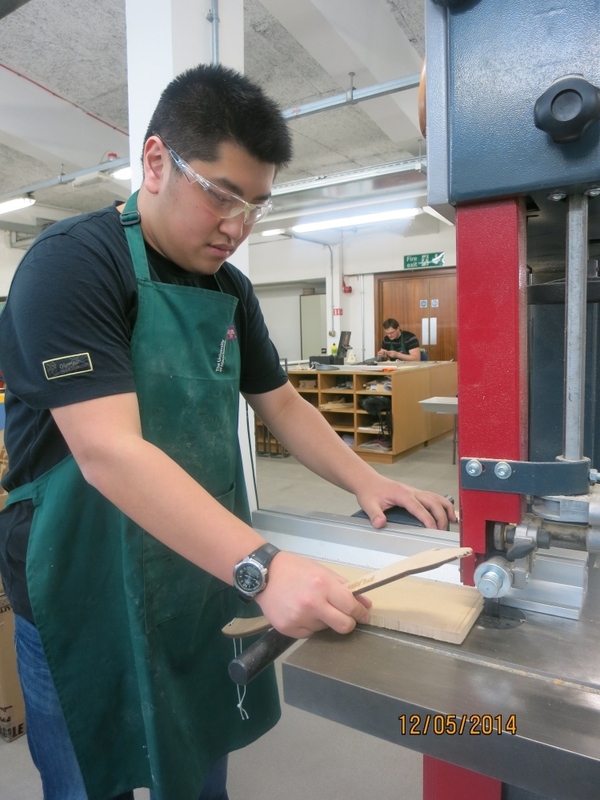
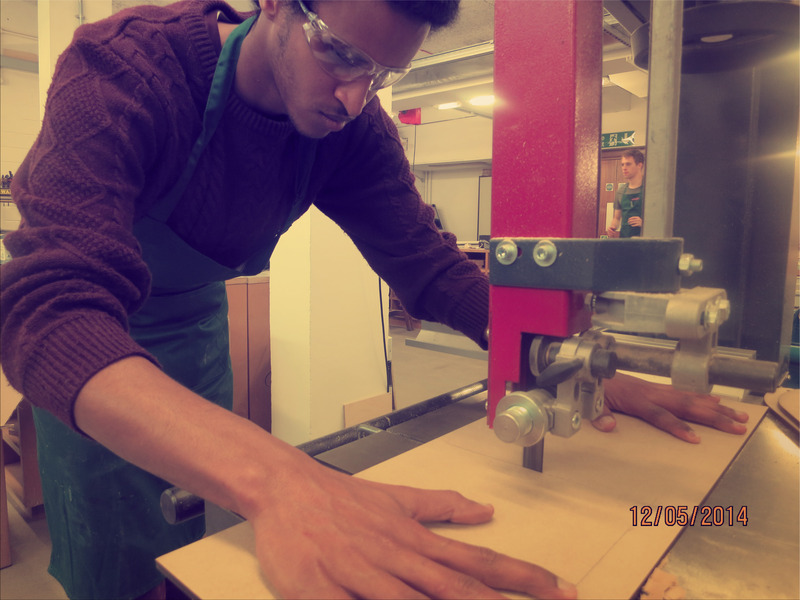
Day 5: cutting out some pieces with the ban saw
Posted 14 May 2014 23:32
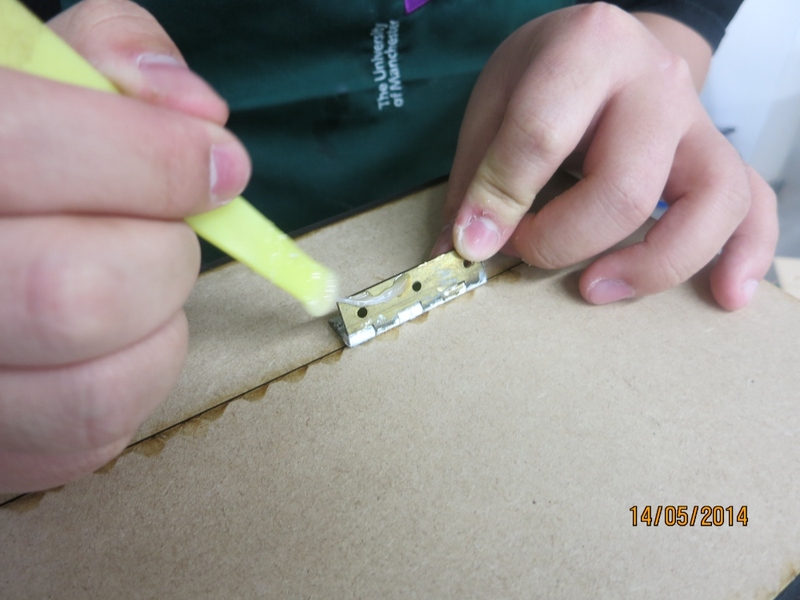
Measuring out some minor pieces for the model
Posted 14 May 2014 23:29
Day 6 - The final day of events began with adding finishing touches to the model. It was then photographed and these along with the visuals created over the past sessions were arranged on the final panels which we used in our presentation at the end of the day.
Posted 14 May 2014 19:58
Day 5 - The morning was spent making final adjustments to the visuals and document for the laser cutter which we used in the afternoon. After the pieces we cut we stained the wood and began assembling the model.
Posted 14 May 2014 19:54
Day 6: We gathered every file needed in one document. We finished by laying everything out onto the two panels. We also had to create drawings on the connection and write up a description of our design. Lastly we presented our idea to the group with our presentation sheets.
Posted 14 May 2014 19:37
Today I spent on InDesign making the presentation sheets to be submitted to the Significant Furniture Competition.
Posted 14 May 2014 13:30
We headed to the workshop to make the pieces for our model. We used MDF and cut it on the bandsaw and on the Laser Cutter.
Posted 14 May 2014 13:23
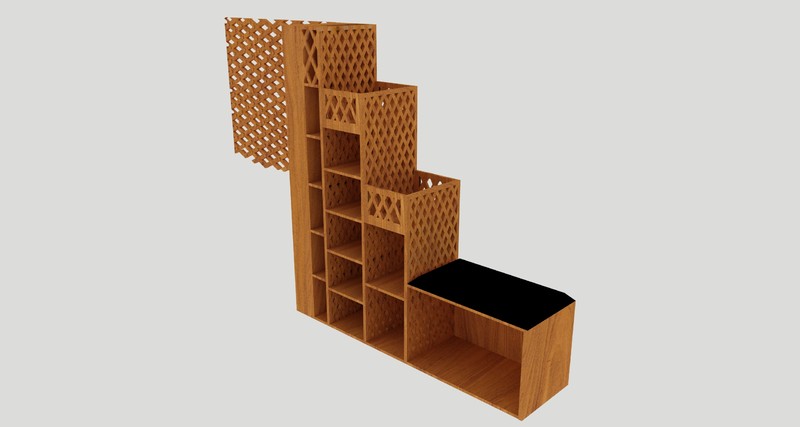
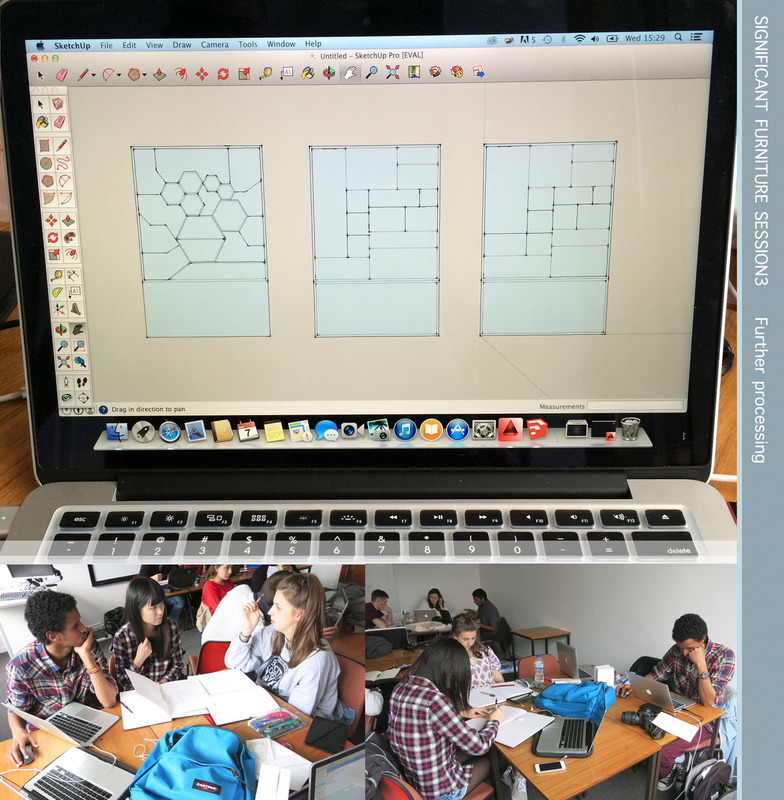
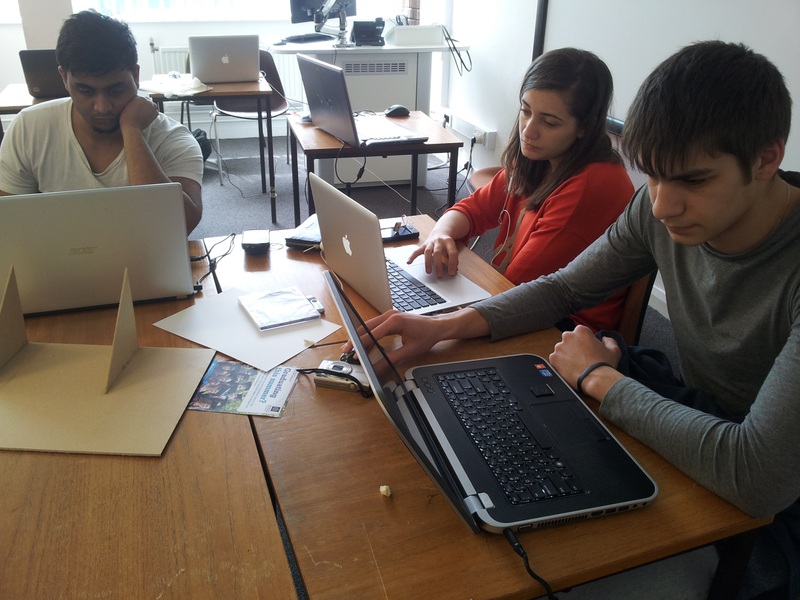
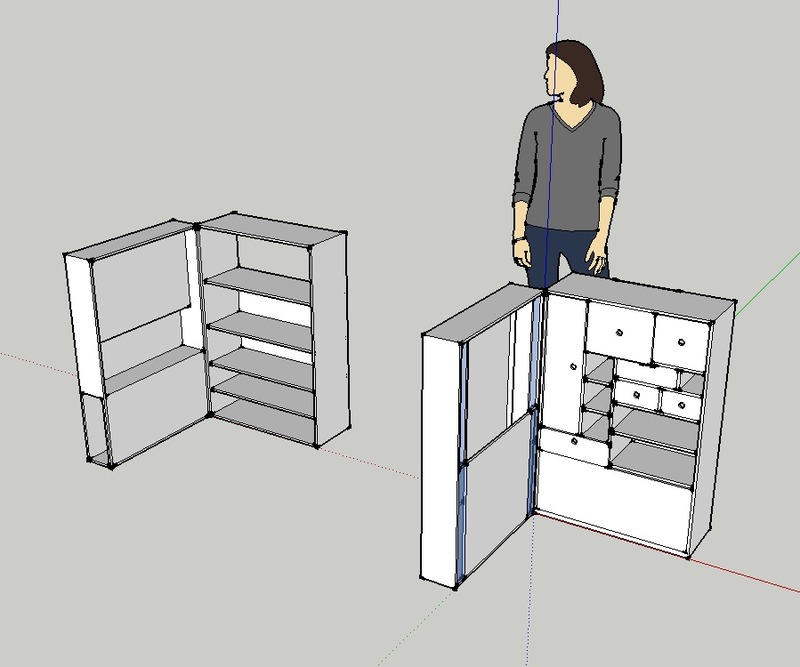
It took us a lot of hard thinking to come up with an interior layout that would optimise space. We used Sketch Up to create some quick and easy designs to choose from.
Posted 14 May 2014 12:28
After we presented it was discussed that our design needed something more original than just a set if drawers. We proposed a honeycomb shape but found space was lost along the sides and that it was difficult to have different sizes of hexagon interlinking.
Posted 14 May 2014 12:22
Day 2 of the events program saw us debating how to organise the interior of the wardrobe in order to have optimum usage efficiency. We created some drawings as well as a Sketch Up model and quick model of the basic form to present to the event coordinators.
Posted 14 May 2014 12:14
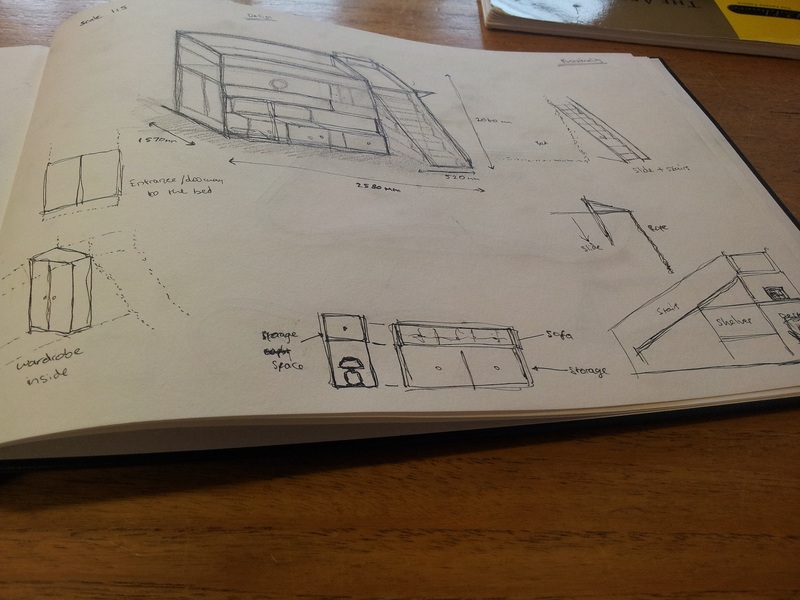
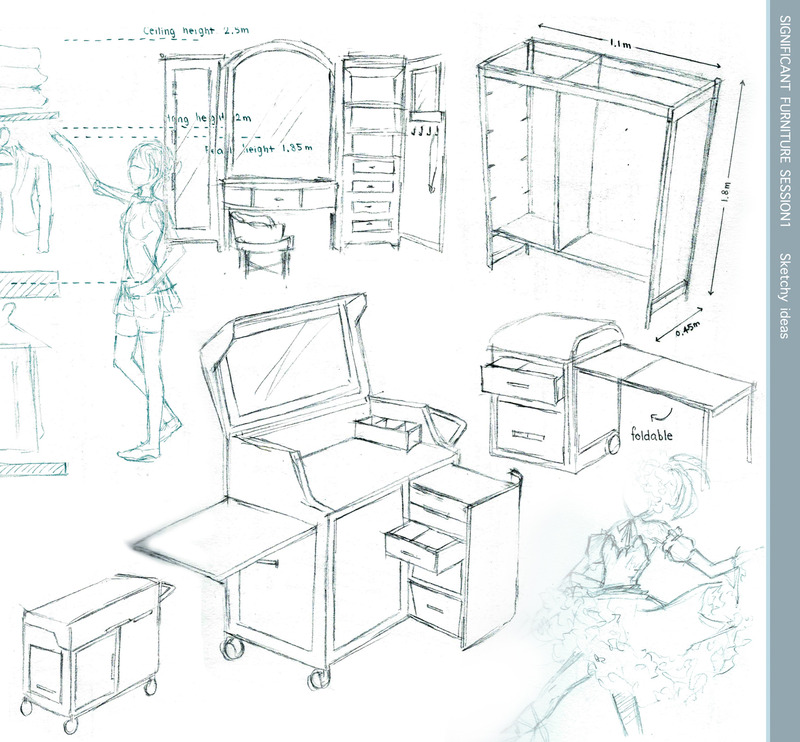
My idea was a portable wardrobe/ dressing table for a performer, particularly that of a ballerina. Its size and shape was inspired by a large suitcase due to its ability to be transported with ease.
Posted 14 May 2014 11:59
Day 4: Panels required to make the Portabile model.
Posted 13 May 2014 23:55
Day 5: Once the panels had been made on AutoCAD, we used the laser cutter to print the panels.
Posted 13 May 2014 23:41
Day 5: Cutting a frame for the wheels of the trunk.
Posted 13 May 2014 23:36
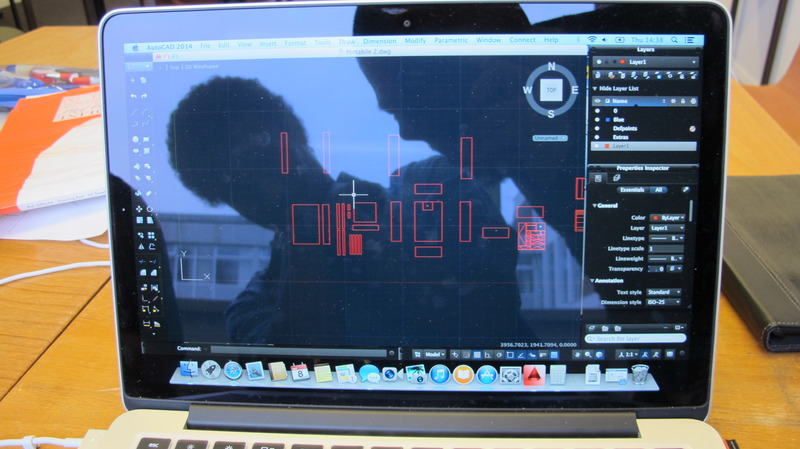
Day 4: Working on AutoCAD to produce the panels of the movable wardrobe to be laser cut.
Posted 13 May 2014 23:33
A visit by group 0
Posted 13 May 2014 18:33
Workshop groups
Posted 13 May 2014 18:26
first model completed
Posted 13 May 2014 18:25
Day 5: Laser Cutting session, we managed to almost complete our model, we have few more details to complete for the model. The next and last session will be finishing everything of by placing everything on the presentation sheets.
Posted 13 May 2014 16:55
We spent the fourth day of our event working on visuals for our presentation boards
Posted 12 May 2014 11:28
Measurements of the wardrobe
Posted 12 May 2014 11:08
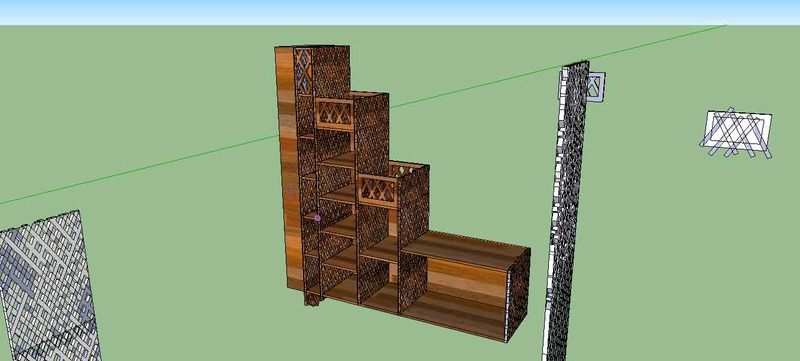
Sketch up model of our 1st and 2nd Design
Posted 12 May 2014 10:58
Ready for laser cutting
Posted 12 May 2014 10:52
Duscussion
Posted 12 May 2014 10:52
Day4
Zain checking the dimension of his furniture.
Posted 12 May 2014 10:51
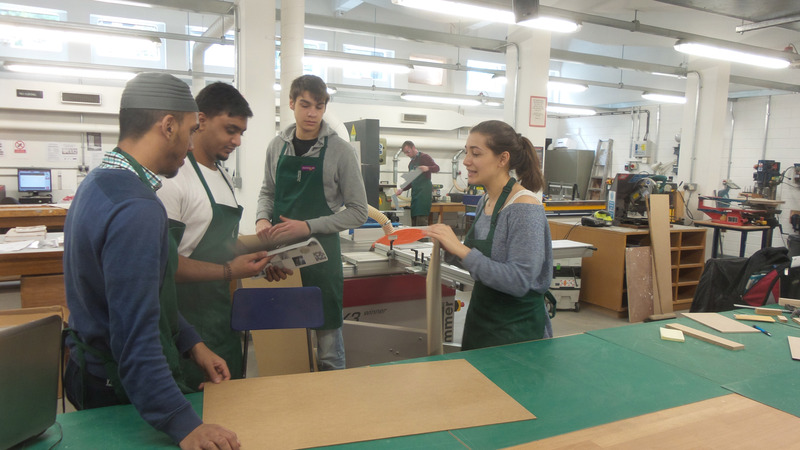
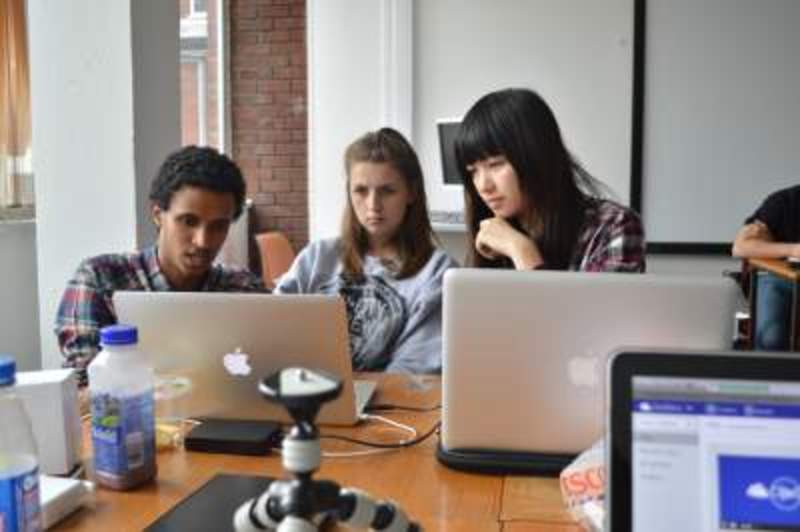
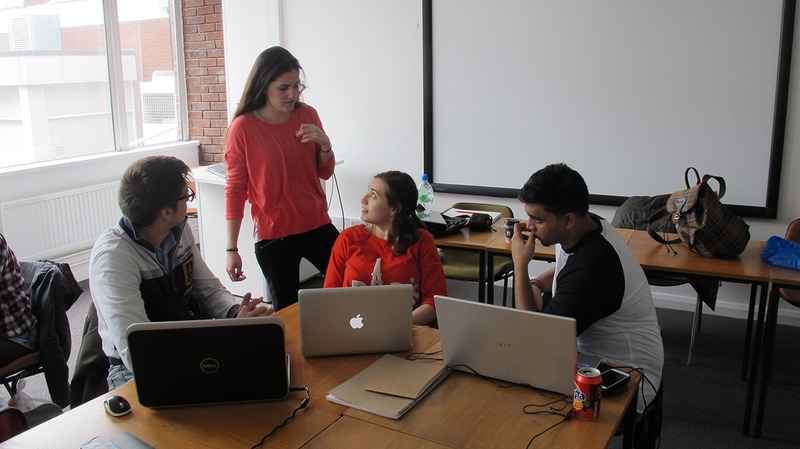
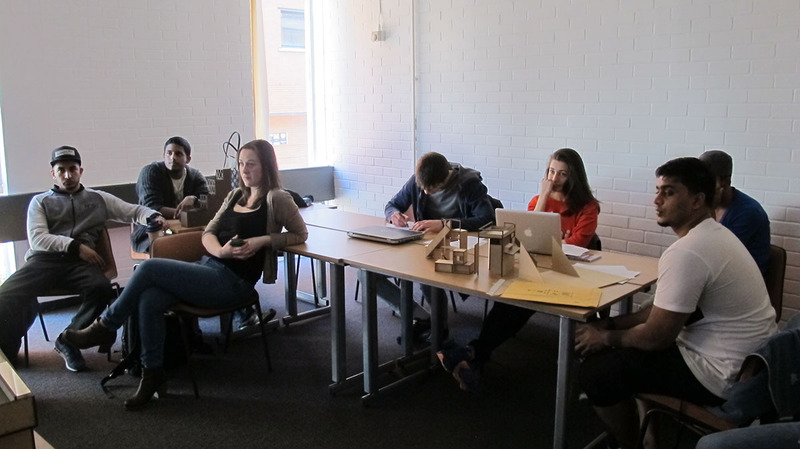
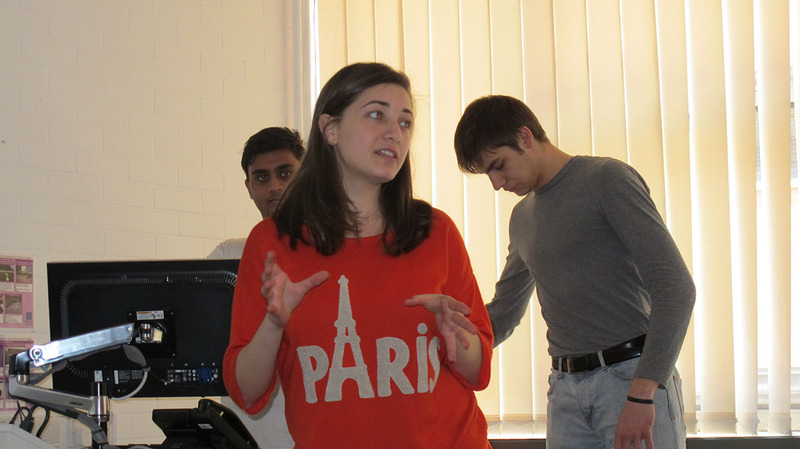
In this picture I am sat with my group. We are pitching our idea to Barbara who is one of the fifth years leading the event. We are explaining the different changes we have made to the furniture and finalising the type of material we are going to use and the scale for the model.
Posted 12 May 2014 06:01
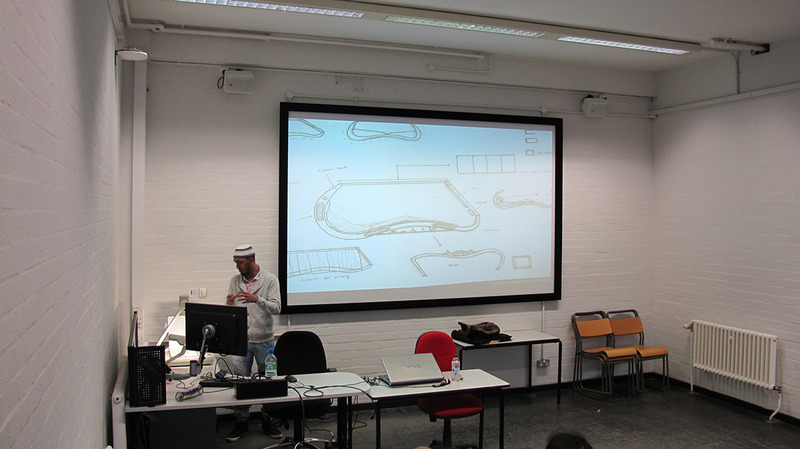
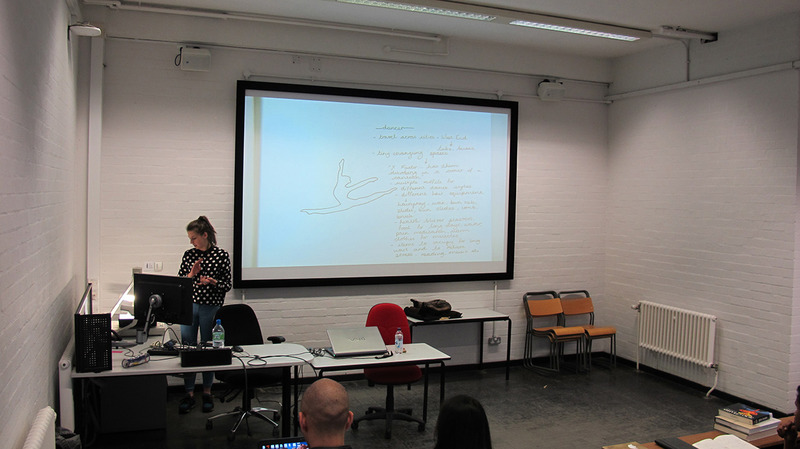
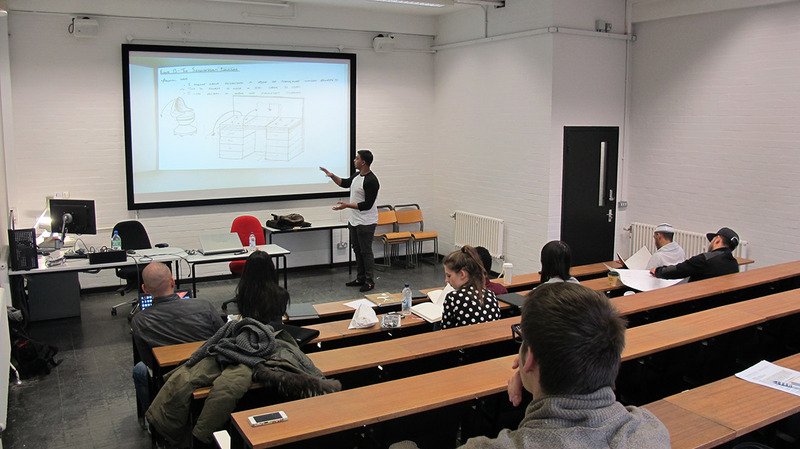
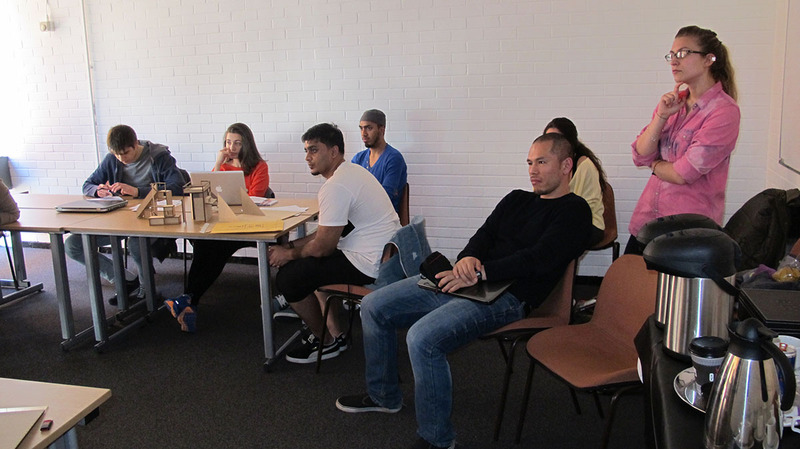
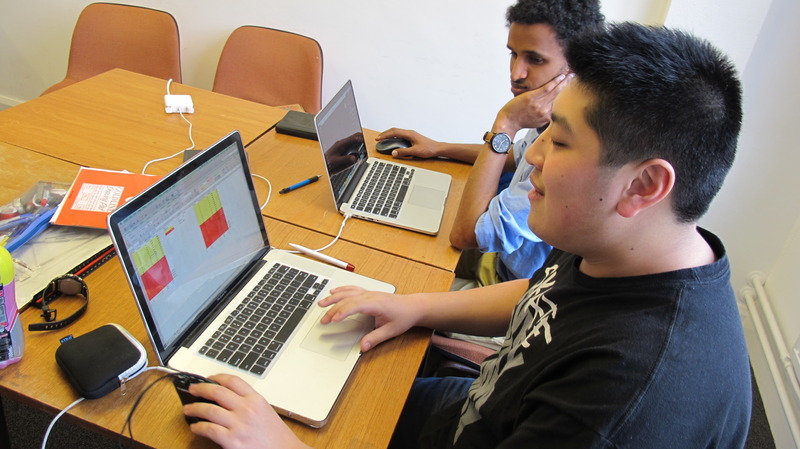
This image shows the process to how we decided on which project to pick for the competition. There were 3 projects picked overall. In this I am presenting my furniture designs to the rest of the group but unfortunately my idea wasn't chosen.
Posted 12 May 2014 05:55
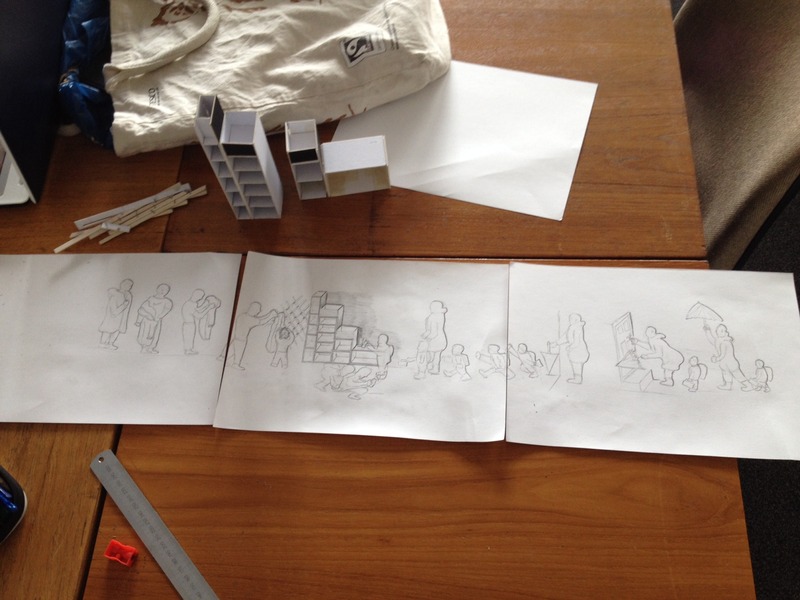
these sketeches demonstrate how our clients would use the furniture on a daily basis.
Posted 10 May 2014 14:26
This is a photo of our test model.
Posted 10 May 2014 14:18
Day 4: We further developed and finalised our design. We began to render the sketch-up model, finish the AutoCAD drawings for next the session and finish of the visuals and sketches to be inserted in the two panels.
Posted 8 May 2014 20:33
Day 4
Posted 8 May 2014 18:56
We made sure that our design matched the brief. Then we drew the pieces of the unit on autoCAD to be laser cut for our final model.
Posted 8 May 2014 10:28
In groups of four, we discussed all possible developments for the initial design idea. Later we made our first model of it at 1:10 and presented it for the whole group.
Posted 8 May 2014 10:25
Each person in our group made a sketch of their idea of a significant piece of furniture. Then we voted for three ideas to be carried forward.
Posted 8 May 2014 10:22
Initial proposal of a furniture design.
Posted 8 May 2014 10:17
Our group is trying to improve the layout of drawer so as to meet the specific requirement for a ballet dancer.
Posted 7 May 2014 23:57
This the initial design from our group, we are then moving on to redact a similar design which is more specific and unique for a ballet dancer.
Posted 7 May 2014 23:52
I sketched out several significant furniture ideas throughout the day. As I am eager to make a portable furniture for a dancer, I did some specific measurement.
Posted 7 May 2014 23:49
Day 3: I began to work on a sketch-up model. The others was working on Auto Cad for laser cutting, elevations and hand drawings for the visuals.
Posted 7 May 2014 19:40
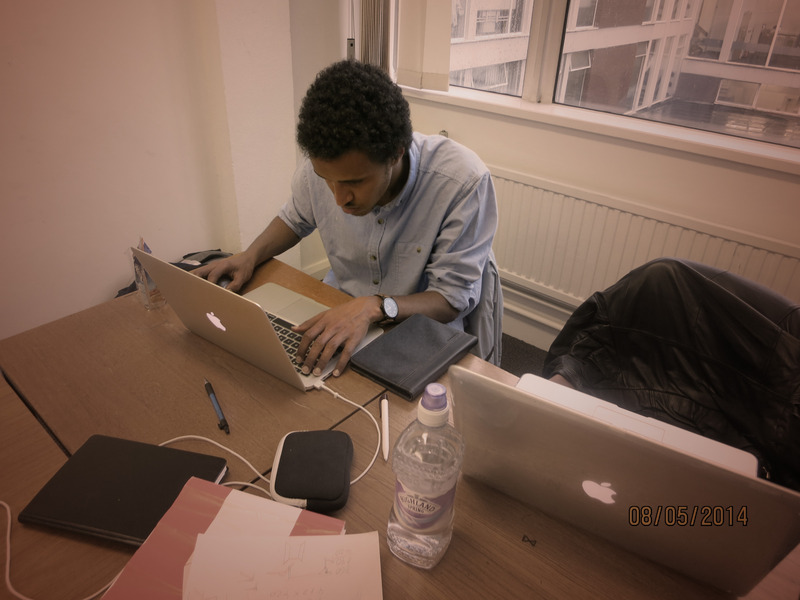
Day 3 - The group split tasks to begin producing necessary images for the presentation boards. I was working on the AutoCAD file to send to the laser cutter.
Posted 7 May 2014 19:40
Day 2: We develop an idea further. Started to make sketch model of the design.
Posted 7 May 2014 19:36