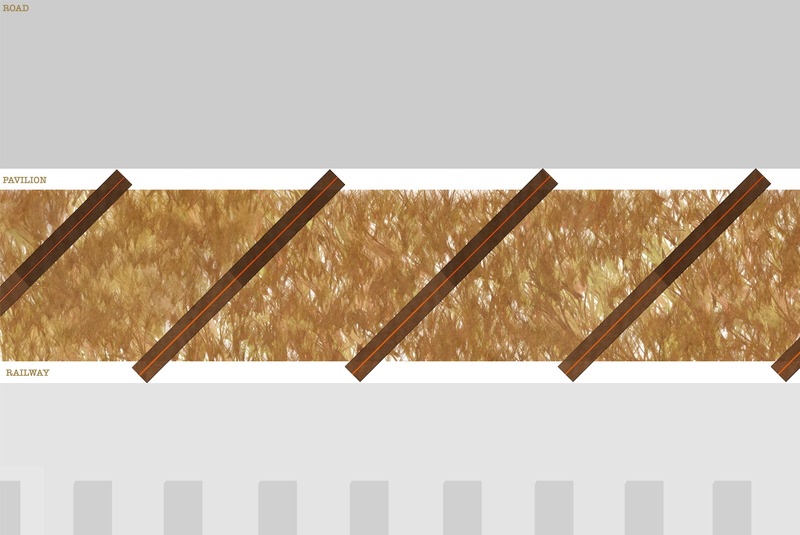
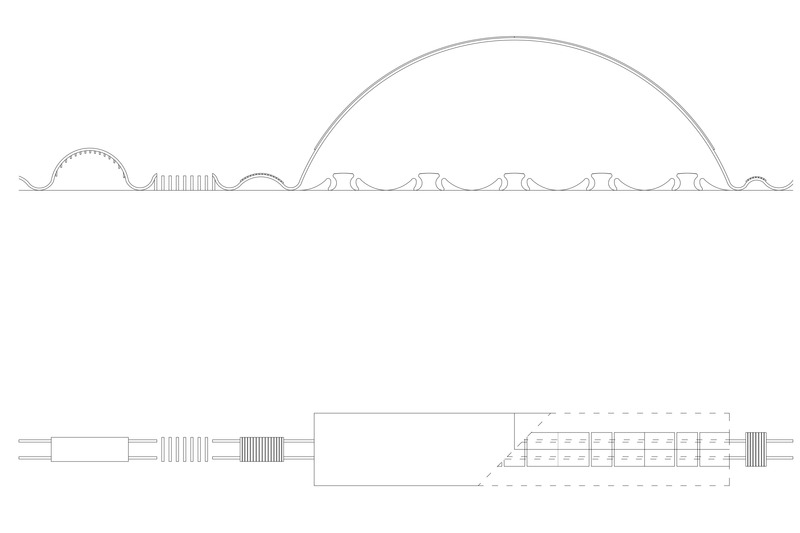
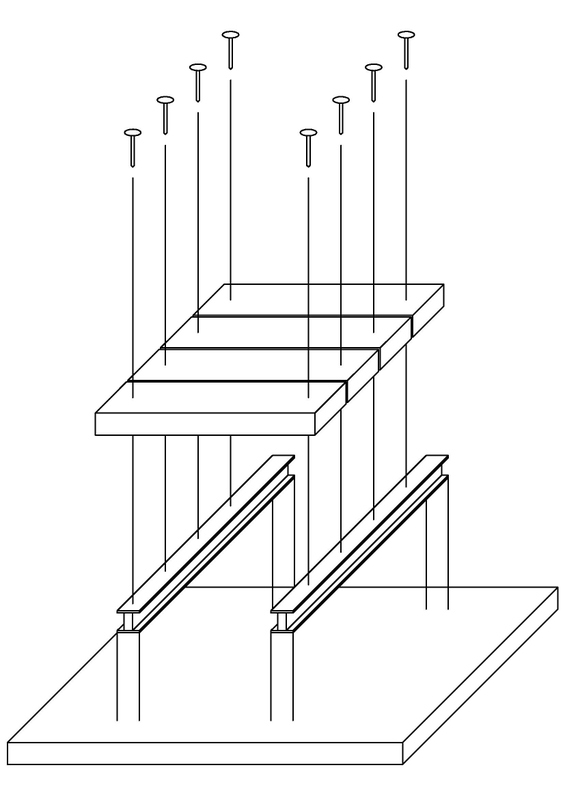
A diagram which depicts the sections and the spacial organisation of our structure.
Posted 17 May 2014 00:08
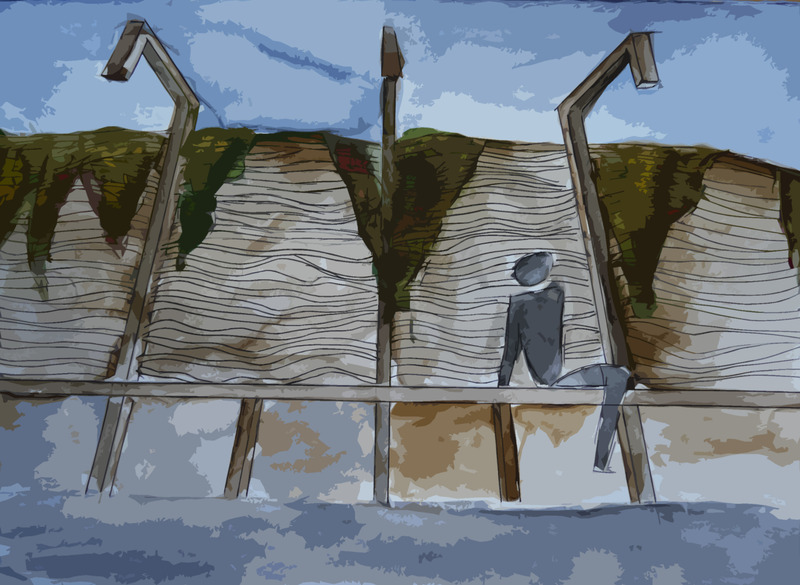
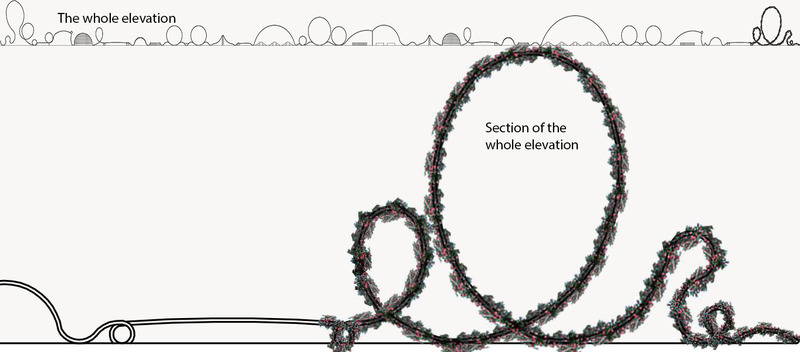
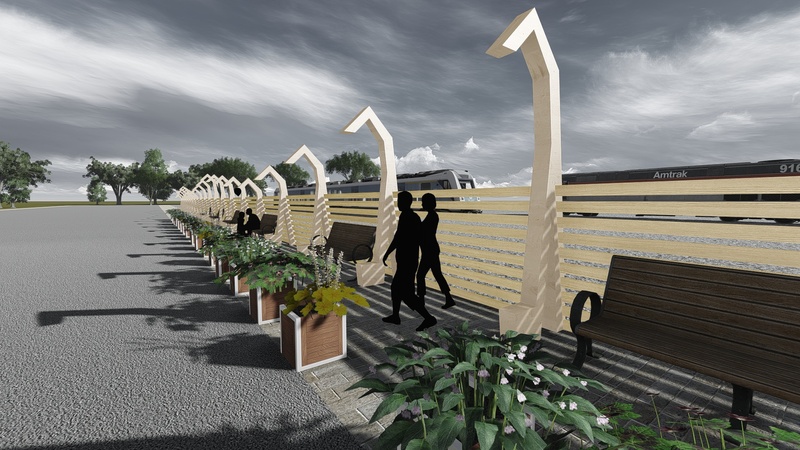
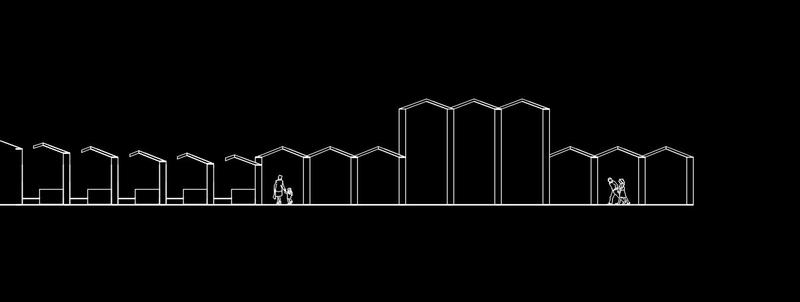
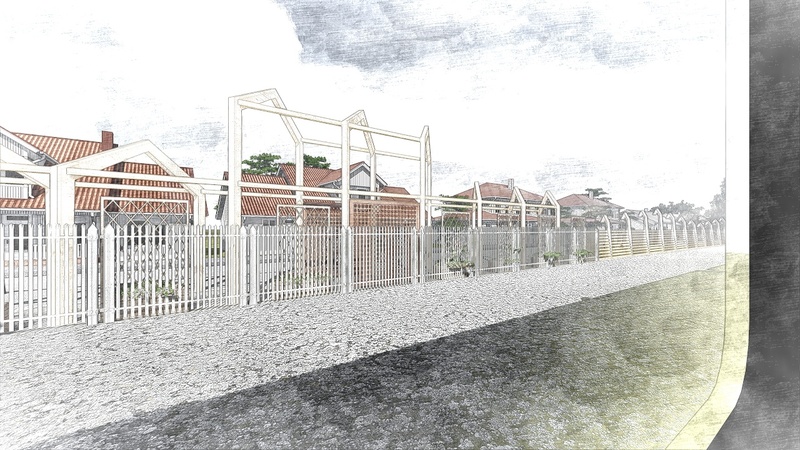
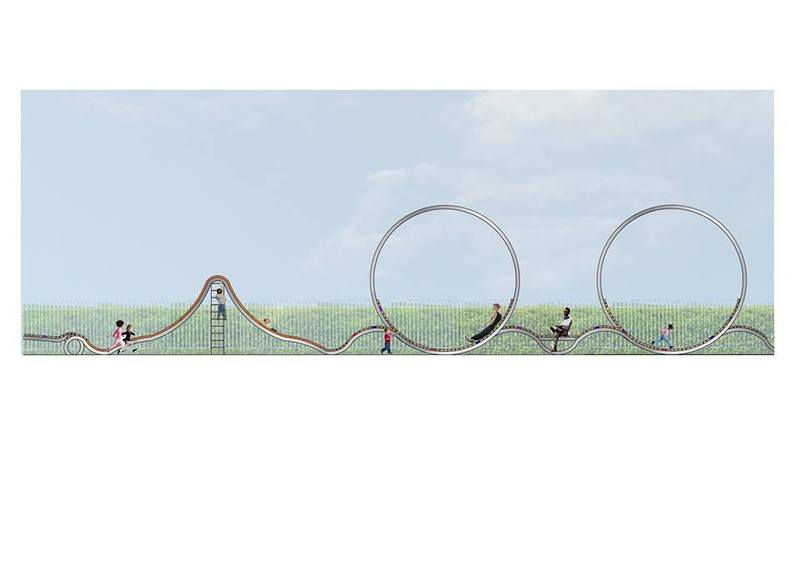
An elevation of the final form of our structure. This shows the view from the train and the colour changes the passengers will view when travelling past our structure.
Posted 17 May 2014 00:06
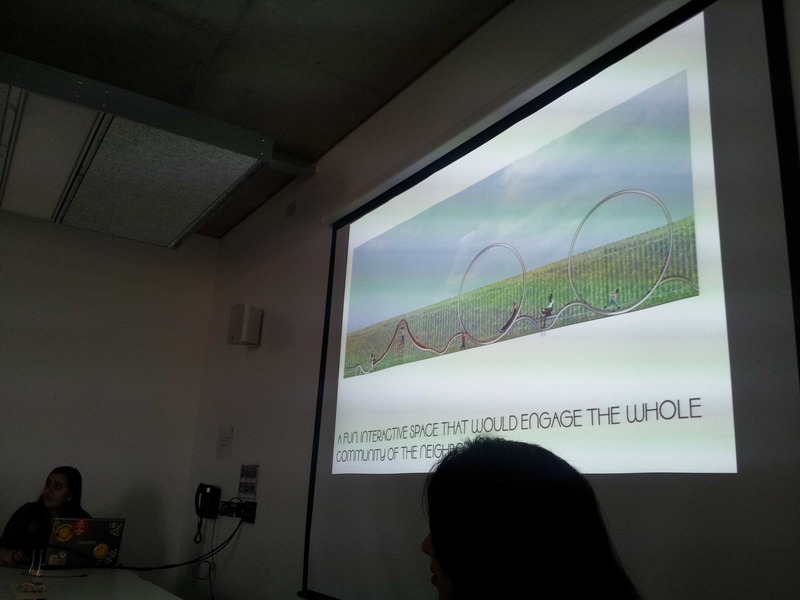
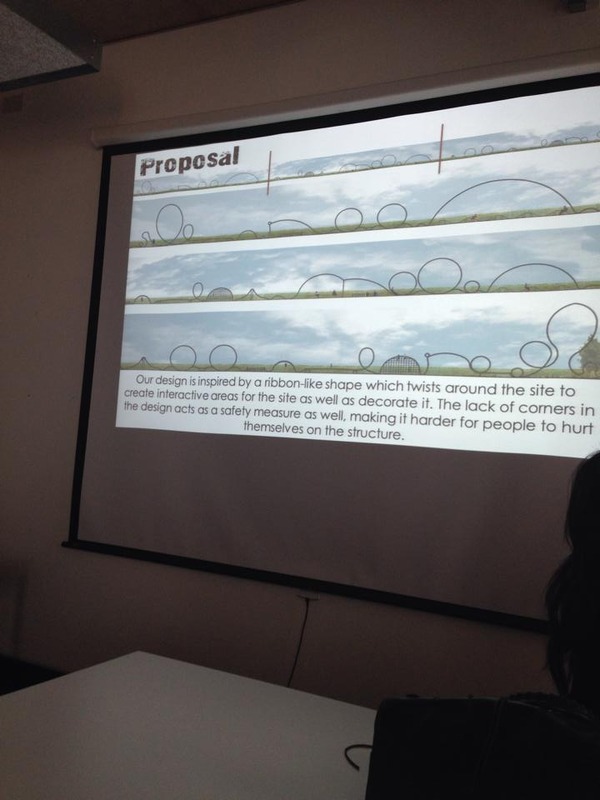
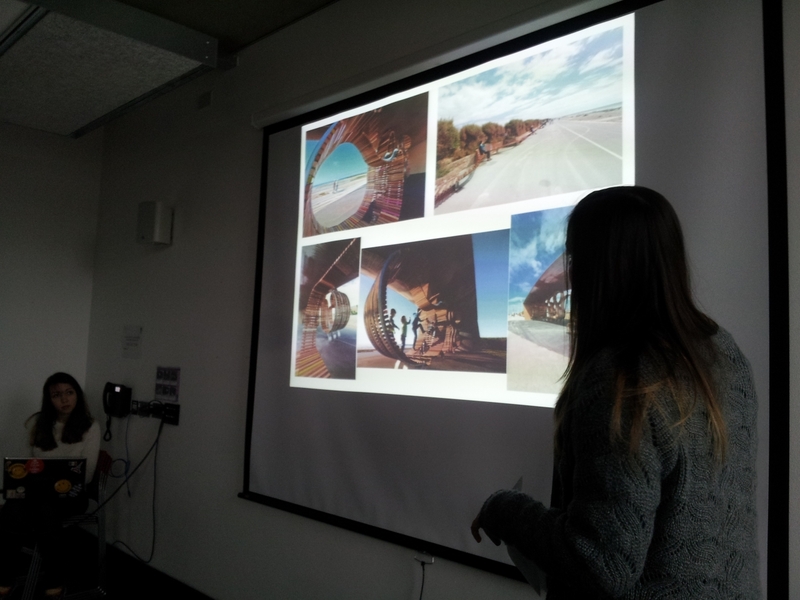
Our group presentation of our final concept to be presented to the client.
Posted 17 May 2014 00:05
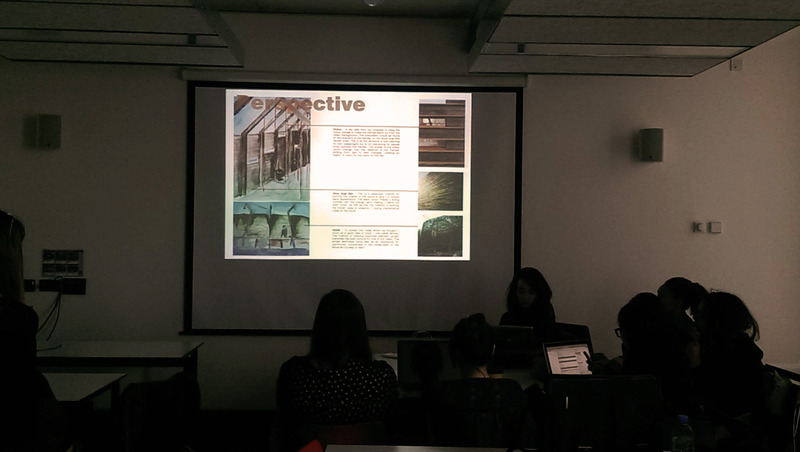
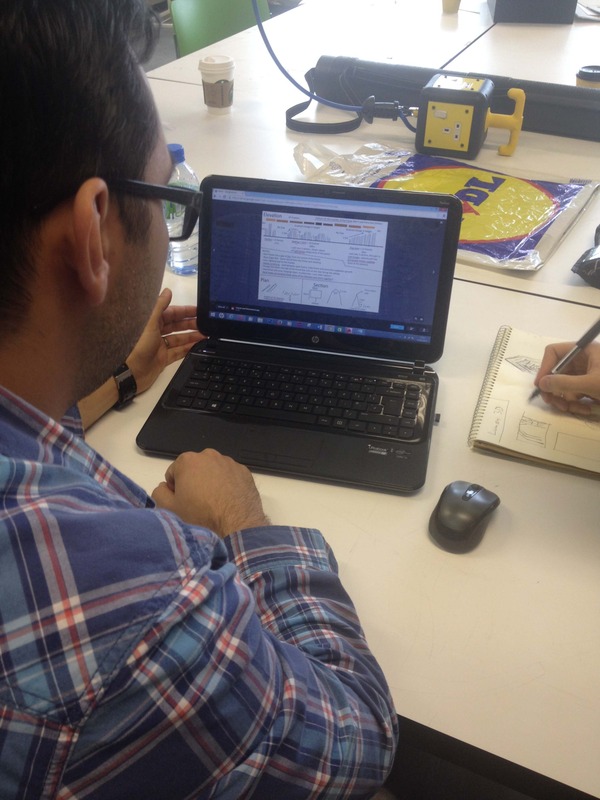
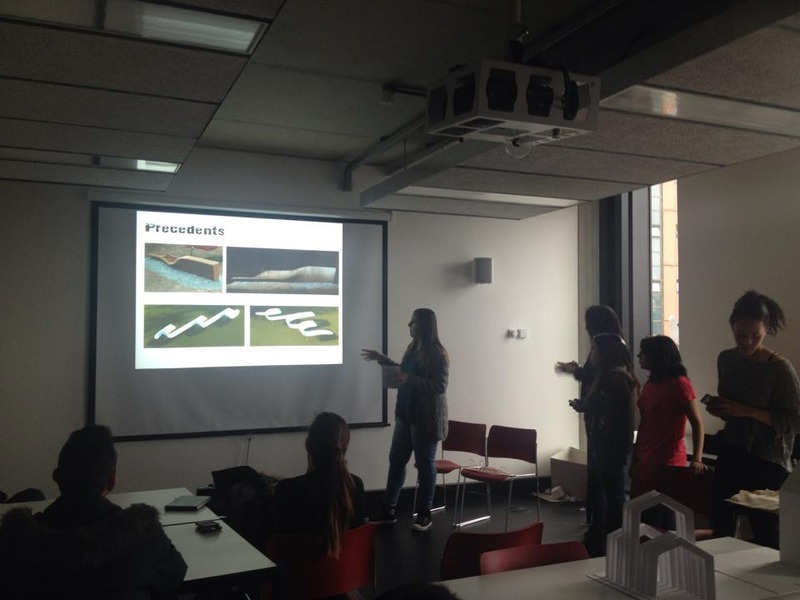
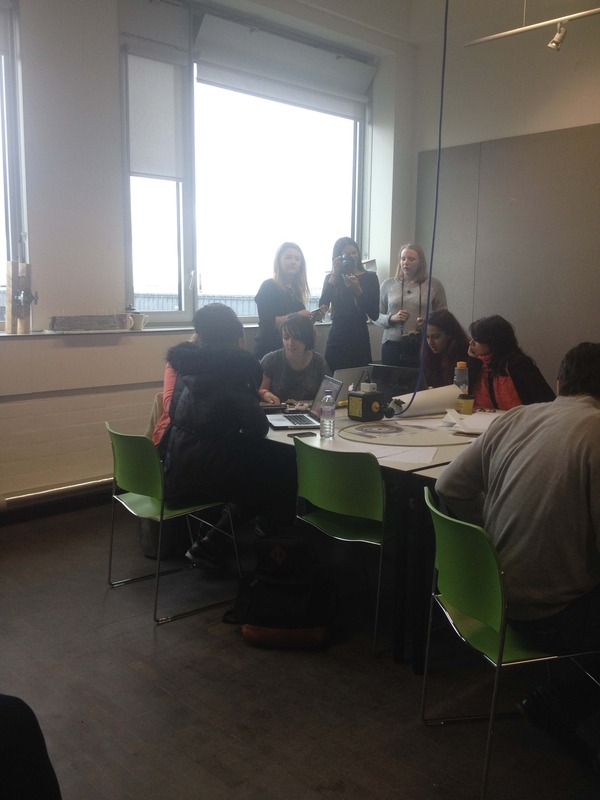
This photo portrays the second group presenting their initial concepts to the wider events group.
Posted 17 May 2014 00:04
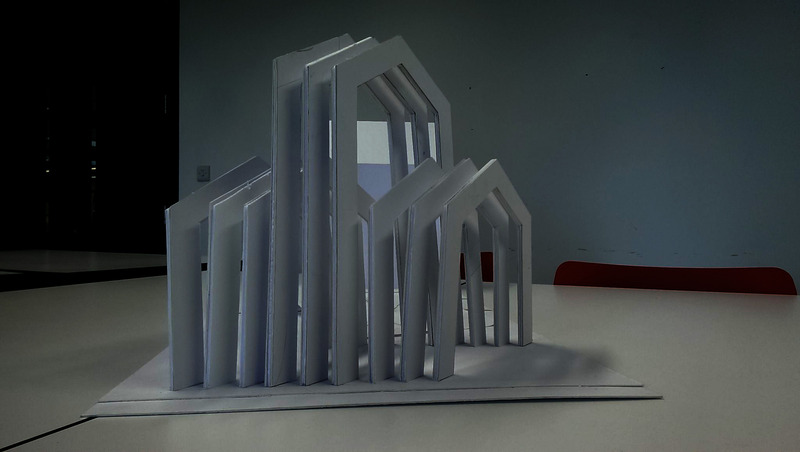
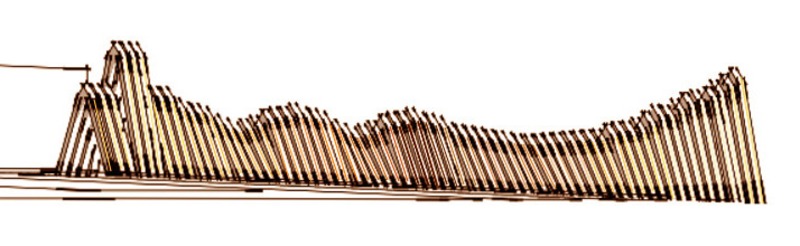
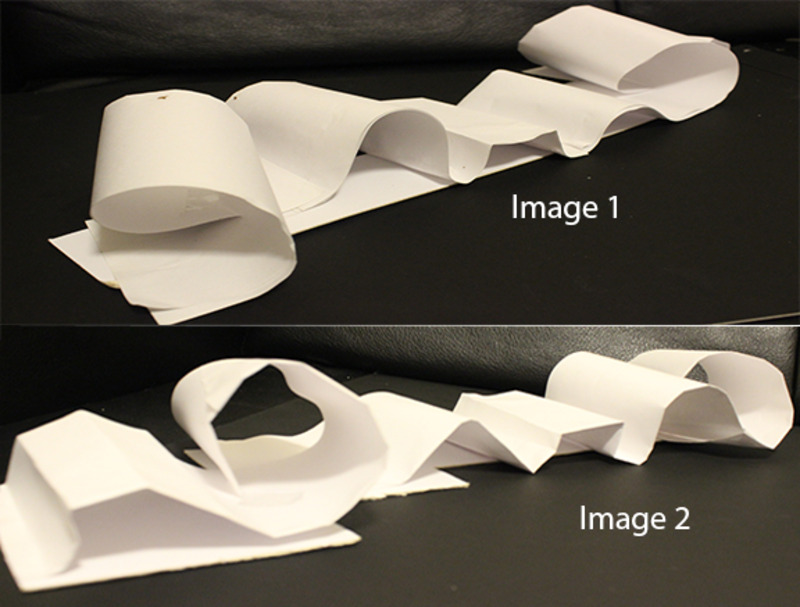
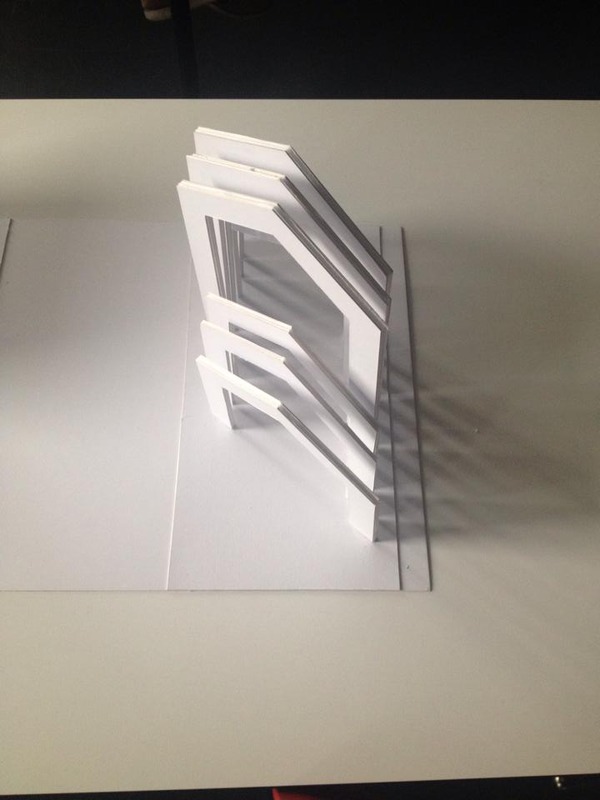
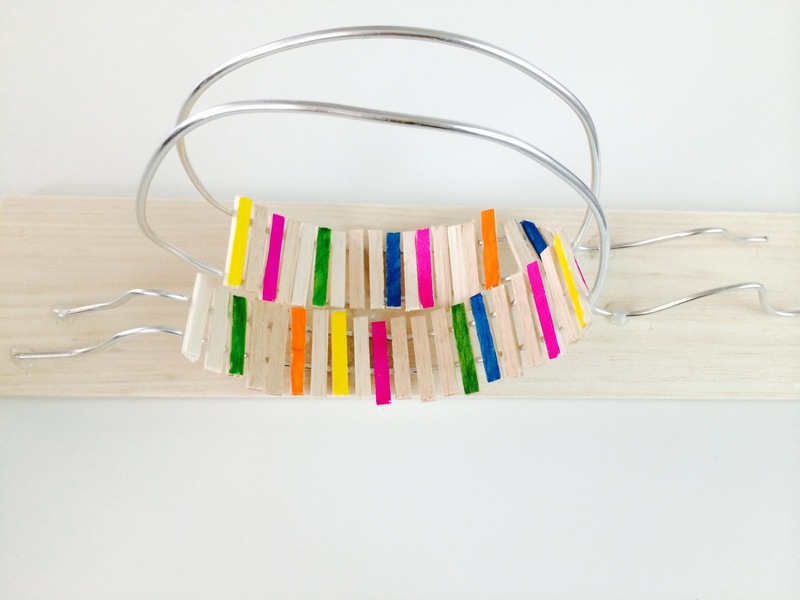
Model almost finished, depicting a section of frames which represent the pavilion
Posted 17 May 2014 00:01
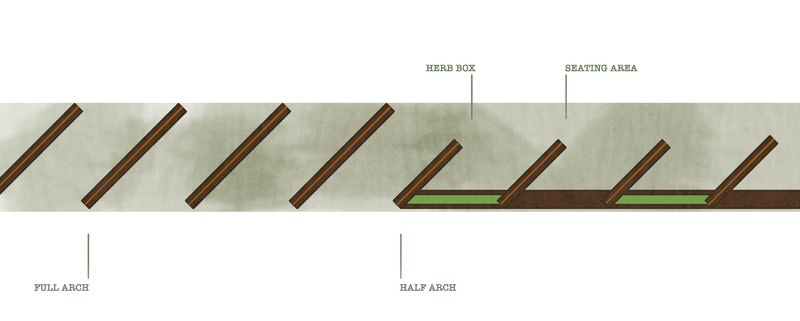
Plan of the transition from Pavilion to Seating Area and Herb Garden.
Posted 16 May 2014 23:23
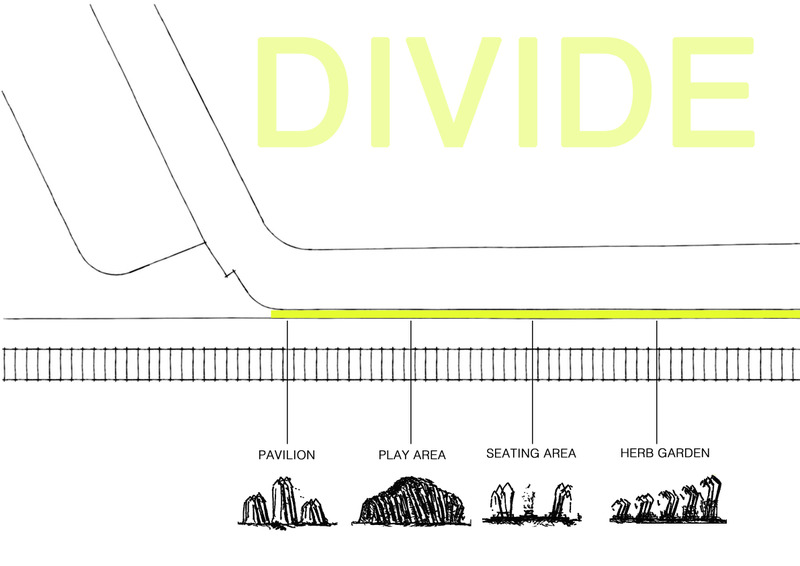
Part of the presentation showing how the function as well as the form of the installation will be divided according to it's program.
Posted 16 May 2014 23:21
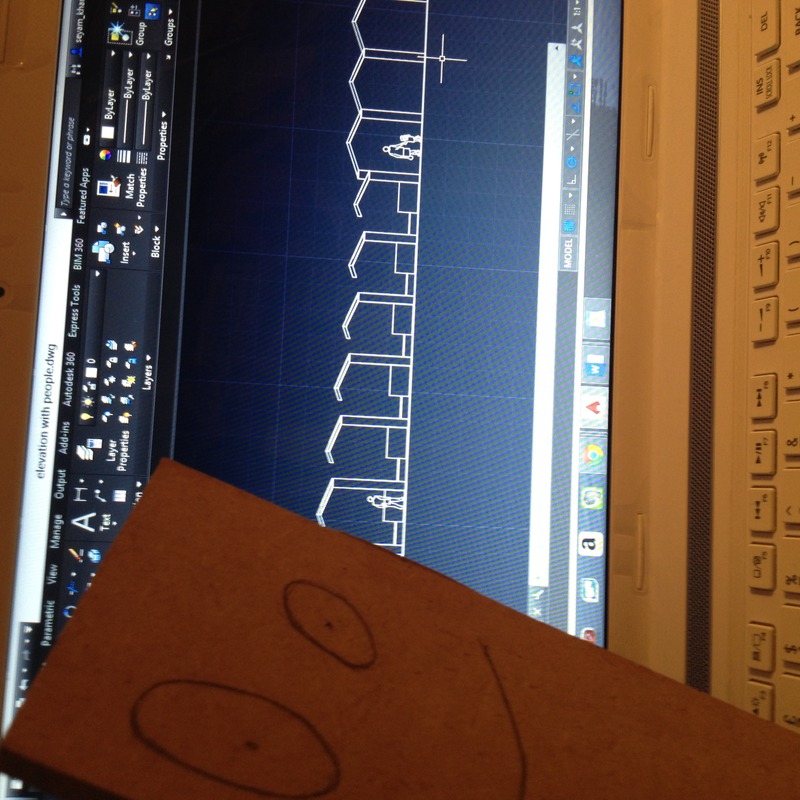
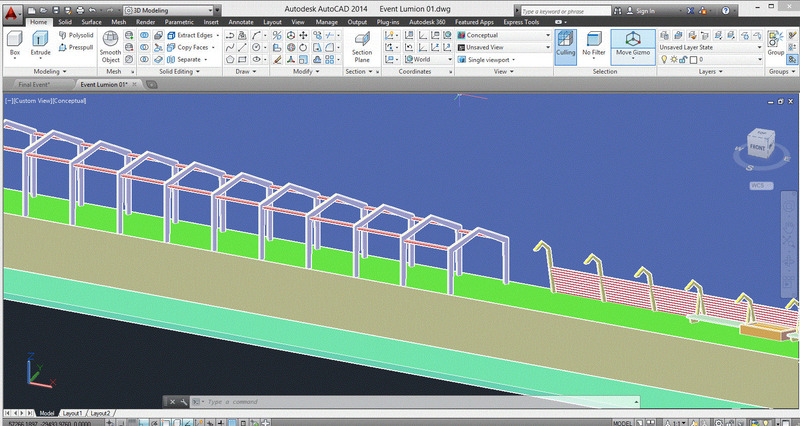
Elevation of pavilion on AutoCAD
Posted 16 May 2014 22:30
Drawing up elevations on AutoCAD
Posted 16 May 2014 22:29
A Panorama picture i took of the close by estate designed by Laura Sanderson
Posted 16 May 2014 22:26
We thought to use the local Scout group to help put the wattle together within the structure.
Posted 16 May 2014 22:21
Walking through the site.
Posted 16 May 2014 22:12
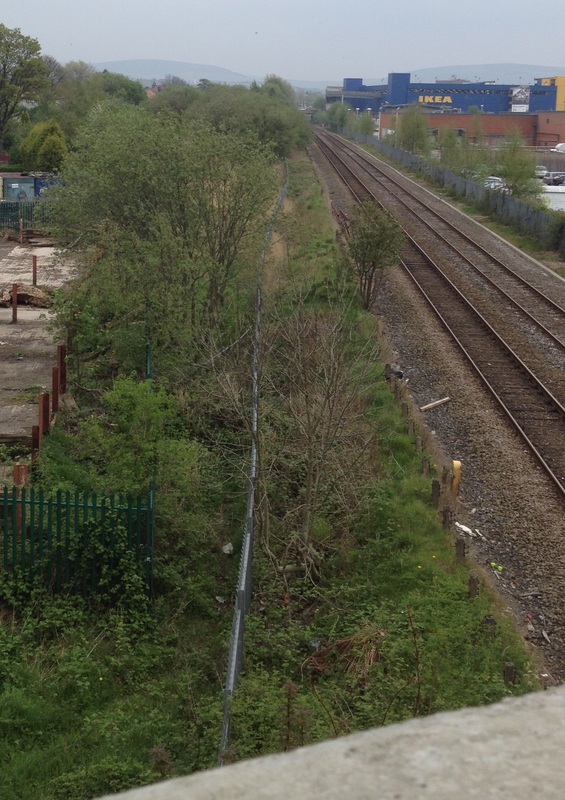
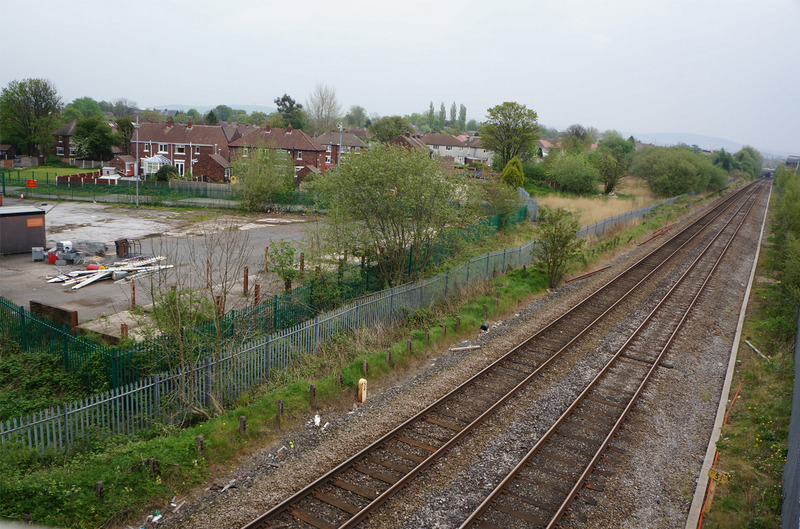
This photo was taken from a higher level which gave us a better idea of the relationship between the railway and site.
Posted 16 May 2014 22:09
On our last meeting we presented our final proposal and the fifth year students gave us feedback on our work. The event was considered a success.
Posted 16 May 2014 00:15
We made some changes regarding the final design of our proposal. The frames of the structures would be 3 meters apart and the 'screen' between them would be a wattle structure (in the construction of which the local community could take part). Within the wattle vegetation may grow
Posted 16 May 2014 00:12
Last day's presentations were awesome!!
Posted 15 May 2014 20:17
Session 6: Although we were supposed to present to the architects the final design proposals, due to the fact that their office was very busy, we had to reschedule. However, we concluded our event with presenting to each other!
Posted 15 May 2014 20:17
Shou Sugi Ban This is a Japanese method for burning the outside of the wood to give it a unique black appearance. The black colour makes a strong contrast with the orange paint making it stand out even more. As well as this, the method of burning the timber helps to preserve it, lowing maintenance costs for the future.
Posted 15 May 2014 13:11
Night ......
Posted 15 May 2014 13:09
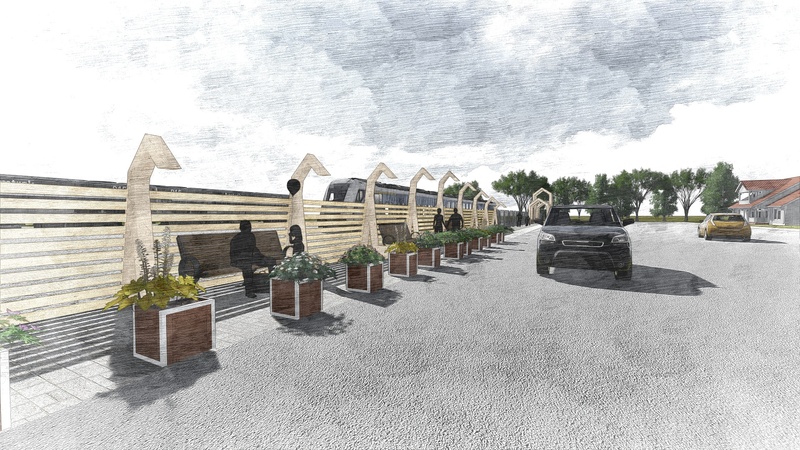
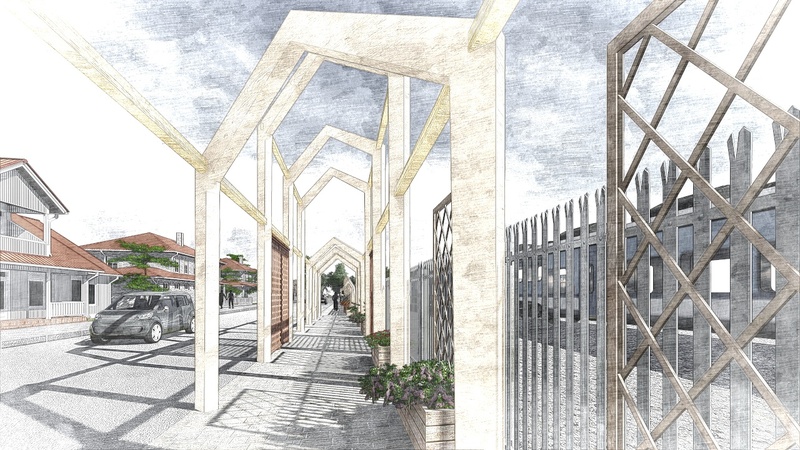
As shown in plan the frames would be rotated at an angle of 45° to optimise the space given on the site. If the frames were perpendicular to the site there would be less than 3m worth of space but by rotating them you can get frames with a width of 4.25m. The other advantage of rotating the frames is that they open up to the public, allowing easier access into the pavilion.
Posted 15 May 2014 13:09
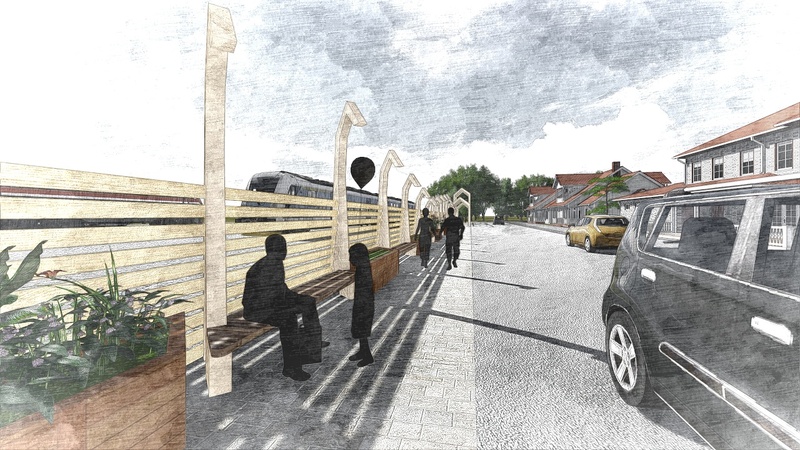
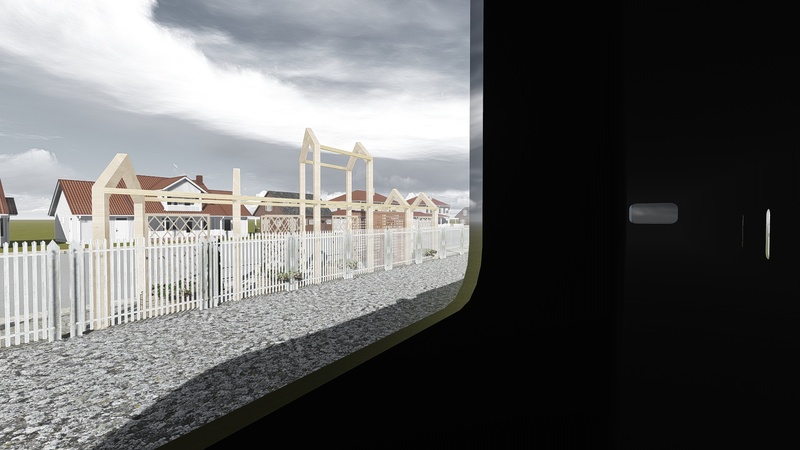
Train passengers' view to the proposal design.
Posted 15 May 2014 13:08
Final Presentation, Pavilion
Posted 15 May 2014 13:07
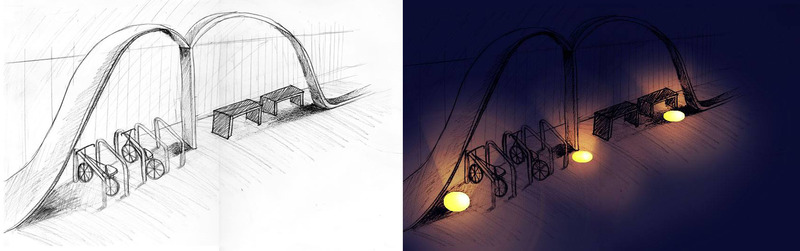
This is an elevation as seen from the South, the train side. We have added orange colouration to the outside, to make it more interactive for the train passengers. The colours shift from light to dark to light, which would make a fascinating illusion whilst travelling at over 100mph on the train.
Posted 15 May 2014 13:07
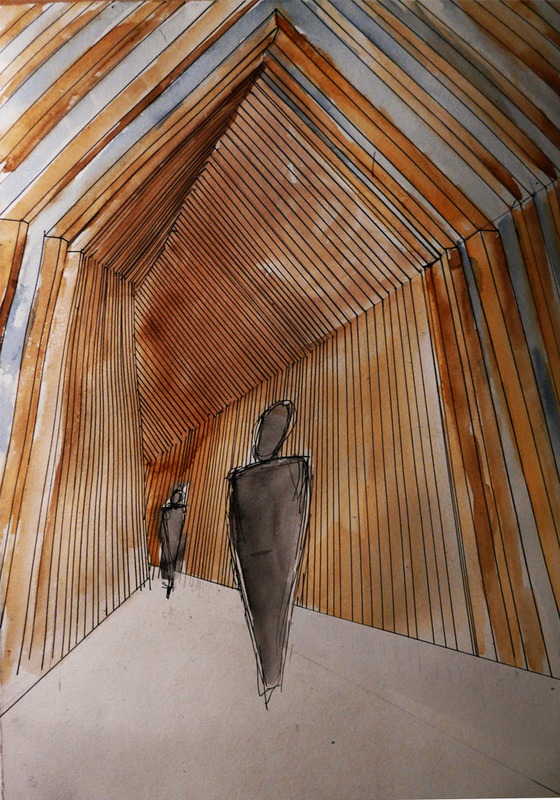
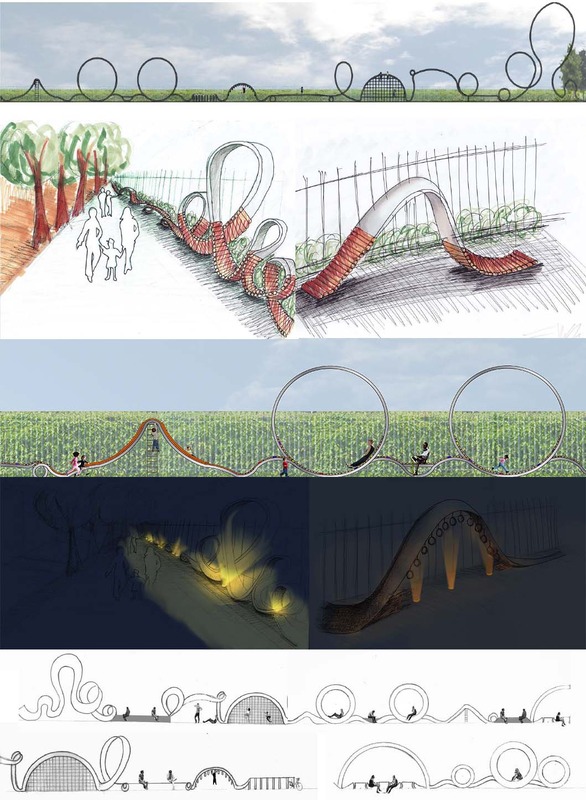
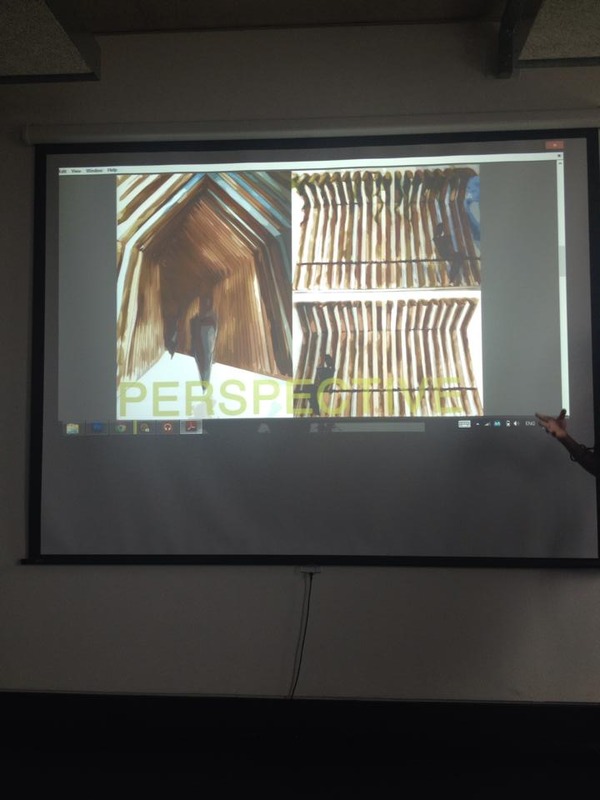
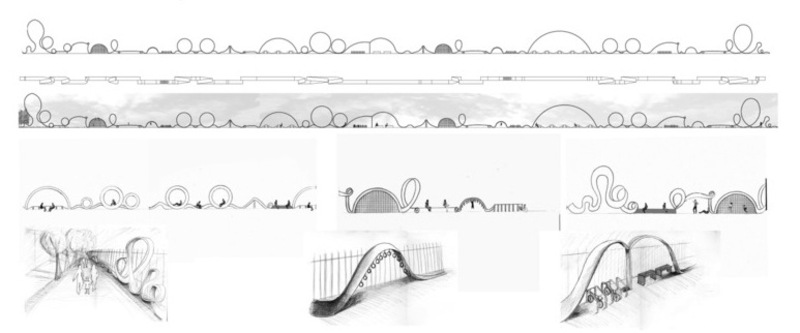
Through perspectives we were able to show some of the finer details of our initial ideas. For example lighting at night, initially we thought lighting top of the frames directed downwards would be suitable however it did not light up the shape of frames. So ground lighting directed up would be more suitable in this case as it would make the pavilion visible and safe at night. Another positive from using lighting on the ground is we could take advantage of solar powered lights, making them self sufficient, reducing the annual energy cost. We also looked into adding foliage to the tops of the frames, this makes them look more natural but the maintenance could be costly. The biggest positive from the perspectives is how it shows the rhythm of the frames and how they enclose the space.
Posted 15 May 2014 13:05
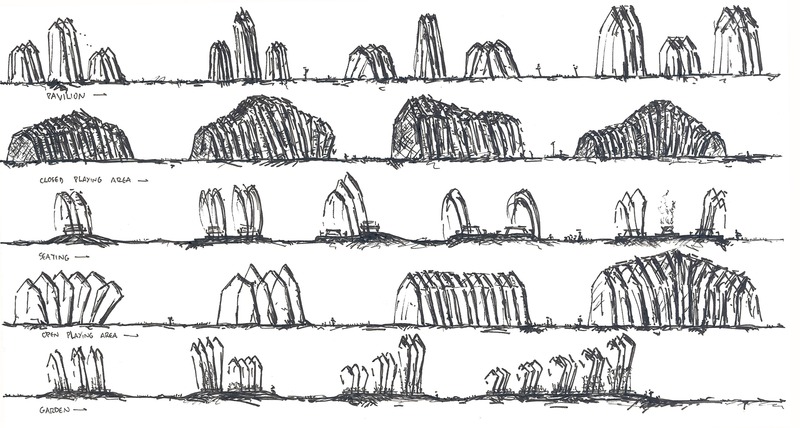
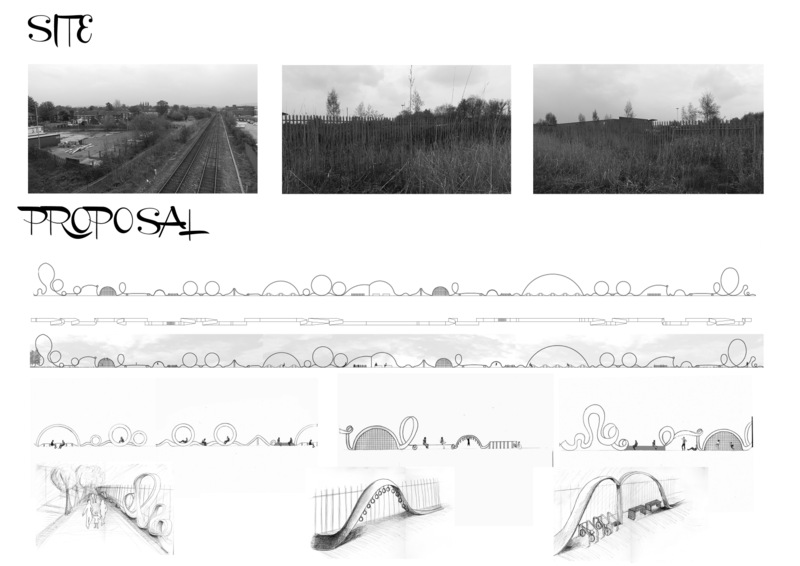
The initial idea was to create a repetitive frame that would span the distance of the site with the key idea of function, aesthetics and cost in mind. So through sketching we experimented with different forms that the frames could be in, whilst thinking about how they could be used by the public. The third row of sketches shows the first idea of having the narrow pointed frames with multiple functions; pavilion, open/closed playing area, seating and herb gardens.
Posted 15 May 2014 13:03
Our brief was set by the New Charter Housing Group, who own 20,000 properties mostly around the Aston area. These properties are mainly council housing but also include privately owned retail, care and education buildings. As a group we were given the task to fill a plot of land that is roughly 3m x 200m, adjacent to a housing estate that is being built this year.
Posted 15 May 2014 13:01
Final models of the proposed structure.
Posted 15 May 2014 11:48
Session 6: Final presentation day.
Posted 15 May 2014 11:45
The partial model of our final design
Posted 15 May 2014 11:44
Day 6
Final presentation day. I made a model in order to show how the structure would work in a 3D environment
Posted 15 May 2014 11:43
After changing and polishing off our final design we presented our final idea to the fifth years and would be sent digitally to the client to have a look at our scheme.
Posted 15 May 2014 11:40
Session 5: Detailed elevation and plan/section showing materiality.
Posted 15 May 2014 11:38
Day 5
Assembly details for the structure
Posted 15 May 2014 11:38
Day 4
Finalized elevations with materials and background
Posted 15 May 2014 11:36
Session 4: Part of the detailed plan with more refined structural frames and timber planks.
Posted 15 May 2014 11:33
Session 3: Plan of the proposed structure, showing the general shape of the frames.
Posted 15 May 2014 11:28
Day 3
Figuring out the structural details on the elevation
Posted 15 May 2014 11:28
Session 2: Initial sketches and ideas for our proposal.
Posted 15 May 2014 11:23
Day 2
We met with the fifth years in studio and showed them our initial ideas for the proposal.
Posted 15 May 2014 11:22
Session 1: Meeting with New Charter and site visit.
Posted 15 May 2014 11:15
Proposal's concept model to help the client understand our proposal better.
Posted 15 May 2014 11:05
Proposal's site elevation.
Posted 15 May 2014 10:56
Proposal presentation to the client!
Posted 15 May 2014 10:55
Spiral model of design//
Posted 15 May 2014 10:46
Final Presentation
Posted 15 May 2014 10:44
Our design explained using a color scheme.
Posted 15 May 2014 10:44
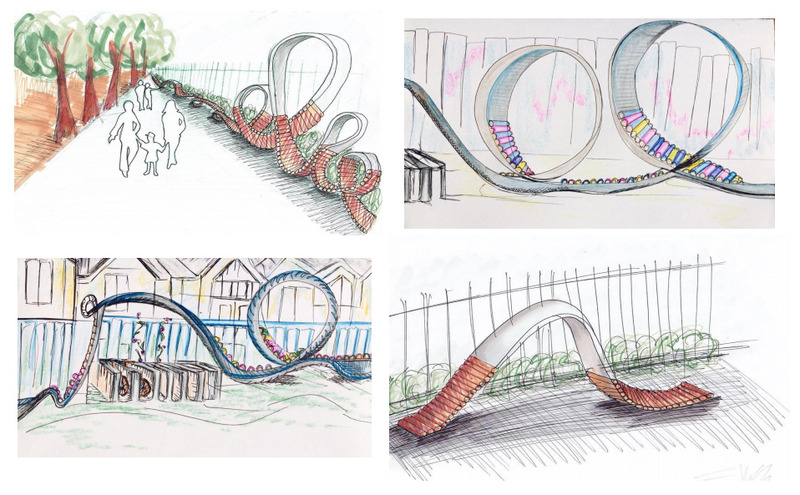
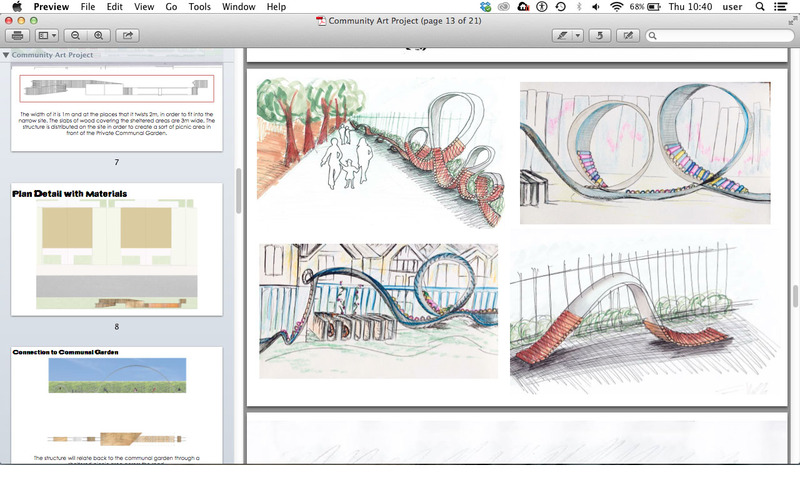
Sketches illustrating the playful scheme and ambience of our design!
Posted 15 May 2014 10:42
Final presentation day.
Posted 15 May 2014 10:33
Adding textures onto the elevations and plan with photoshop.
Posted 14 May 2014 20:16
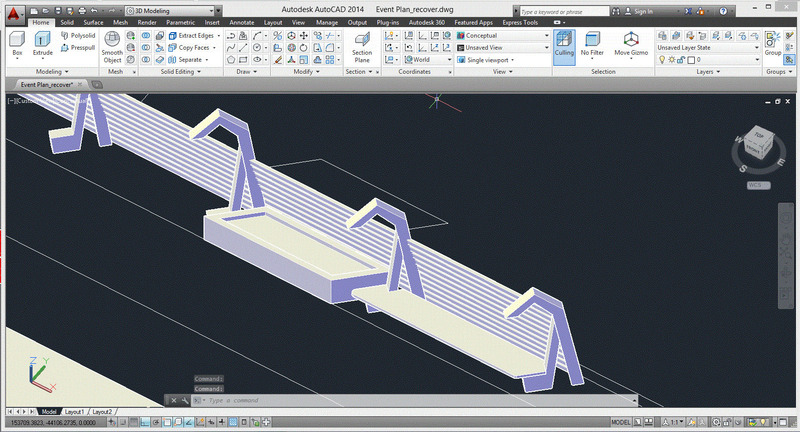
The 3D model is completed and ready for final rendering.
Posted 14 May 2014 19:00
Creating the final 3D model, using AutoCAD 3D, for the final presentation.
Posted 14 May 2014 17:58
Event 00 came by while we were having tutorials to take photos!
Posted 14 May 2014 11:57
Session 5: We had tutorial with both groups in order for them to show us their progress and to advice them on how to proceed and make the best for the final presentation of the two proposals to the collaborator.
Posted 14 May 2014 11:54
Session 5: Group tutorials to get ready for the final presentation to the client!
Posted 14 May 2014 11:17
photshopping the night view for site's perspective view!
Posted 14 May 2014 02:45
Proposing different ideas to the client through the use of mock up models! scale 1:50
Posted 14 May 2014 02:39
Trying to make the client's proposal more ecological by adding greenery and vegetation. Photoshoping the elevation!
Posted 14 May 2014 02:32
Went to ashton under lyne for the client's site analysis and pictures!
Posted 14 May 2014 02:18
Draft ; 3D computer generated model to find out how the design would look like in reality.
Posted 12 May 2014 01:24
3D computer generated model.
Posted 12 May 2014 01:23
How train passengers would see the design from their view point.
Posted 12 May 2014 01:20
3D computer generated model for our group proposal. It is a first draft and would be refined more ................
Posted 12 May 2014 01:19
Perspective showing different activities in playing area.
Posted 11 May 2014 18:02
Combined slides from the presentation of the groups work with elevations, perspectives and sketches for the proposed structure.
Posted 10 May 2014 23:56
Presenting our final idea to fifth years
Posted 10 May 2014 12:42
working different perspectives for the client's proposal!
Posted 10 May 2014 10:25
Photoshopping the perspective to show the night view!
Posted 10 May 2014 10:20
Session 4: Really nice hand drawn sketches presented to explain the scheme.
Posted 9 May 2014 14:22
Session 4: An initial concept model made by first and second years to illustrate their idea. Nice shadows!!
Posted 9 May 2014 14:16
Session 4: Presentations of the two proposals. The plan was to either choose one scheme or try to combine them together but at the end we decided to present them both to the architect.
Posted 9 May 2014 14:10
Session 4: We had presentations of the 2 schemes in order to decide which of the two to continue with. However, we decided to continue with both proposals and present in the end to the architect both schemes for them to have the final say.
Posted 9 May 2014 11:51
Sketch of a part of our designed structure for New Charter. The structure has multiple uses like seating areas, working areas, bike racks and play area for children. :D
Posted 9 May 2014 10:31
Today we had our review. Fifth years made a choice to continue our work as different groups in order to produce two options for the client.
Posted 9 May 2014 10:28
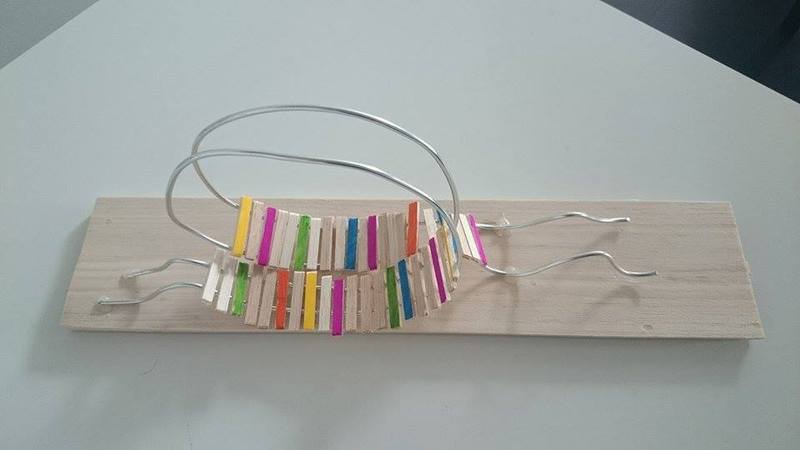
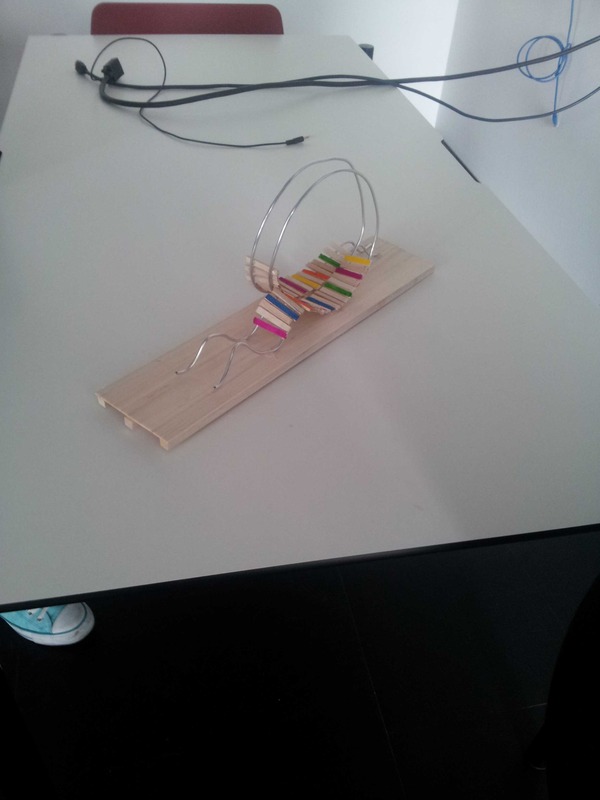
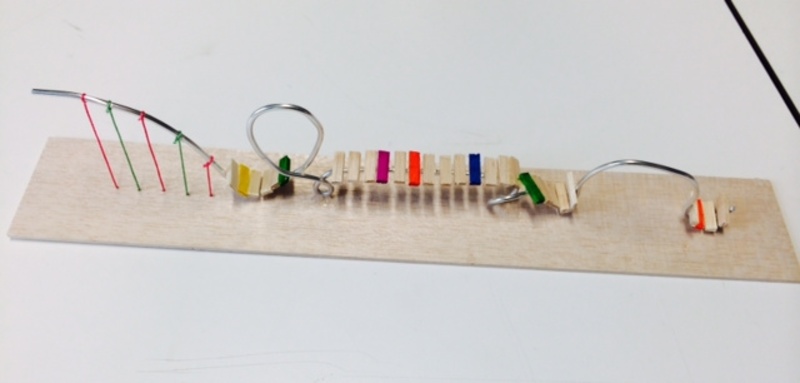
Test model of our idea. Steel structure made with small parts of timber. :D
Posted 9 May 2014 10:26
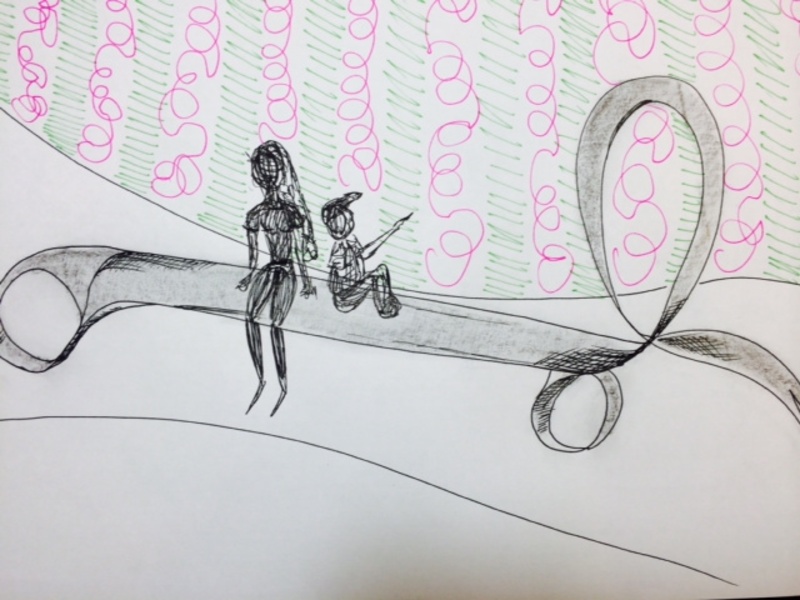
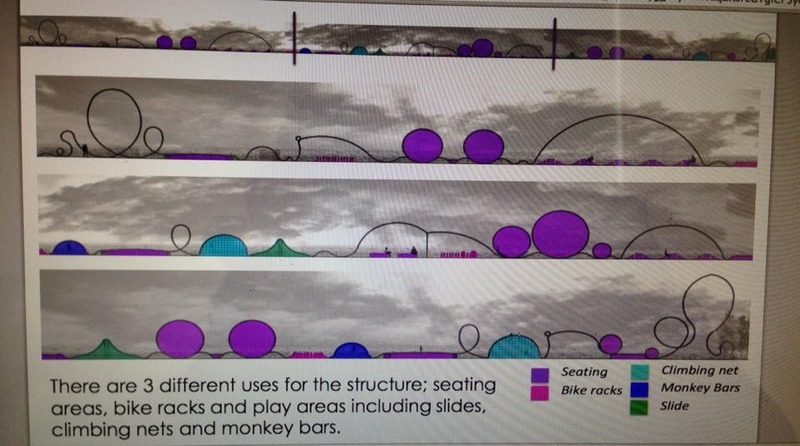
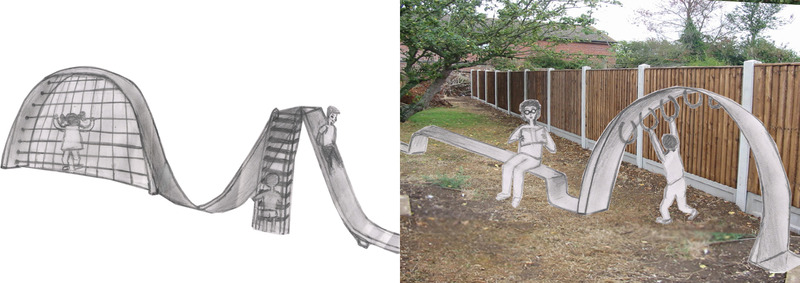
Showing the different selection of activities available on the steel ribbon: climbing nets, monkey bars, slides, seating areas and tables.
Posted 9 May 2014 10:25
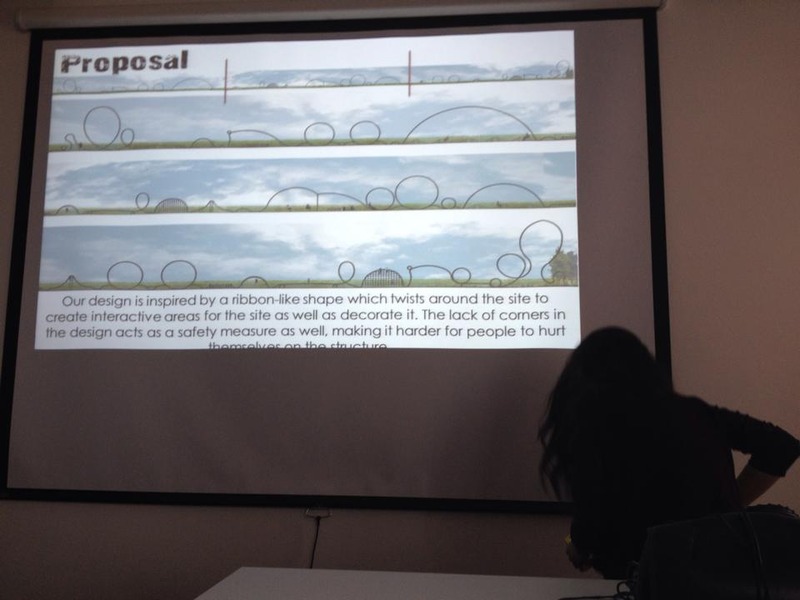
Color coding in blue the multiple sheltered areas of a winding curvilinear structure designed for all ages; integrating fun, leisure and play.
Posted 9 May 2014 10:25
Model showing materiality and colors for design plan//
Posted 9 May 2014 10:19
//Second sketch showing a different section of the design, a different design for a seating area as a bench with curls to complement the playful structure.
Posted 9 May 2014 10:18