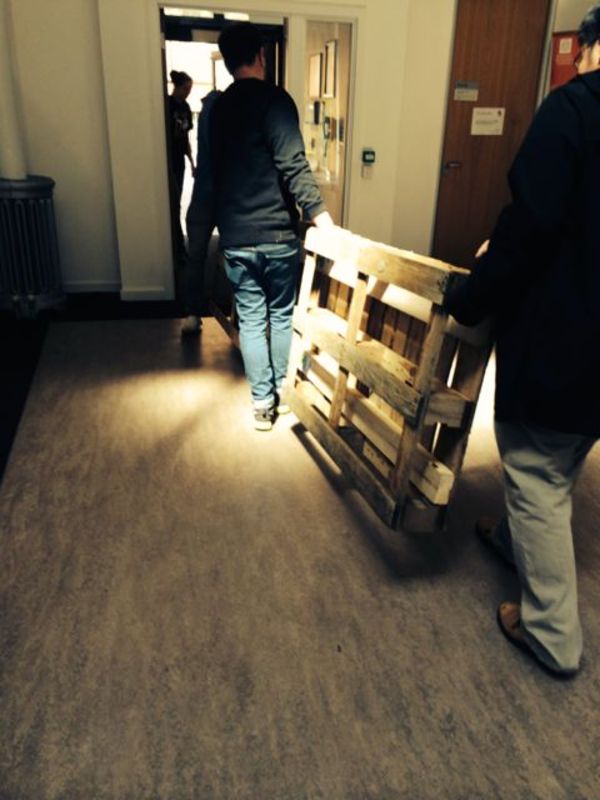
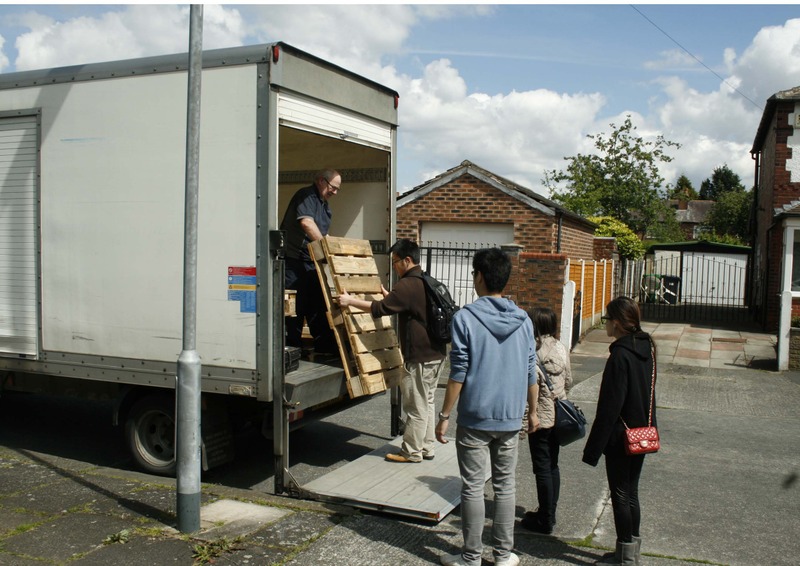
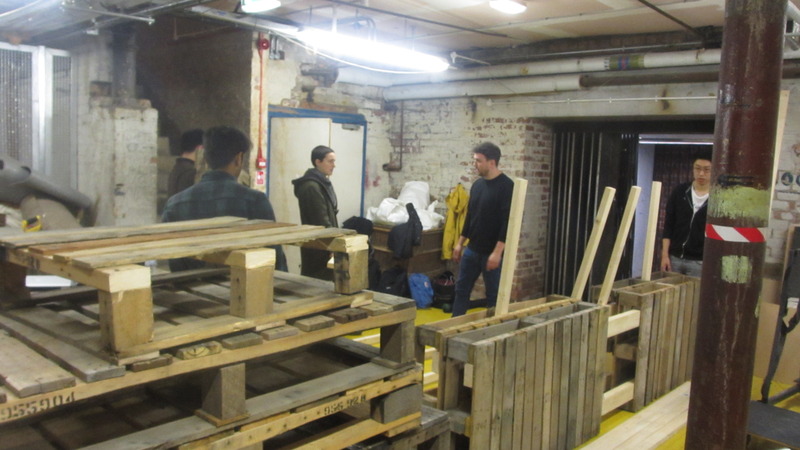
Getting the materials on site.
Posted 17 May 2014 14:18
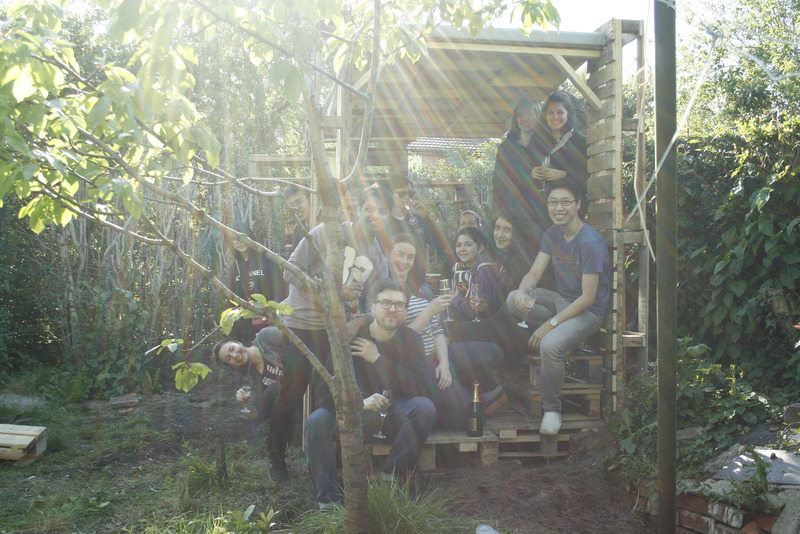
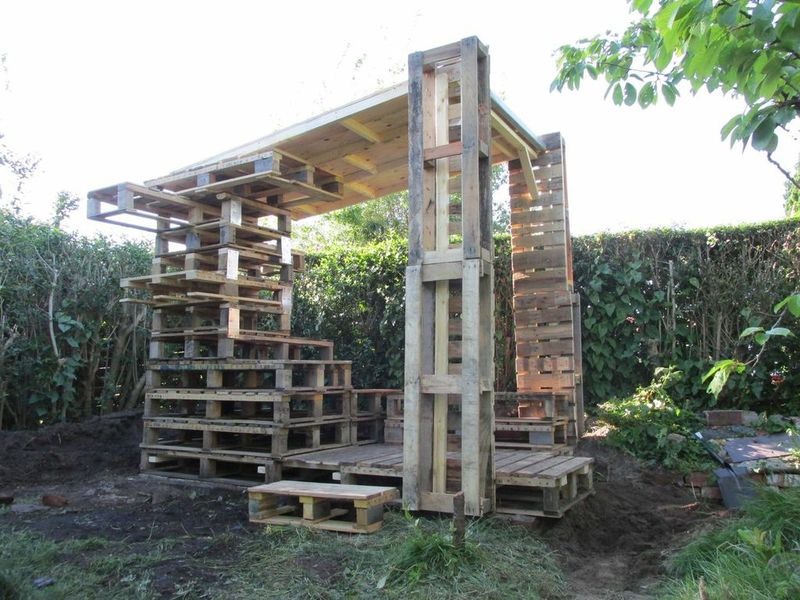
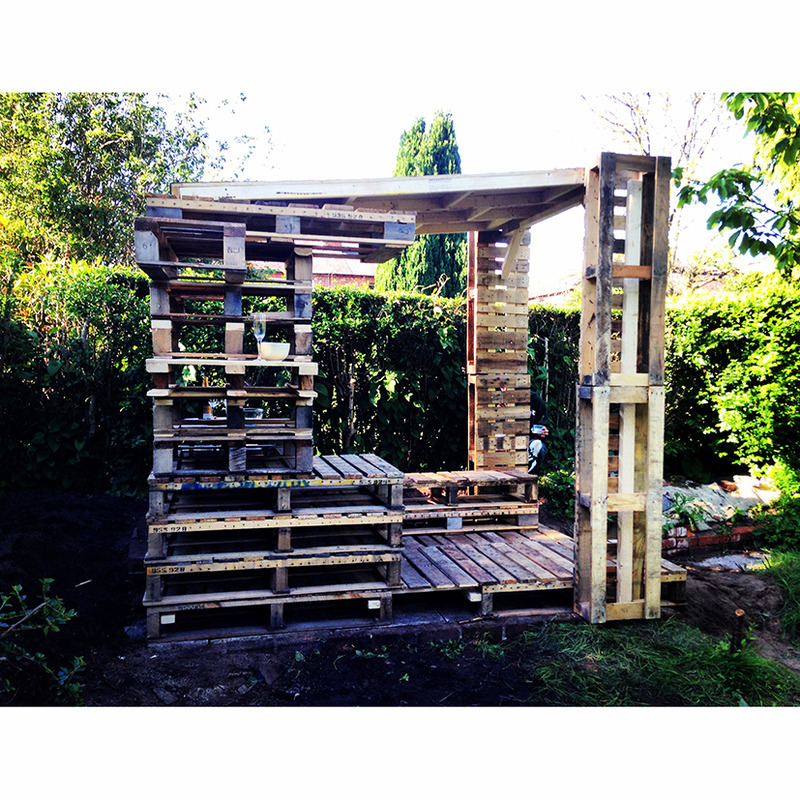
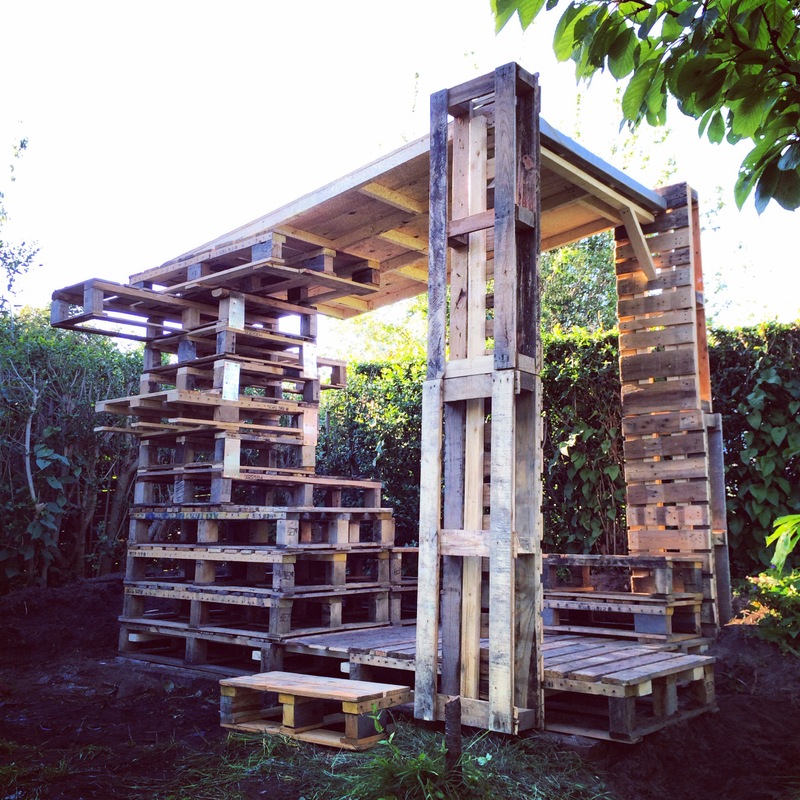
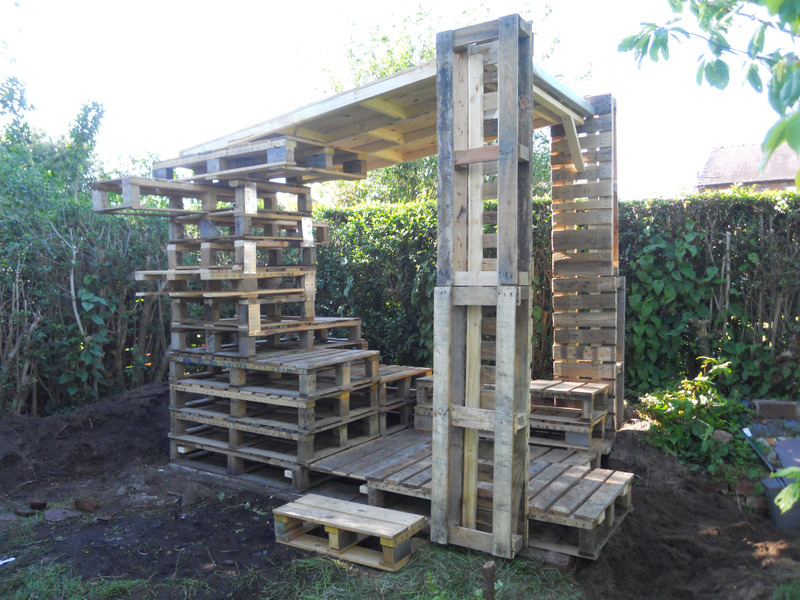
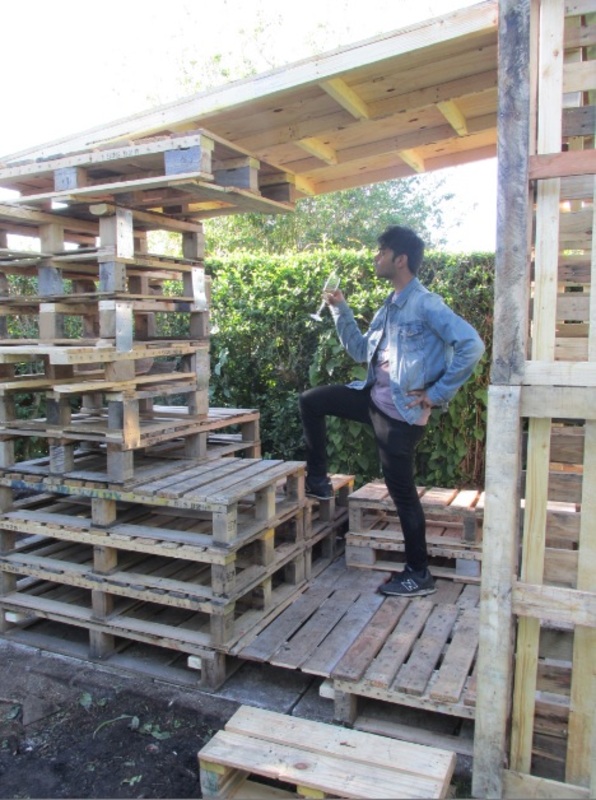
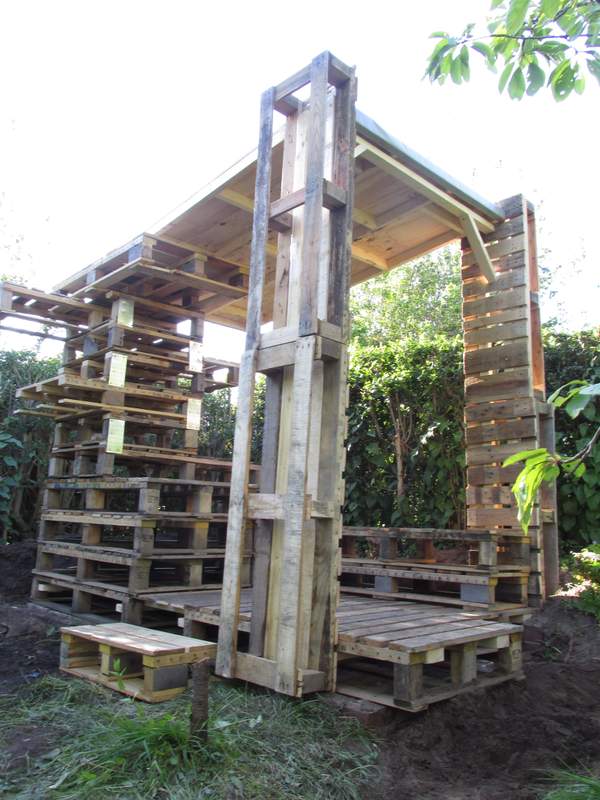
Our finished micro structure!
Posted 17 May 2014 10:20
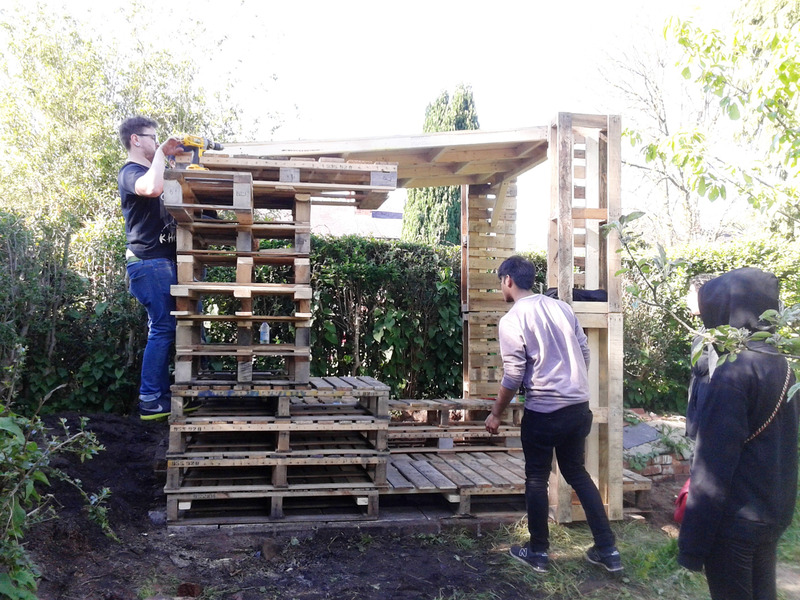
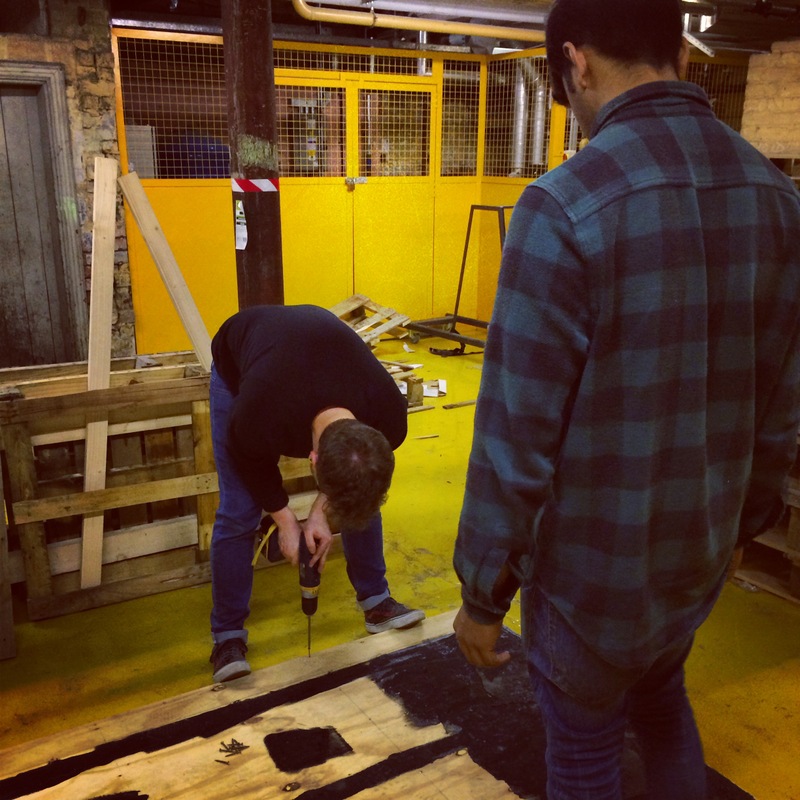
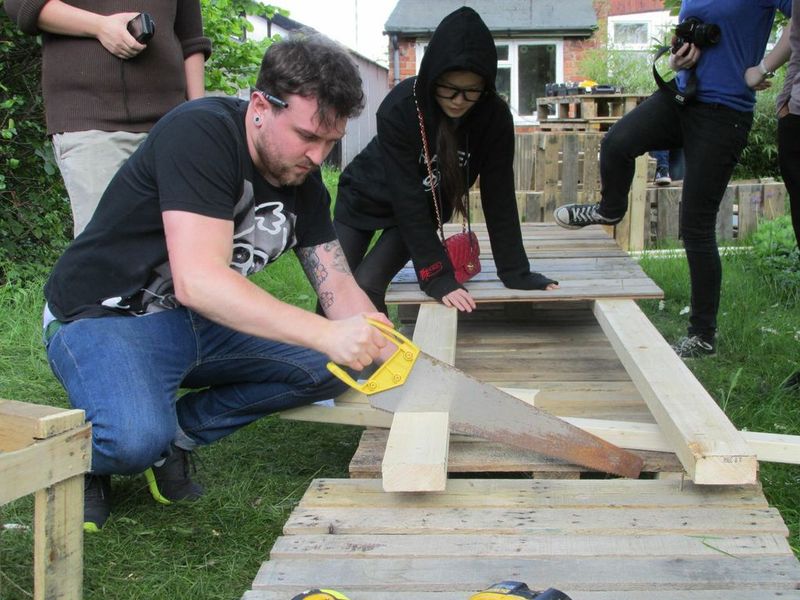
The construction process. Group members paying attention to little details, aiming to satisfy the clients' requirements.
Posted 16 May 2014 23:17
final day: transported all pieces of materials and equipment to site and assembled floor, columns, seating and furniture then finally the roof respectively. A rewarding group photo and celebration to finish off :)
Posted 16 May 2014 22:54
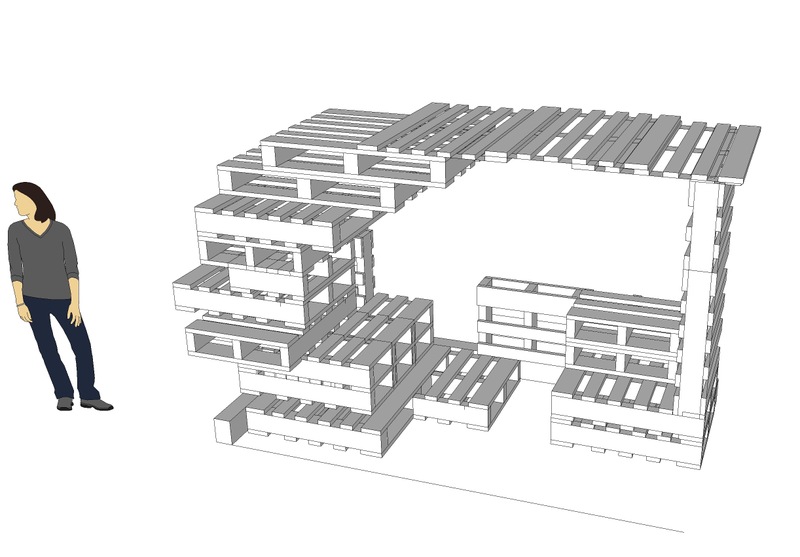
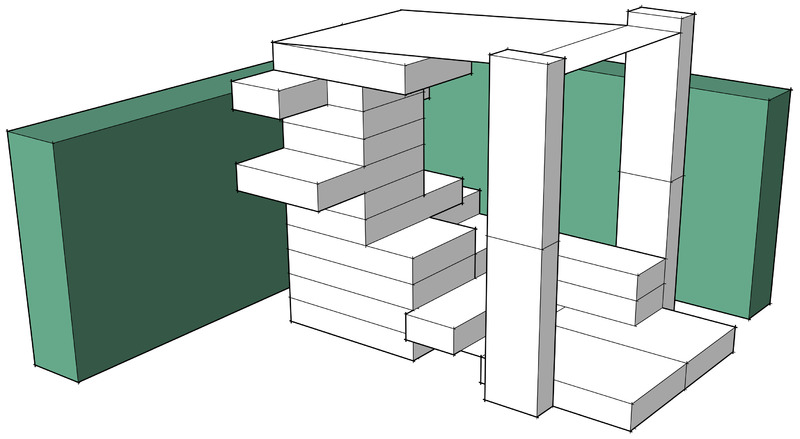
Experimenting in sketchup. Early stage of the design
Posted 16 May 2014 22:30
and when it was all done, my destruction plan was about to take place
Posted 16 May 2014 18:11
the final product. perfect!
Posted 16 May 2014 18:08
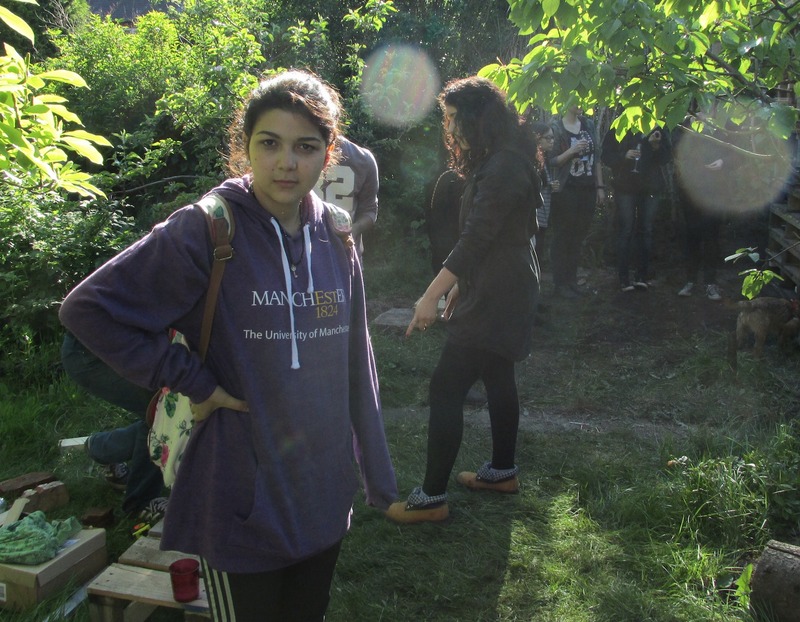
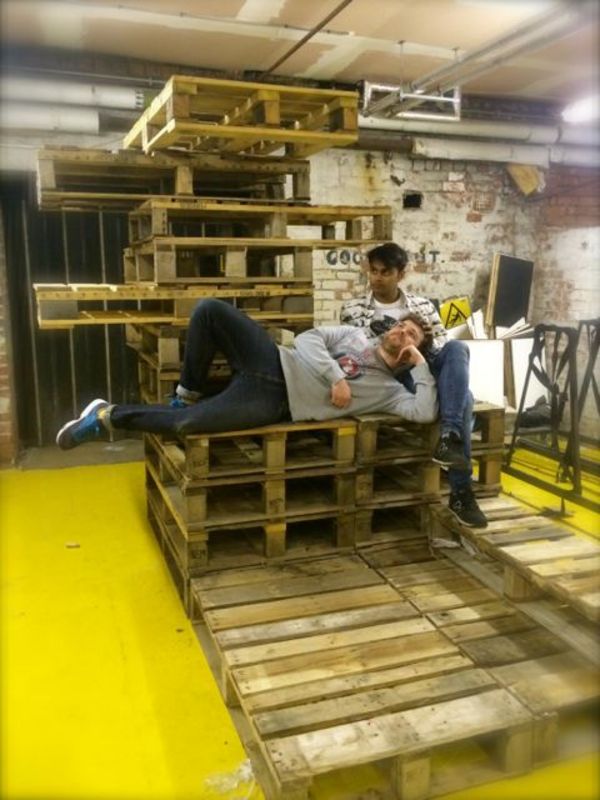
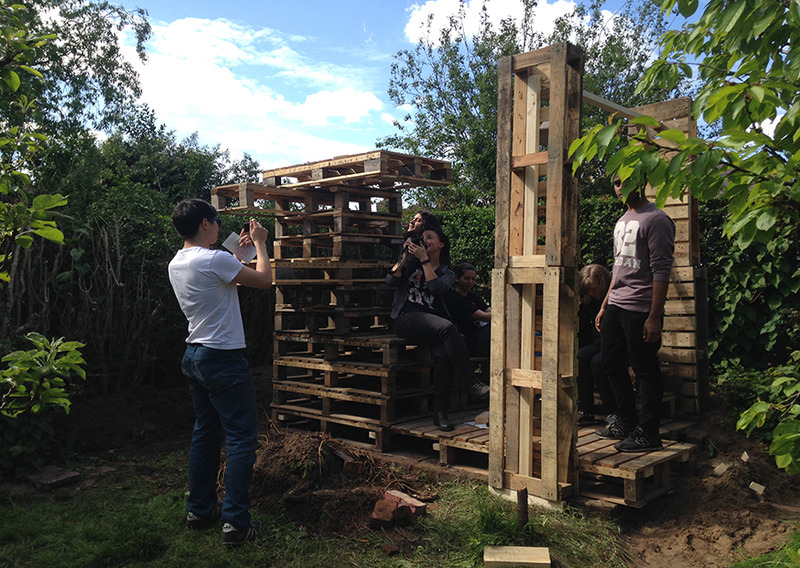
when alina takes photos offguard. they end up like this. some chilling after some hard work
Posted 16 May 2014 18:07
some support was needed, roof making in the process!
Posted 16 May 2014 18:04
floor, it's dooooone
Posted 16 May 2014 18:01
loading the van. early start to the day
Posted 16 May 2014 17:55
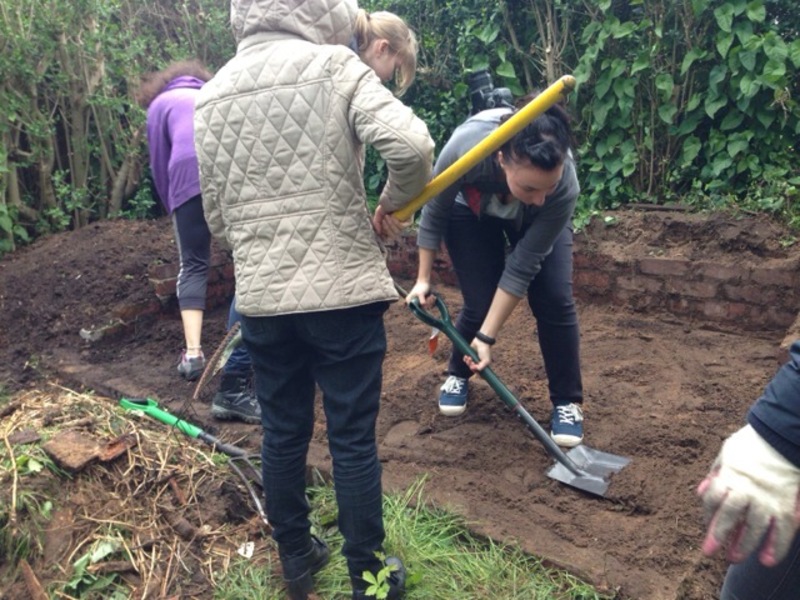
after a whole day of hard work. from removing the soil to cleaning and finally to flattening the ground up and adding the stones. teamwork!
Posted 16 May 2014 17:39
Let's open the champagne, we finished!
Posted 16 May 2014 14:33
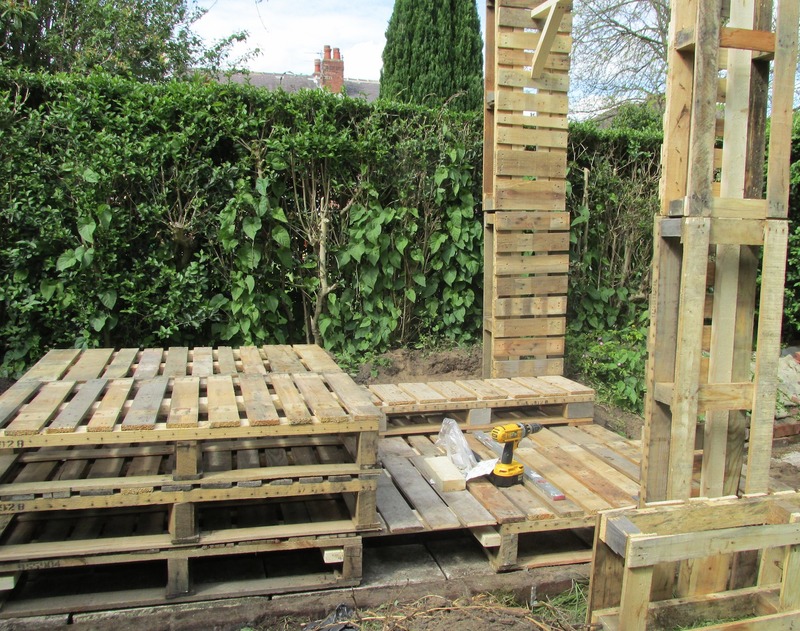
After unloading everything, we started constructing our shelter.
Posted 16 May 2014 14:32
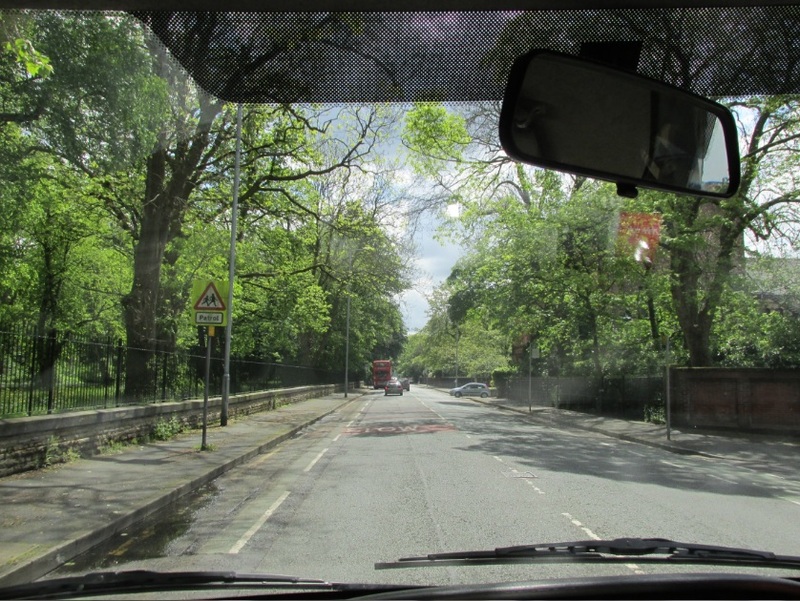
One of the coolest parts of the day was taking a ride to the site in our moving van.
Posted 16 May 2014 14:30
Final day loading everything on the van
Posted 16 May 2014 14:25
Site clearing we can finally envision the shelter being constructed.
Posted 16 May 2014 14:24
What better way to celebrate the success of the project than with champagne! Special thanks to Jane for the nice treat!
Posted 16 May 2014 12:10
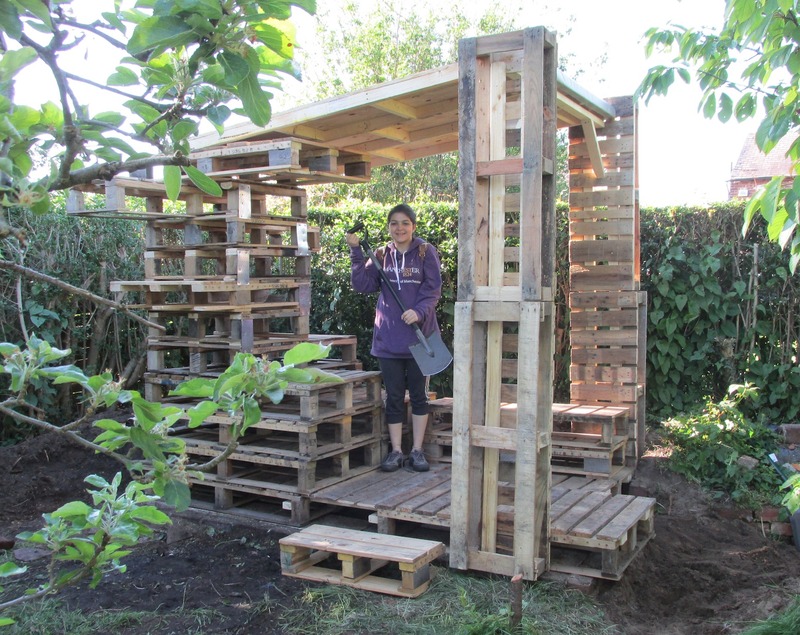
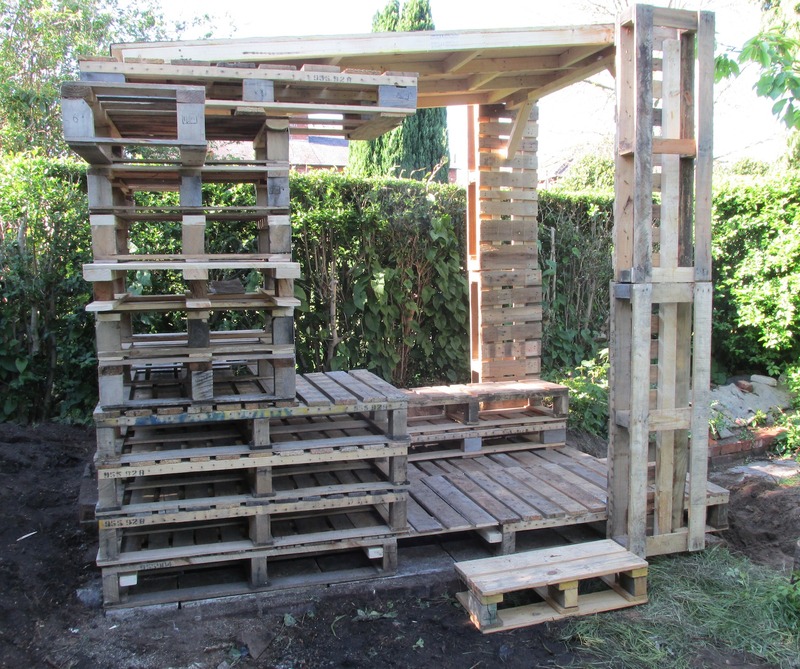
The micro-shelter completed - fully complying with the client requirements - shelter, openness, waste materials, and can fit more than 6 people inside.
Posted 16 May 2014 12:06
Done!!! The shelter looks amazing and it is exactly how client wants to be which is open to the garden.
Posted 16 May 2014 08:01
Working on the site.
Posted 16 May 2014 07:59
Strong mans in our group. They are moving huge base for the structure.
Posted 16 May 2014 07:56
Thax Pual! You are brilliant carpenter!
Posted 16 May 2014 07:54
It is really hard to do the garden! The girls power is really strong.
Posted 16 May 2014 07:47
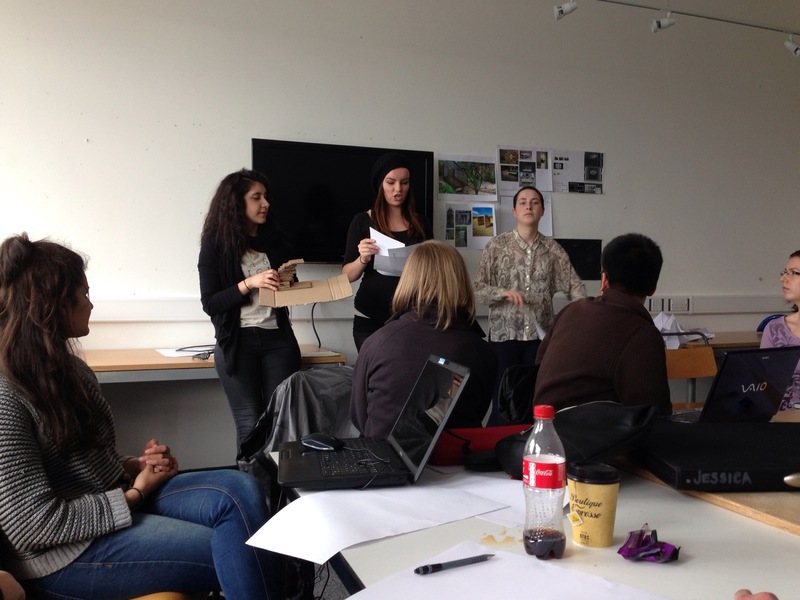
Presentation date. Each group present their ideals and choose one ideal to develop. It is really fun to see every group amazing ideals.
Posted 16 May 2014 07:45
Final Day: Micro-shelter 'delivered' on-site according to schedule. Its components are to be assembled on site.
Posted 16 May 2014 07:41
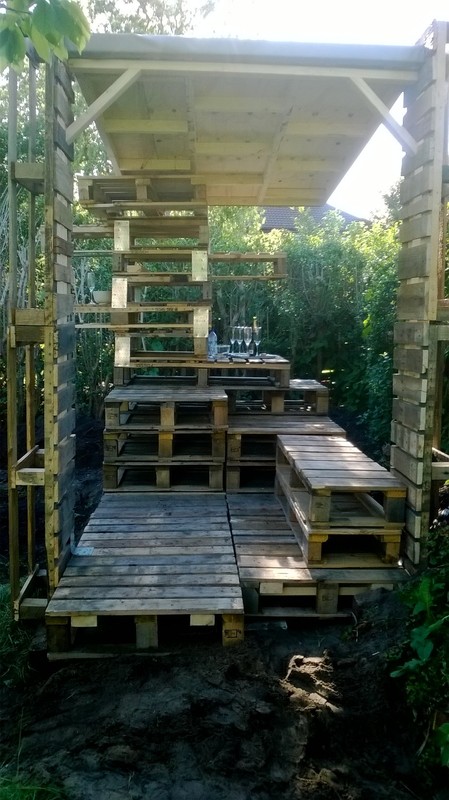
Group members showing the programme of the shelter. The final design not only offers a variety of activities but also creates long views to all ends of the garden and the clients' house.
Posted 16 May 2014 02:14
Materials delivered on site.
Posted 16 May 2014 01:59
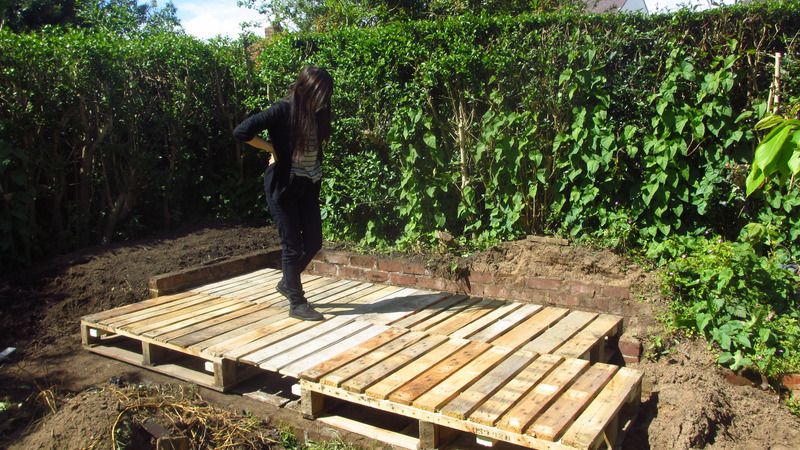
Creating the base for the structure.
Posted 15 May 2014 12:12
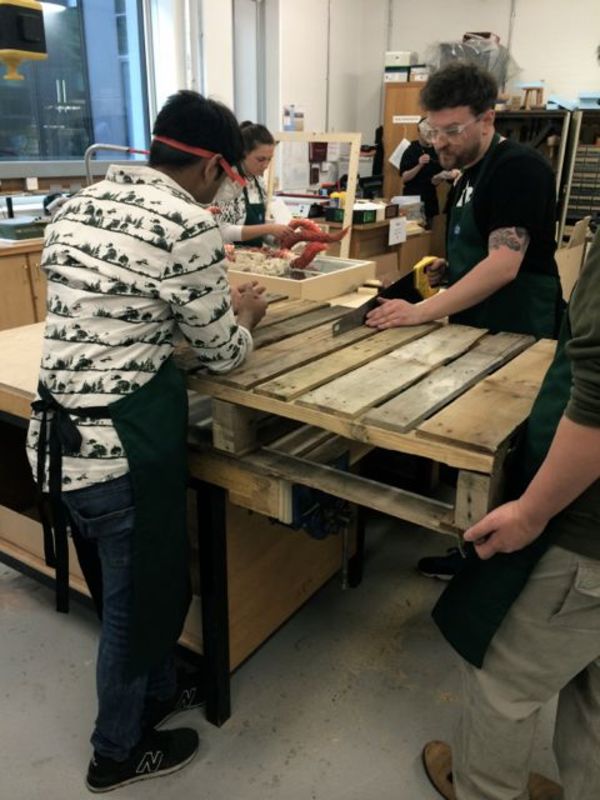
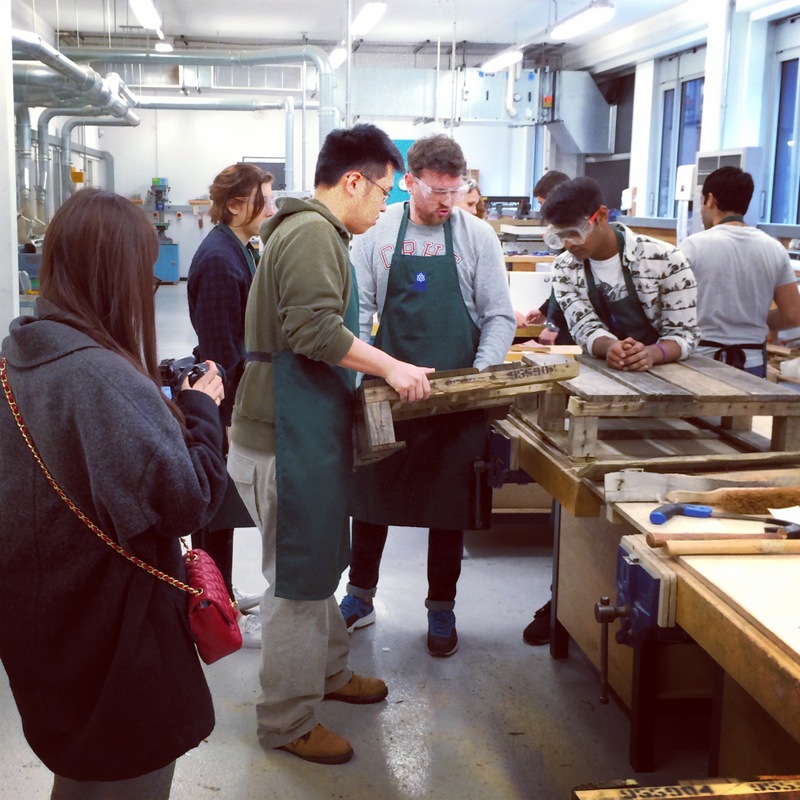
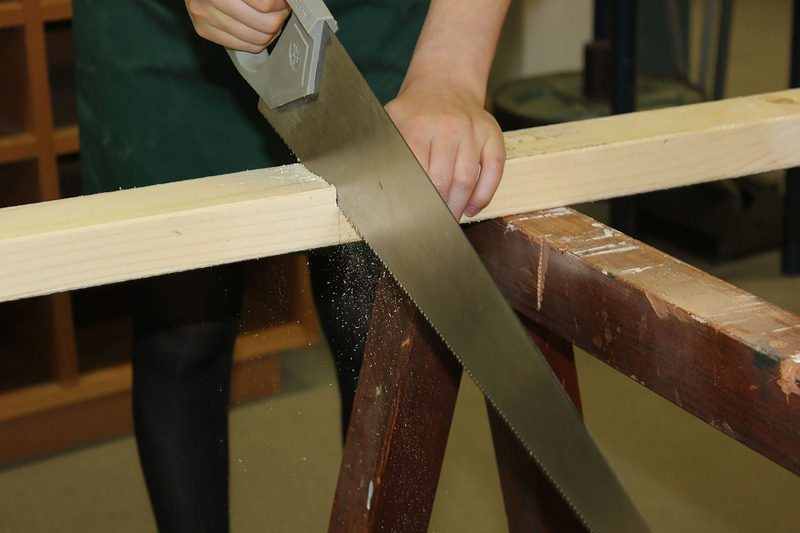
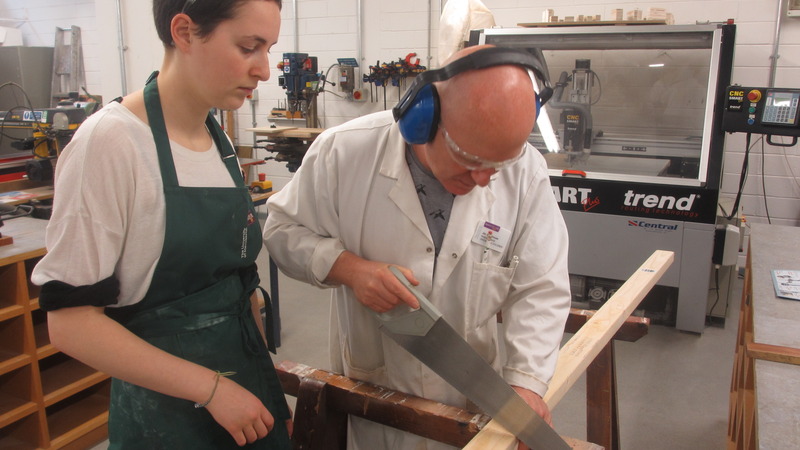
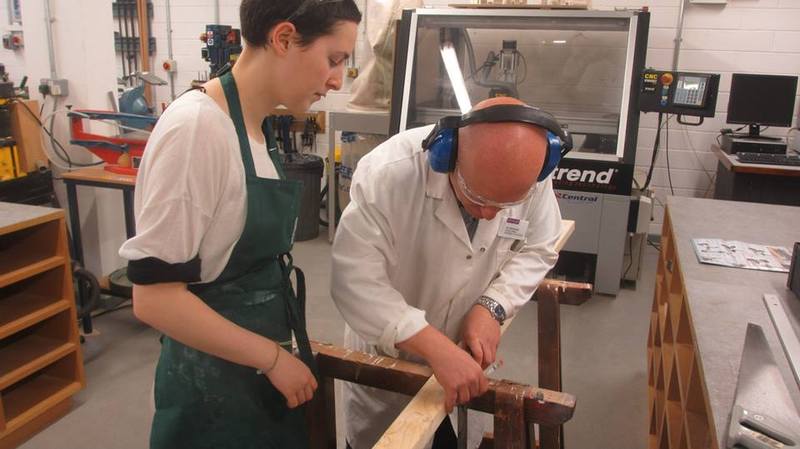
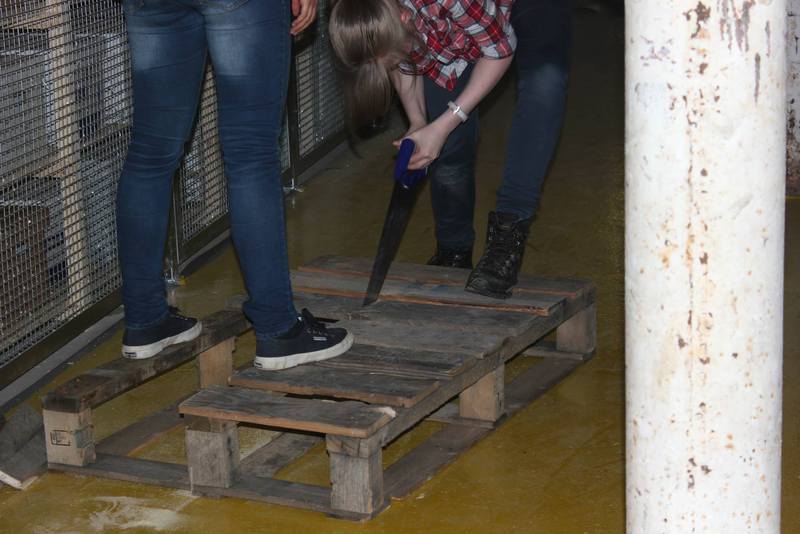
Serious sawing action, cutting down the pallets. Shadow using all his strength with master Paul.
Posted 15 May 2014 12:10
Experimenting with combining integrated seating within the shelter.
Posted 15 May 2014 12:09
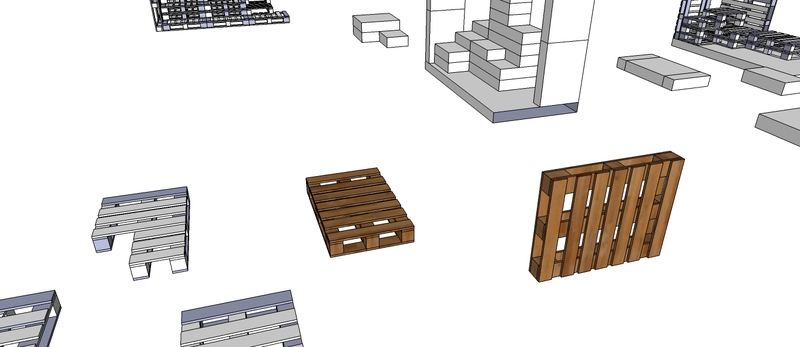
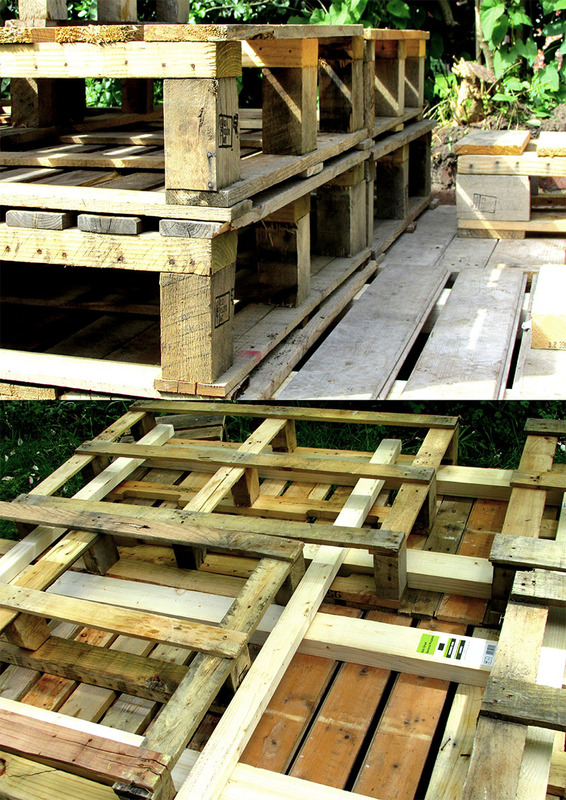
Determining the best style of design through experimenting with the pallet and its size.
Posted 15 May 2014 12:03
Analysing the site and its potential.
Posted 15 May 2014 12:01
A big thank you to Universal Pallets for sponsoring 30 waste/used pallets.
(https://twitter.com/UniversalPallet/status/466133493689634816)
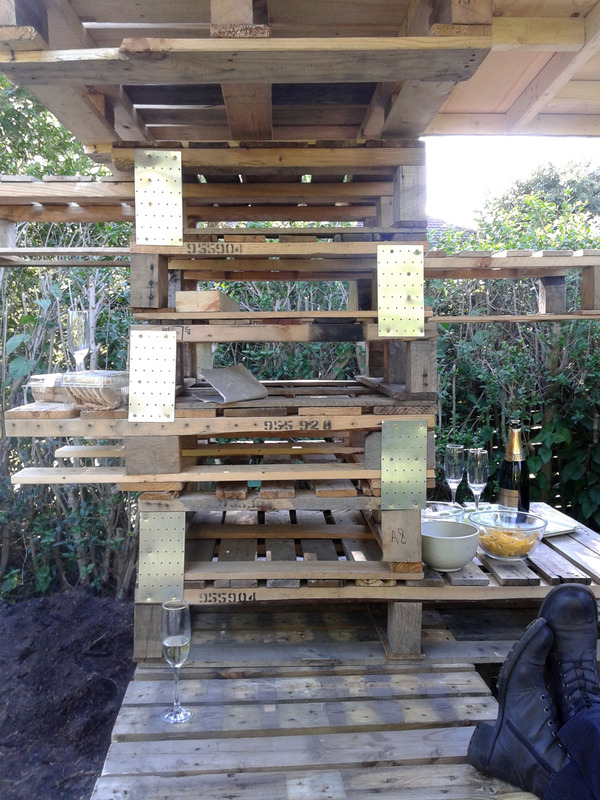
Under the shelter, celebrating its completion.
Posted 15 May 2014 12:00
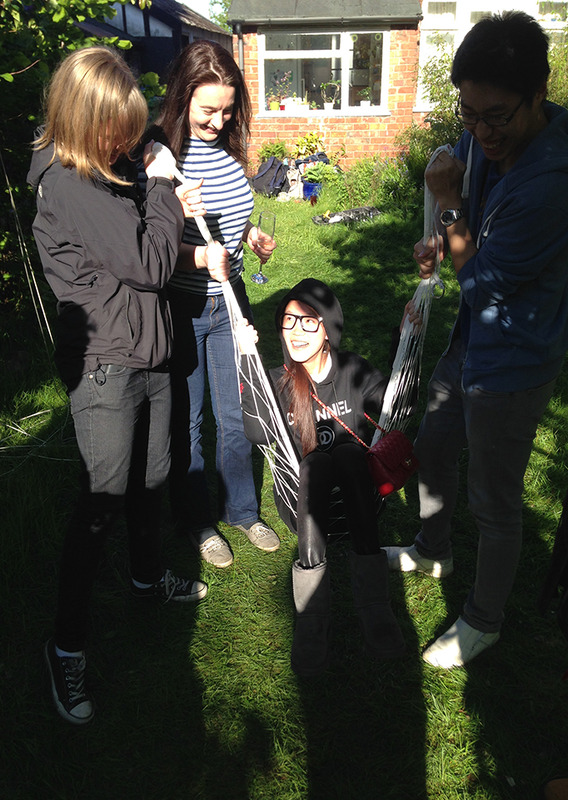
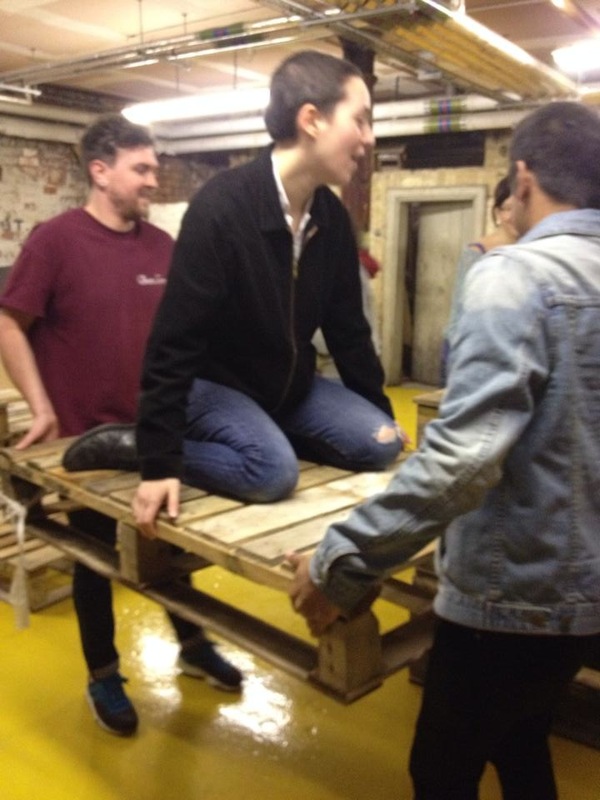
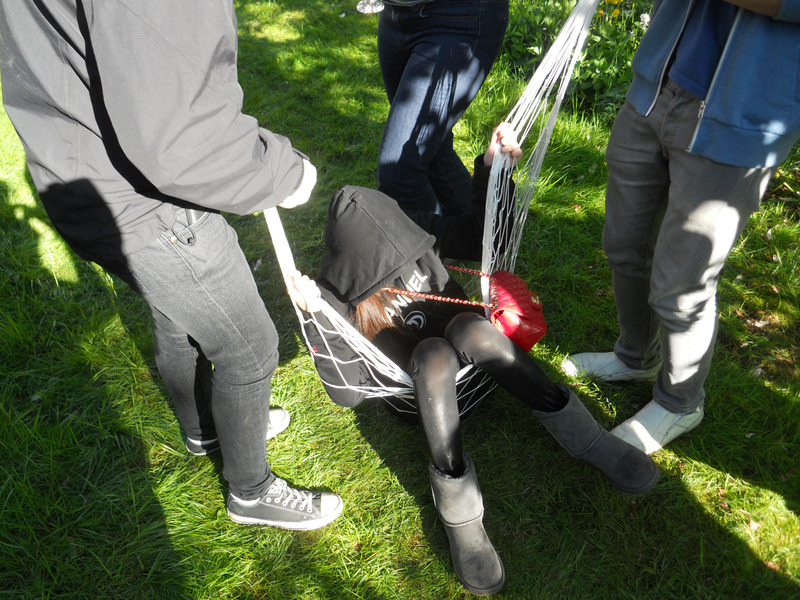
Jinxia decided after a glass of cava it would be a fun idea to play human hammock swing
Posted 15 May 2014 11:59
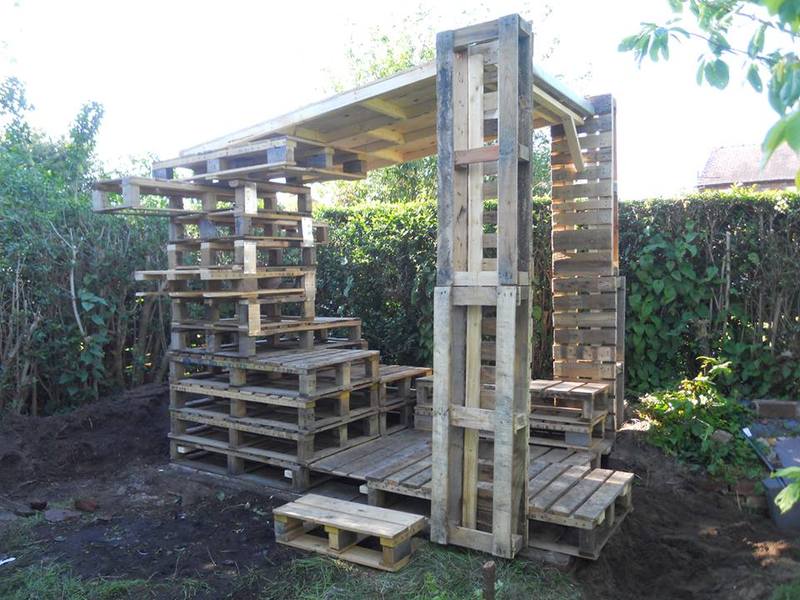
The final structure in place. Hope this serves the clients needs for years to come!
Posted 15 May 2014 11:58
A big thank you for Universal Pallets (http://www.universalpallets.com/) for sponsoring us 30 used/waste pallets.
Posted 15 May 2014 11:57
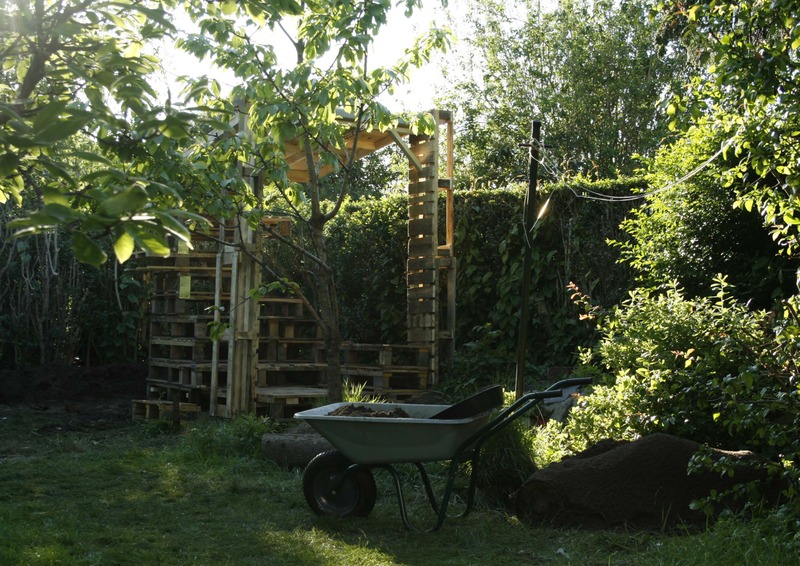
On site the structure starts to take shape while shifty Arjun peeps from the bushes!
Posted 15 May 2014 11:54
Day 6
Building! The final product complete with champagne and many many photos
Posted 15 May 2014 11:00
#6 Completion: the micro-shelter is successfully built after two weeks of hard work and great team effort.
Posted 15 May 2014 10:41
#5 Assembly on site: all components are delivered to site and assembled by the team.
Posted 15 May 2014 10:41
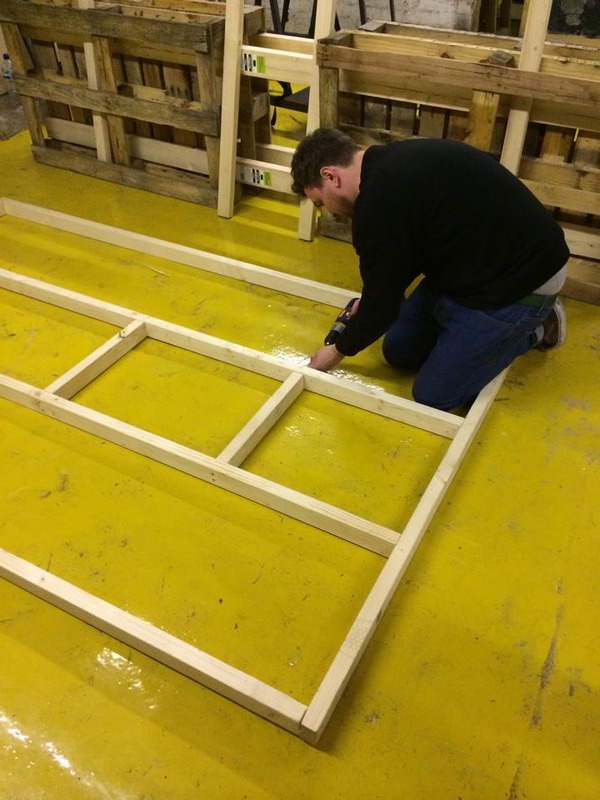
#4 Second stage of construction: building the timber bracing for the base/columns and constructing the roof structure.
Posted 15 May 2014 10:40
#3 First stage of construction: cutting the timber pallets into specific dimensions and shapes required.
Posted 15 May 2014 10:40
#2 Design Process: Visualising and improving the design through stacking of timber pallets.
Posted 15 May 2014 10:39
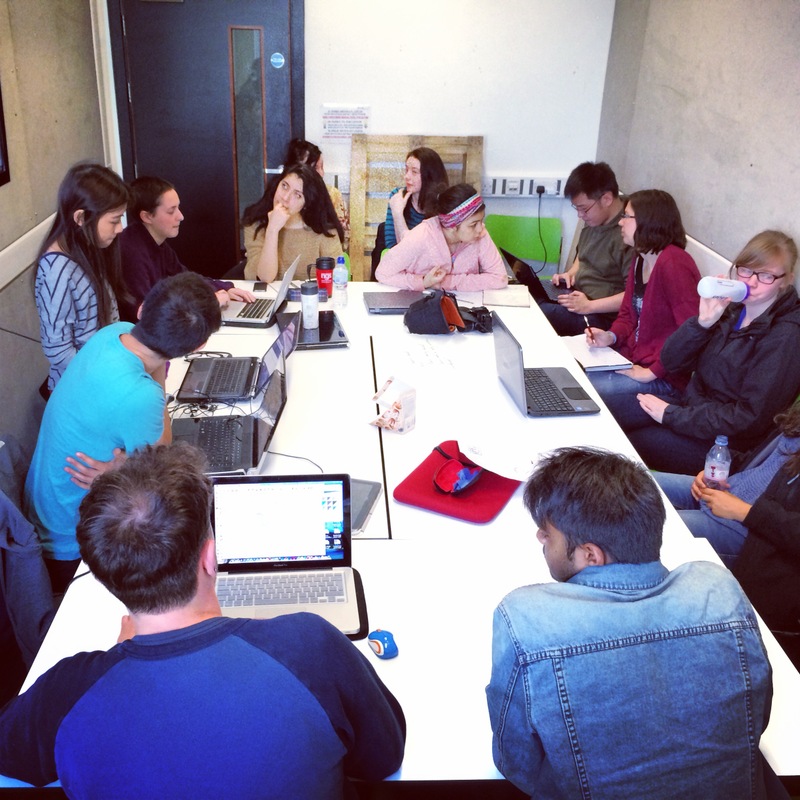
#1 Design Process: Critical thinking session with Jane Leach, the client to further develop the initial design.
Posted 15 May 2014 10:38
The beautiful final product. What I learnt during this process (aside gaining a greater knowledge of construction) was that working with other people can be very difficult. It's important to know when to be assertive and when to step back. Also, when to let the client be in control and when to draw the line. I'm proud of what we achieved.
Posted 15 May 2014 00:25
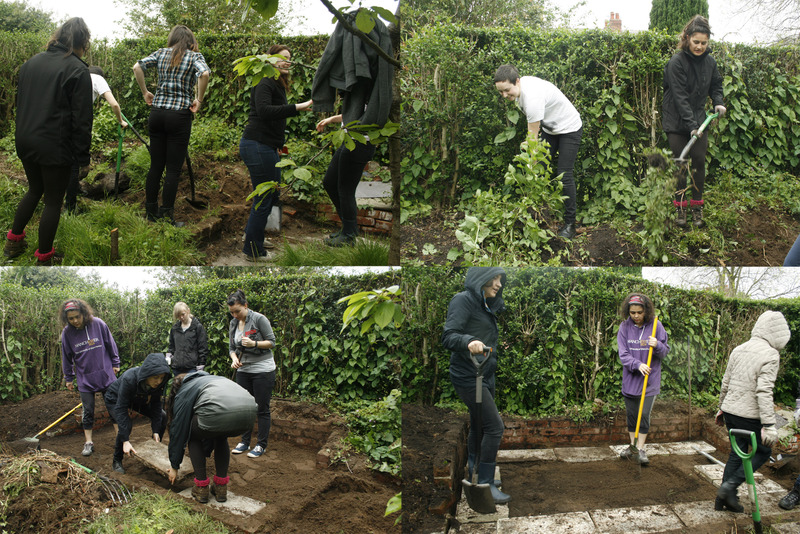
After a hard day's digging, we finished the foundations for the construction. Being outside digging and throwing worms around was a WELCOME break from staring at a screen working for my portfolio.
Posted 15 May 2014 00:19
Paul's installation expertise helped us to build an appropriate roof frame. The wood for this frame was bought especially for the project, which made me wonder whether we were missing the point of upcycling waste. I think that this marks the point where our desire to complete the project within a time limit overtook our desire to save the world.
Posted 15 May 2014 00:09
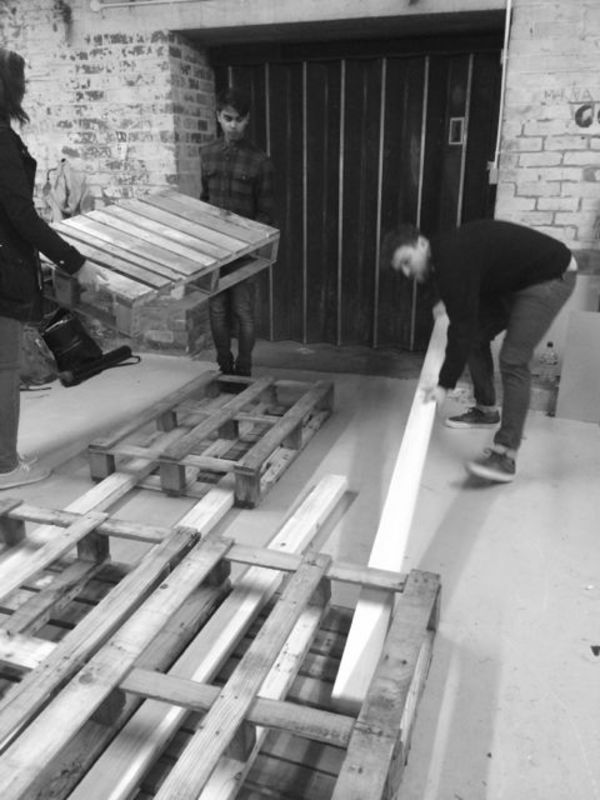
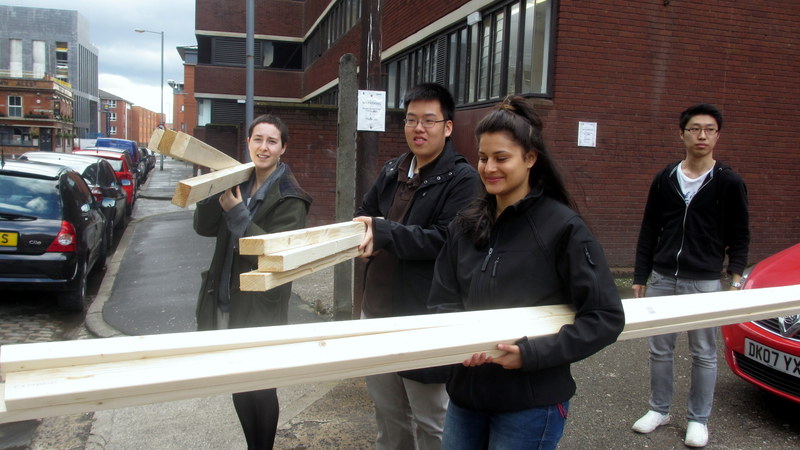
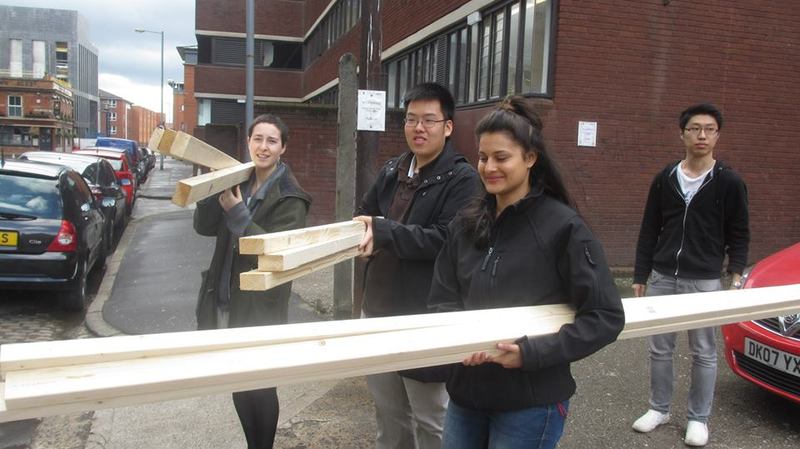
One of my favourite hobbies - carrying planks
Posted 15 May 2014 00:06
1 on 1 tutorial on how to saw a piece of wood, with Jim
Posted 15 May 2014 00:03
Having fun with pallets and friends!
Posted 14 May 2014 23:59
A computer model
Posted 14 May 2014 23:56
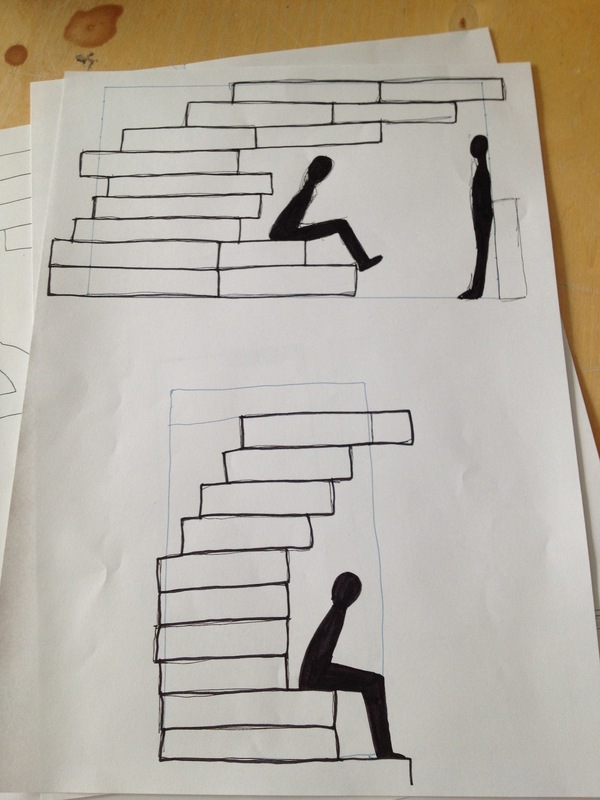
We spent many hours deliberating over designs, arranging pallets in different configurations in order to hopefully please the client. The above photo shows some sketched elevations, drawn to aid discussion.
Posted 14 May 2014 23:52
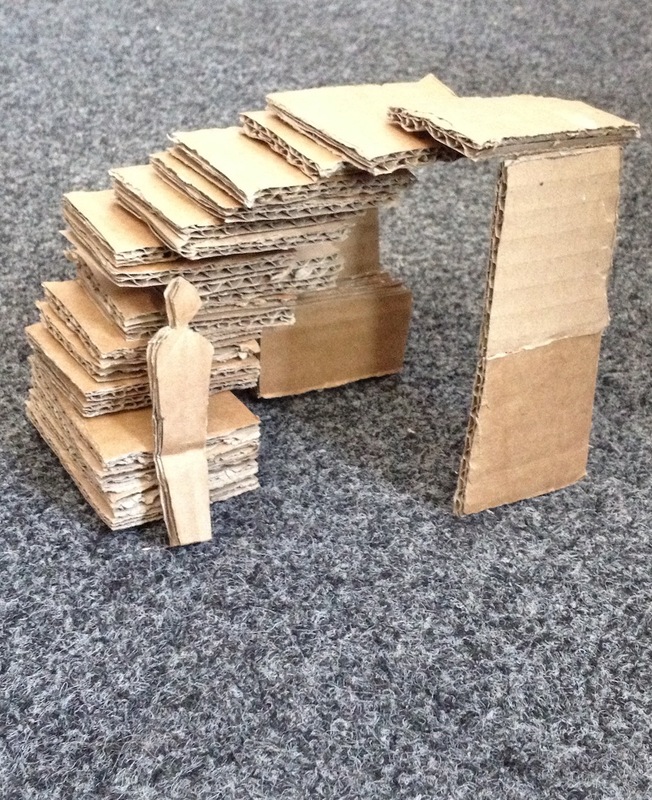
Early sketch model
Posted 14 May 2014 23:49
Original concept sketch for a stacked, sculptural shelter.
Posted 14 May 2014 23:46
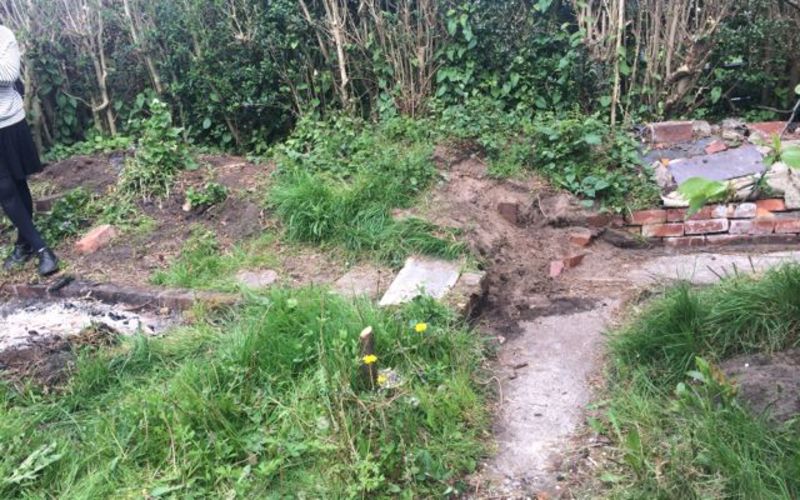
Day 1: Our client Jane, and our site, covered in a deep mound of earth.
Posted 14 May 2014 23:44
Last Day:The final outcome of our hard work
Posted 14 May 2014 22:56
The final structure, a masterclass in the intertwining of beauty and engineering
Posted 14 May 2014 21:10
The fishing team catching a wild Jinxia was an unexpected surprise
Posted 14 May 2014 21:06
Stacking up the central supporting structure.
Posted 14 May 2014 21:04
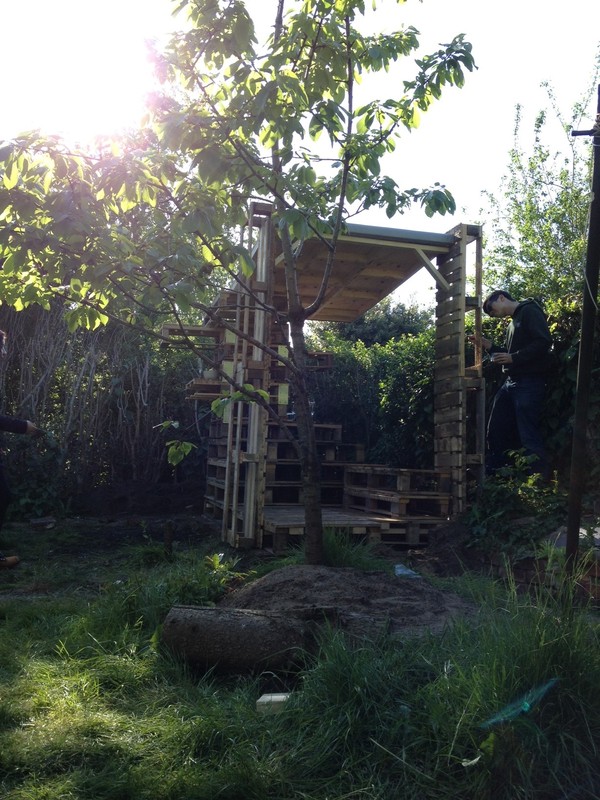
A tree I liked. In the background our structure begins to take shape.
Posted 14 May 2014 21:01
Loading the van with the pallets.
Posted 14 May 2014 20:57
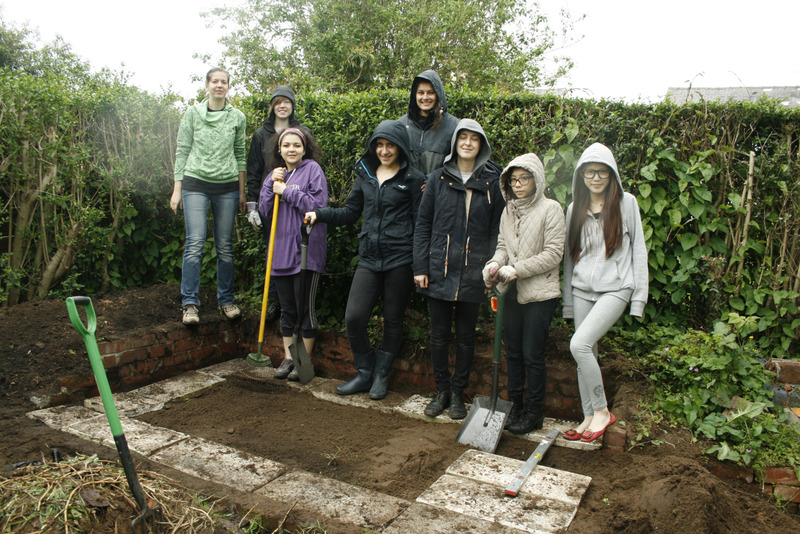
Girl power! Great job done only with a couple of hours with team efforts!
Posted 14 May 2014 12:27
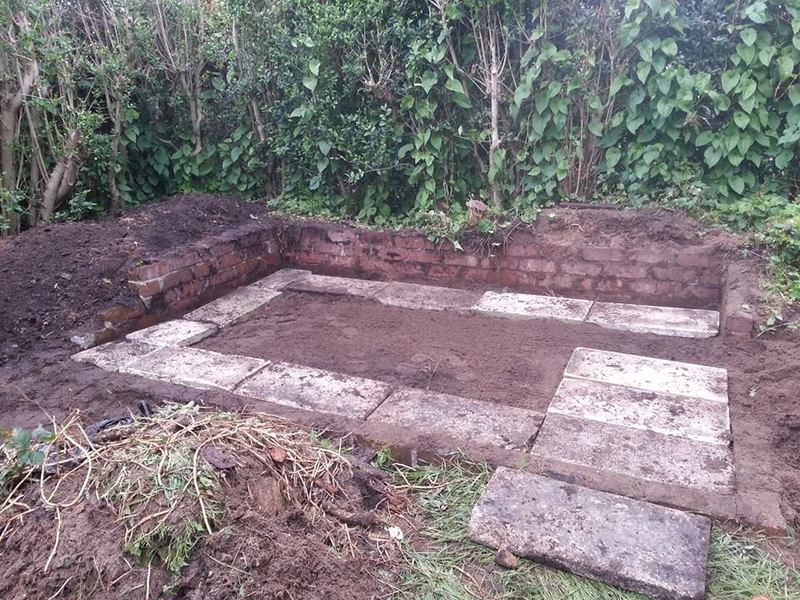
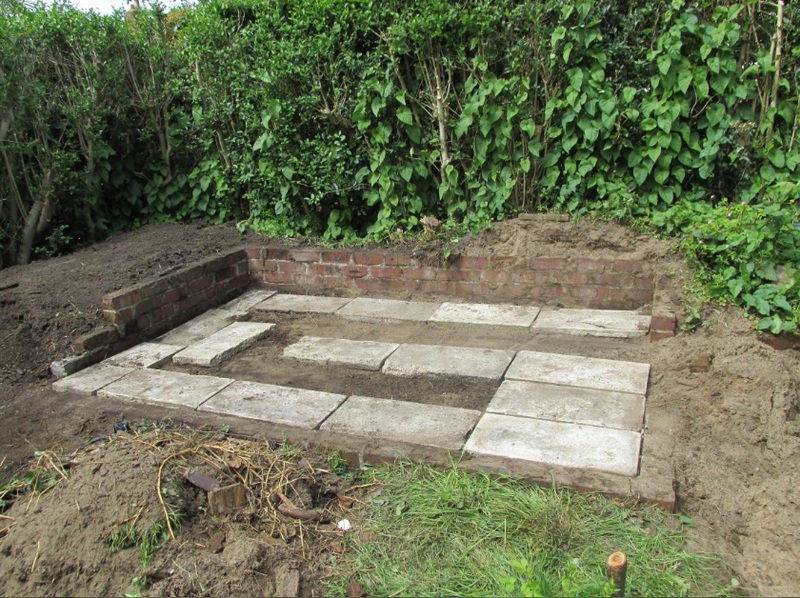
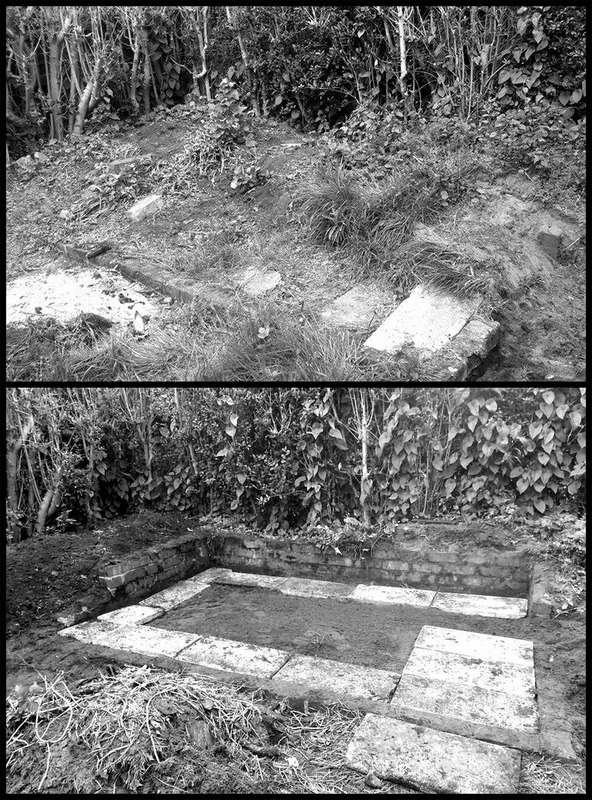
Day 8: Site preparation for installation of the Micro-shelter on the following day. Removing shrubs and weeds, digging out soil to level the ground and placing concrete paving flags for structural support.
Posted 14 May 2014 12:21
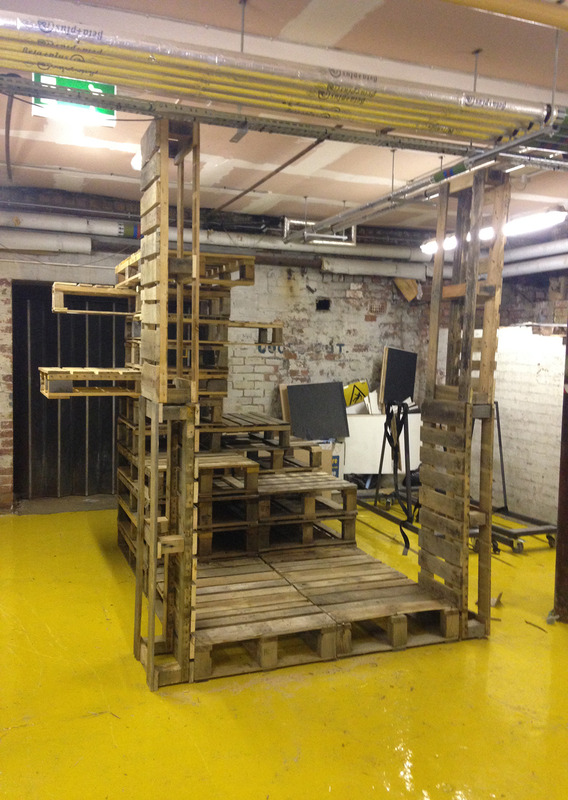
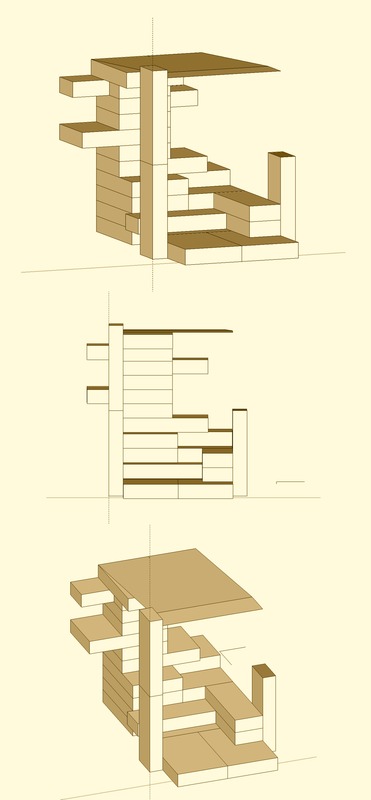
FINAL MODEL ASSEMBLY. THIS WAS THE CHOSEN DESIGN AND IT WAS DRY TESTED BEFORE BEING BOLTED TOGETHER ON SITE.
Posted 14 May 2014 09:01
THE FINAL MODEL IN SKETCH UP WITH ROOF
Posted 14 May 2014 08:57
final proposal in simple blocks roughly drawn on sketch up.
Posted 13 May 2014 19:49
workshop finalisations on measurements and any needed adjustments.
Posted 13 May 2014 18:37
The site before and after clearing. It's flat now with flagstones laid on top so that the base can be put tomorrow.
Posted 13 May 2014 15:37
Day 5
Digging!
Posted 13 May 2014 15:10
Day 4
Cutting the furniture for the shelter
Posted 13 May 2014 15:09
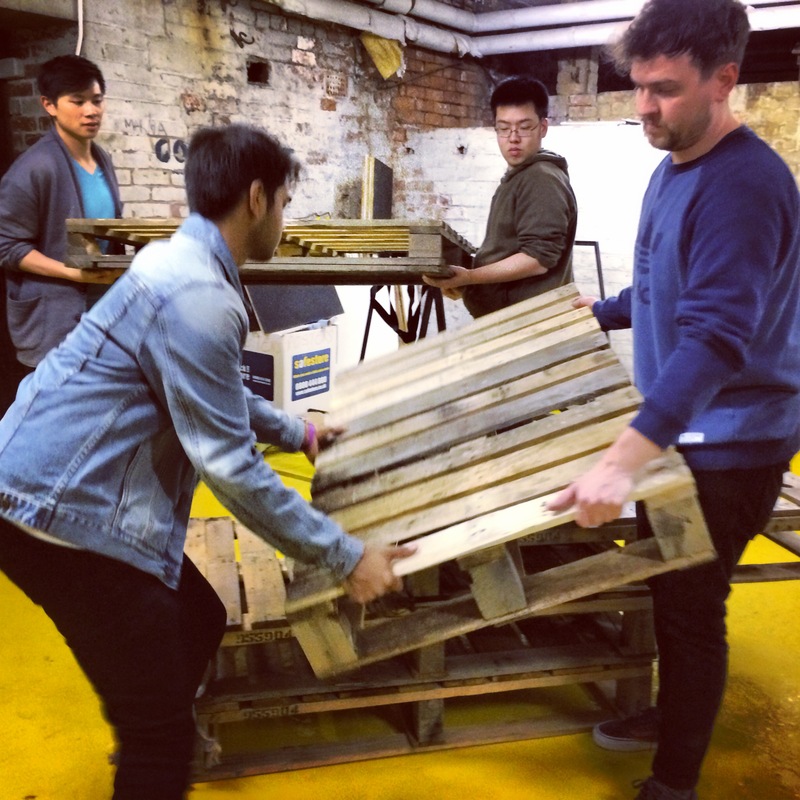
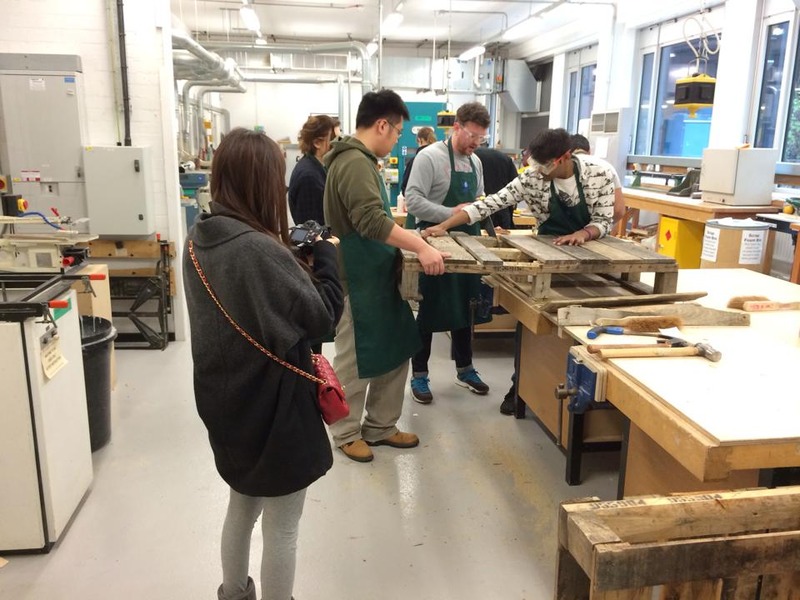
In the workshop cutting down pallets for furniture!
Posted 13 May 2014 15:02
Group members helping each other with the cutting process.
Posted 13 May 2014 00:20
Some of the initial design ideas
Posted 13 May 2014 00:11