Final Display
Posted 19 May 2014 18:41
Final Display
Posted 19 May 2014 18:40
Final Display
Posted 19 May 2014 18:40
Final Display
Posted 19 May 2014 18:40
Final Display
Posted 19 May 2014 18:39
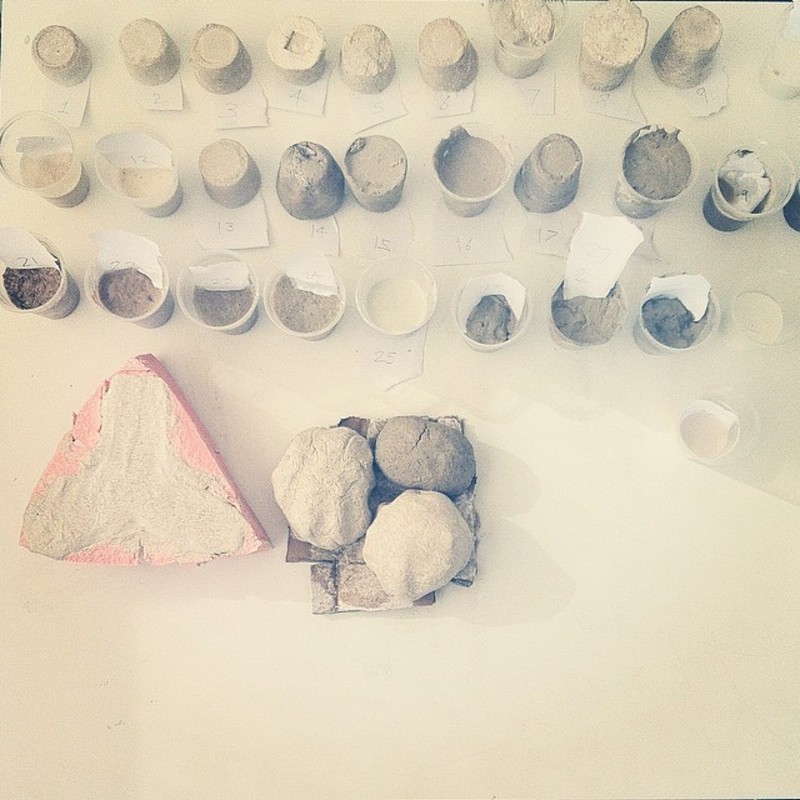
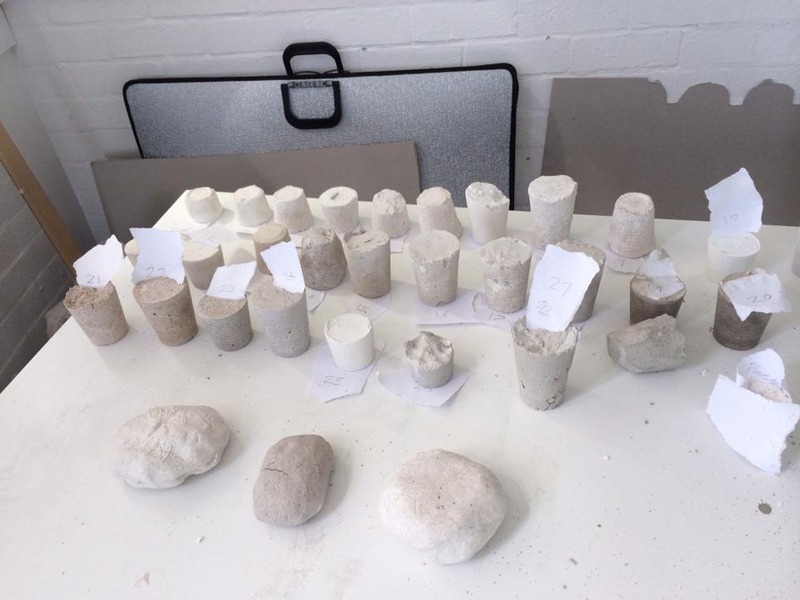
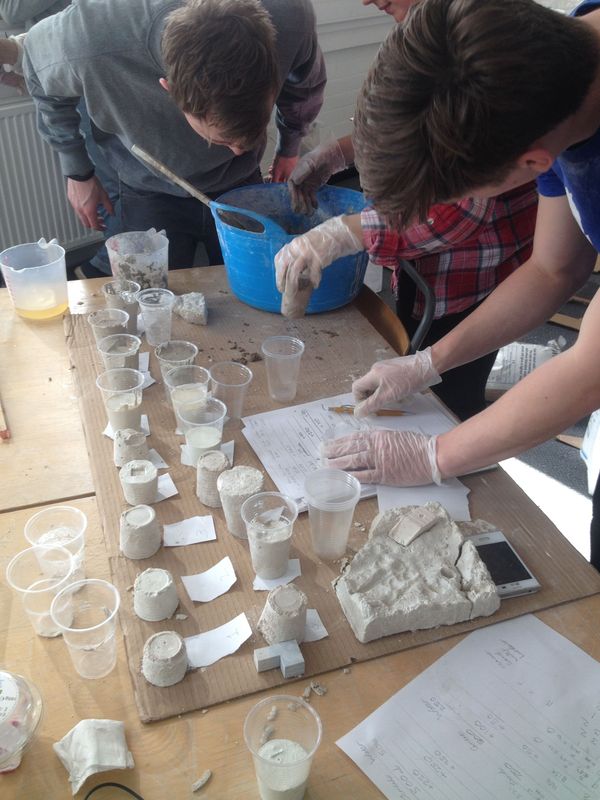
Concrete experiments, 30 of them. But decided they take too long to set so went back to plaster
Posted 17 May 2014 14:39
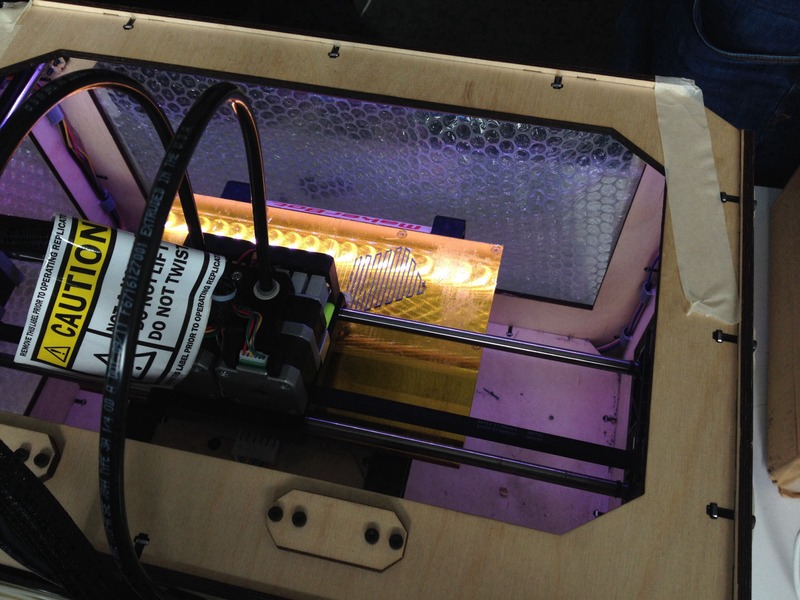
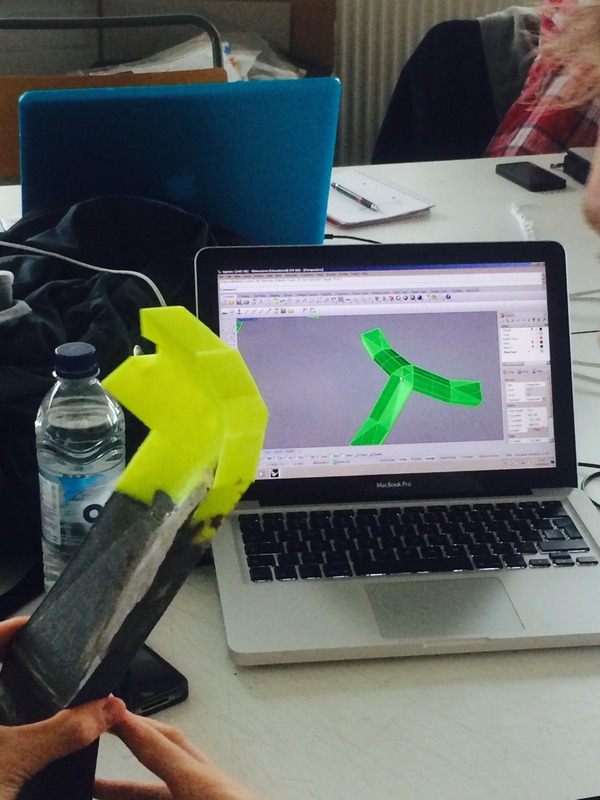
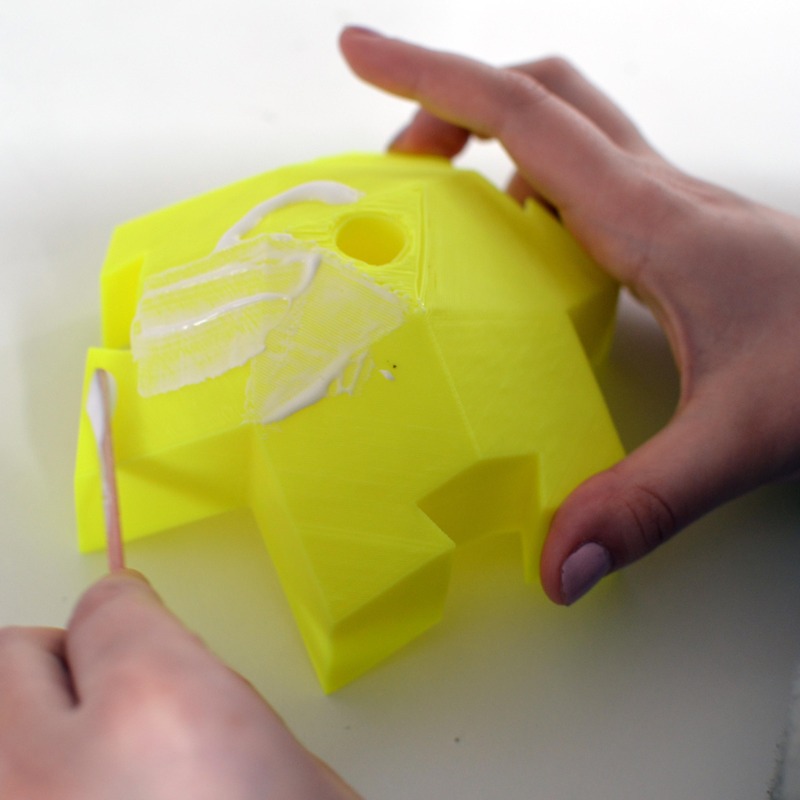
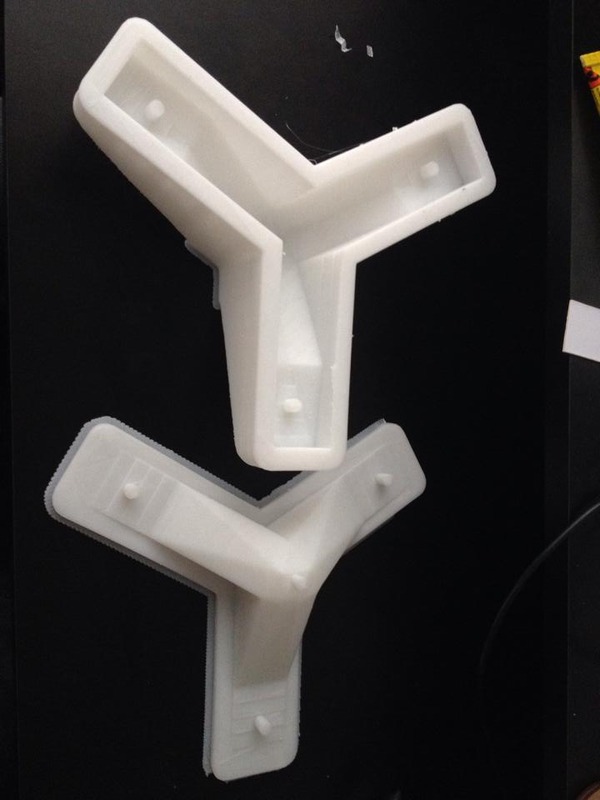
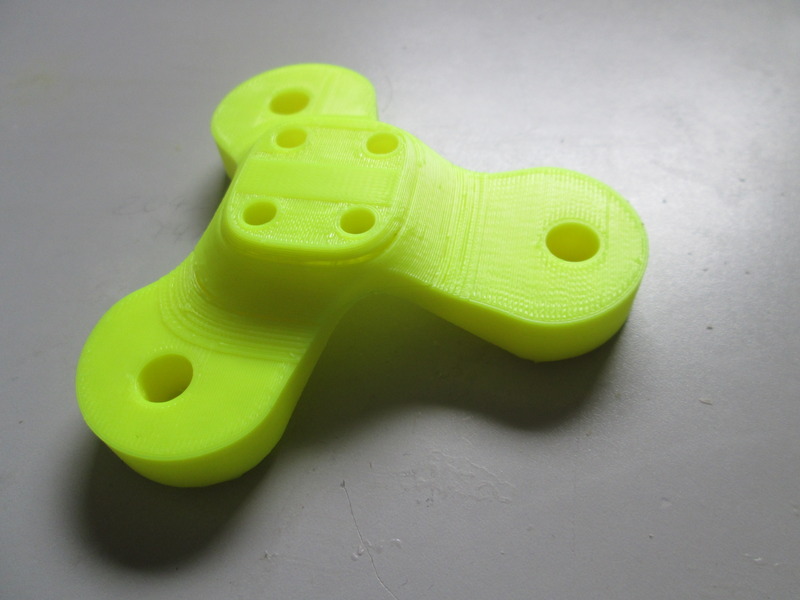
3D printed component
Posted 17 May 2014 14:18
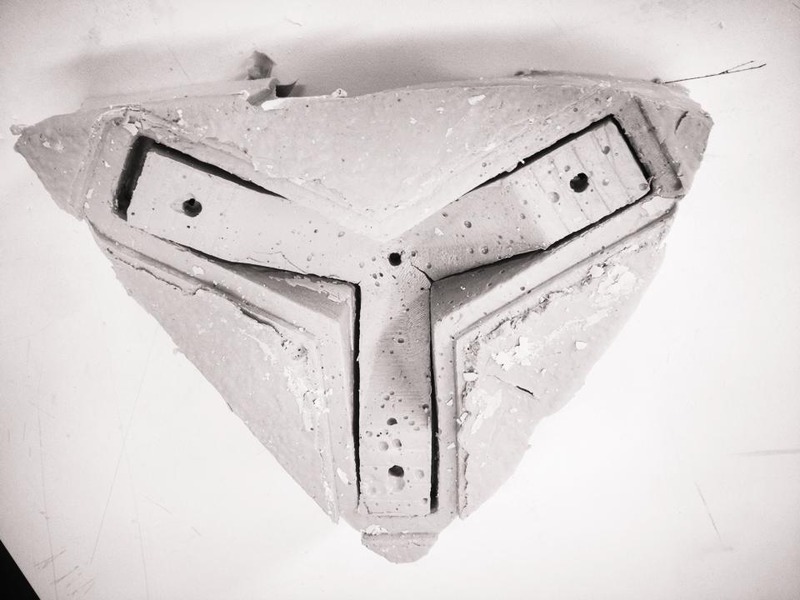
Concrete casting
Posted 17 May 2014 14:17
Had to work quick with Alginate as it would set within two minutes.
Posted 17 May 2014 09:12
Testing out a plaster cast in the Alginate cast, unfortunately the plaster test broke.
Posted 17 May 2014 09:10
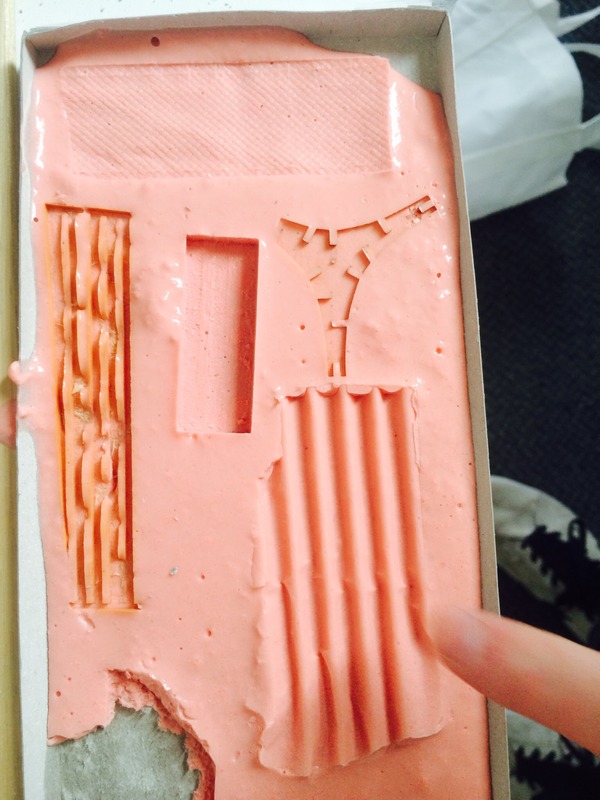
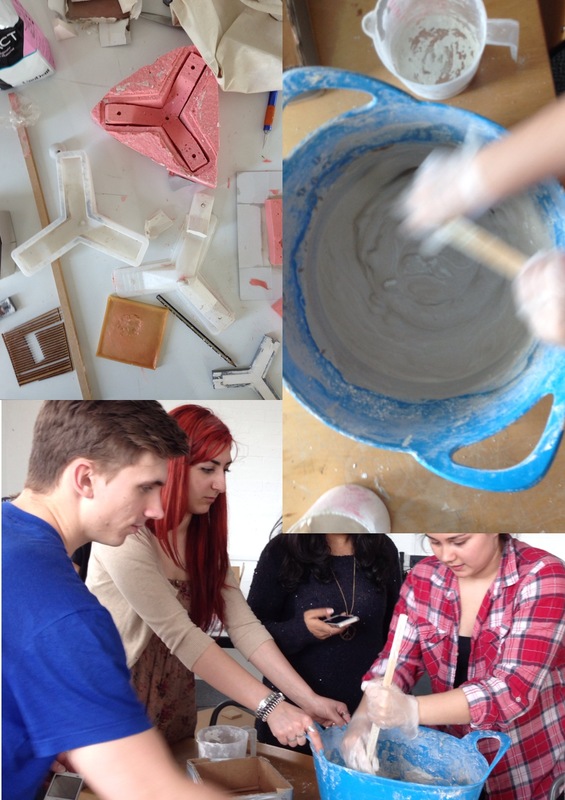
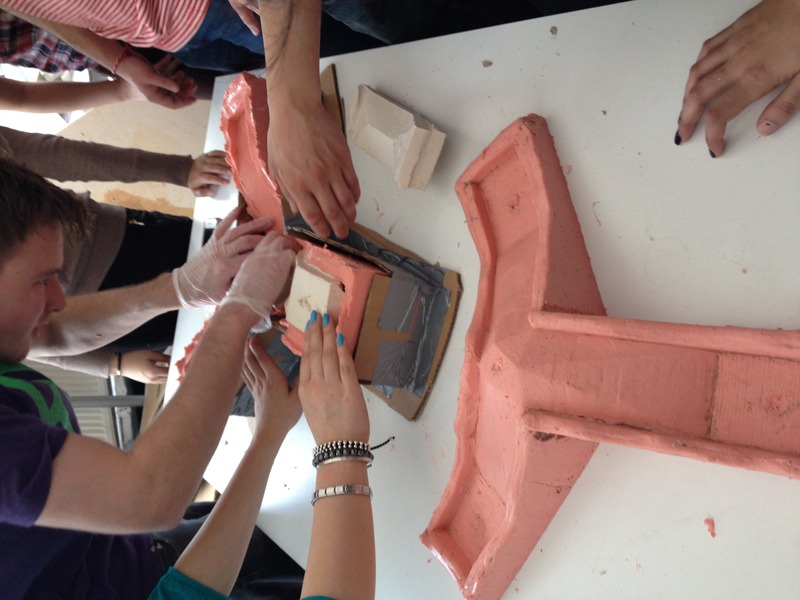
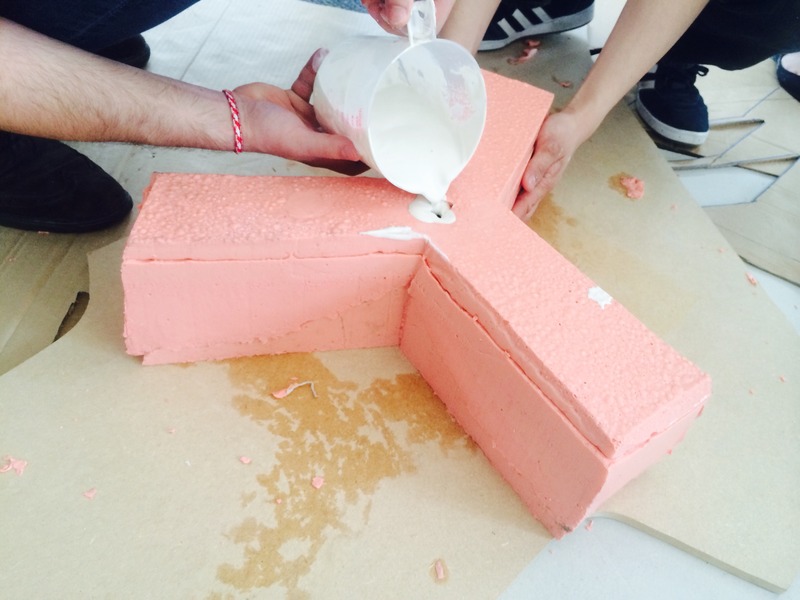
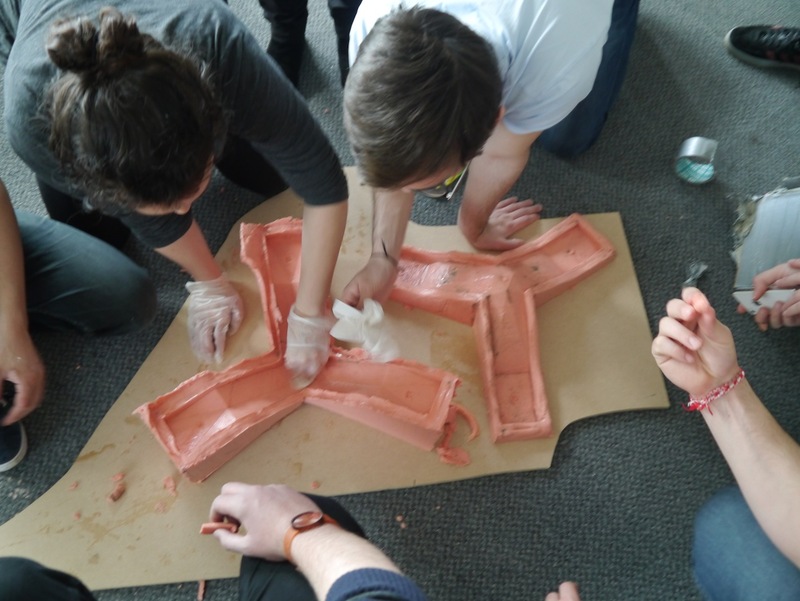
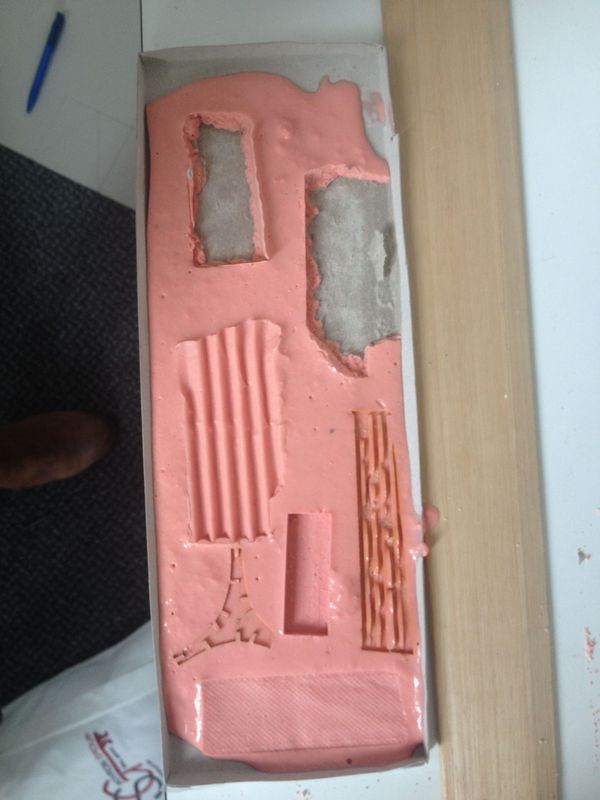
I never expected alginate, a dental material, to be so practical in architecture as well. It seemed to be a perfect material for the moulds since it sets in a couple of minutes and is flexible. We also used it for applying textures to the components.
Posted 17 May 2014 04:49
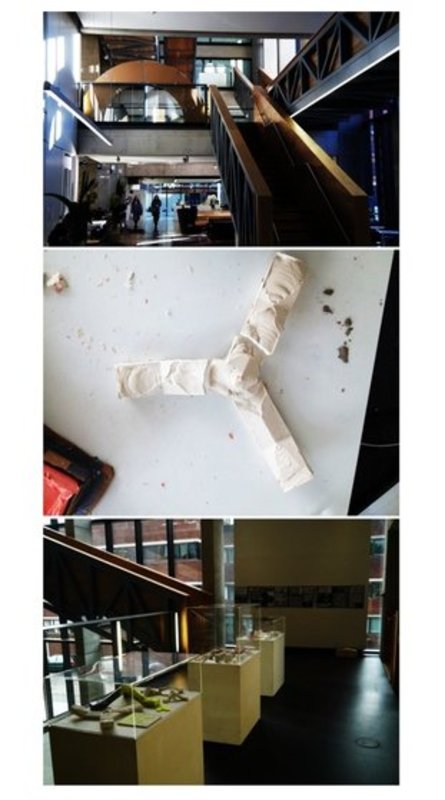
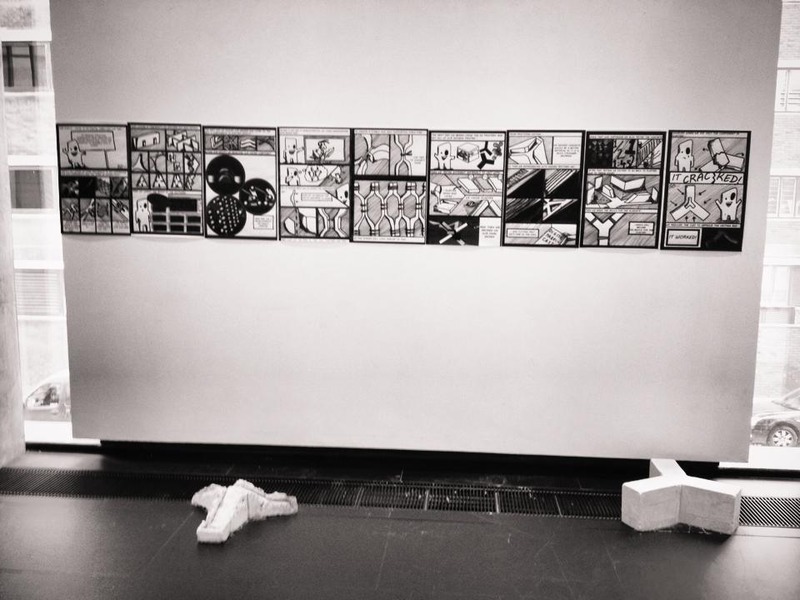
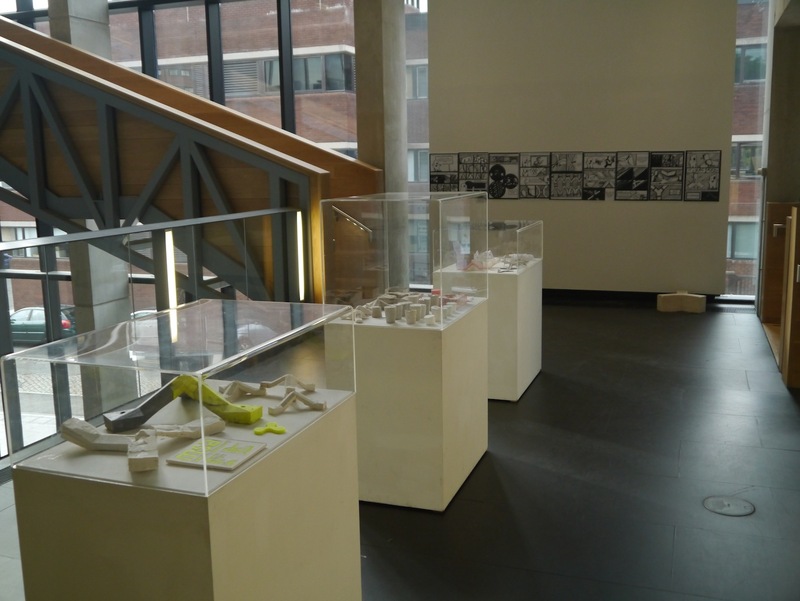
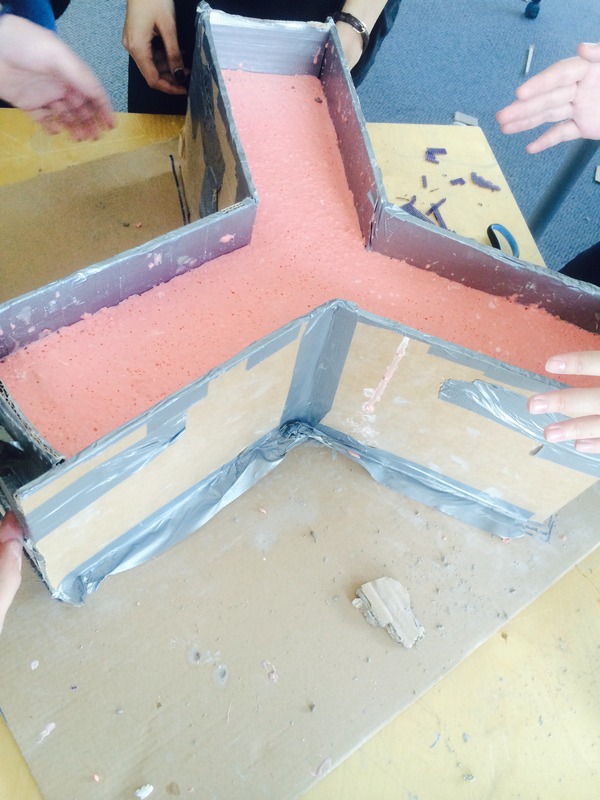
Although we built a cardboard structure to support the components, the casting didn't turn out how we expected it to. Therefore, we exhibited our research and material experimentation.
Posted 17 May 2014 04:36
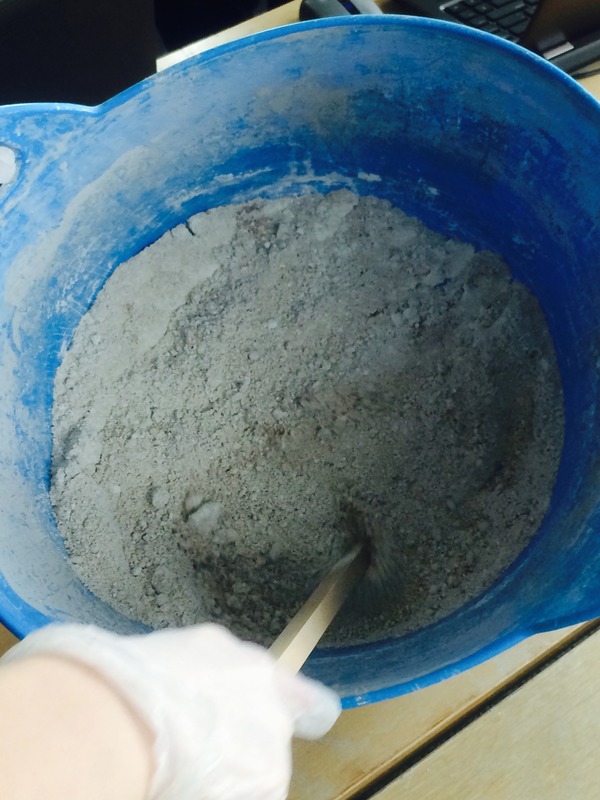
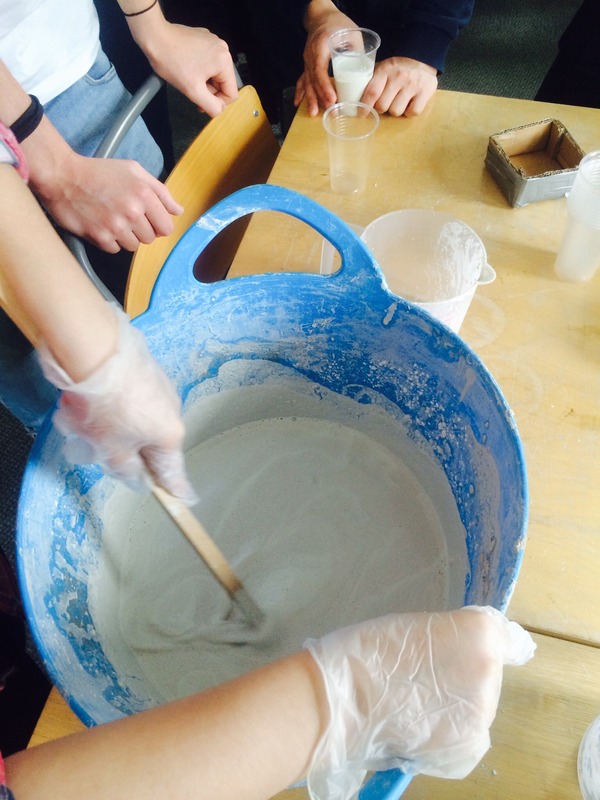
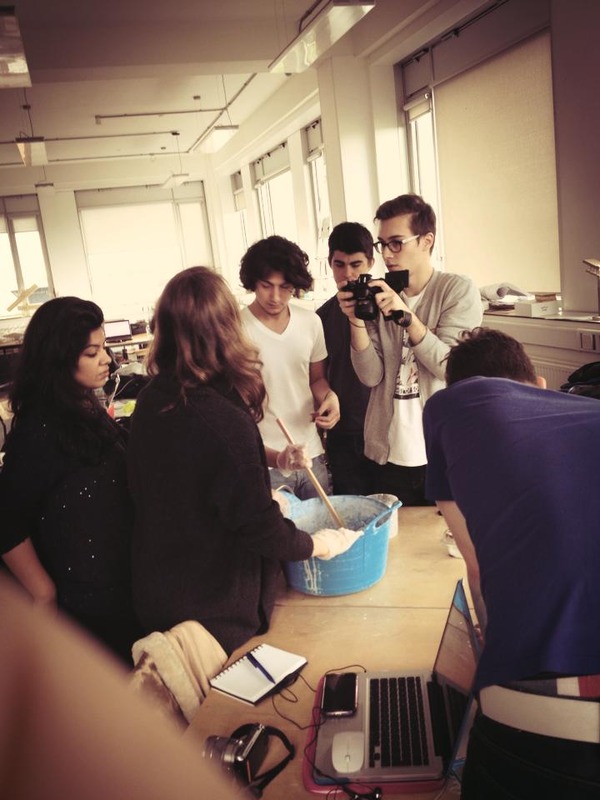
We mixed concrete in different ratios of cement, sand and water to find the best colour and consistence.
Posted 17 May 2014 04:21
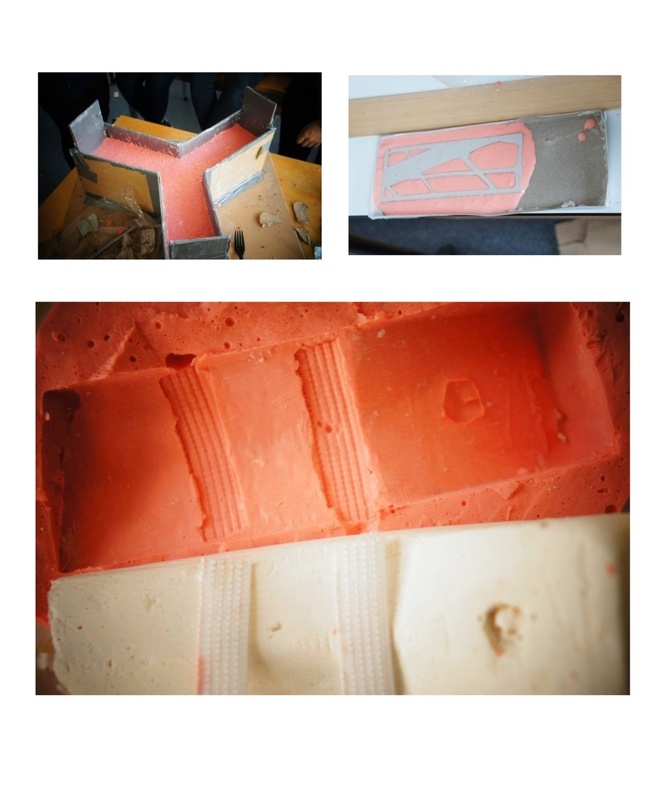
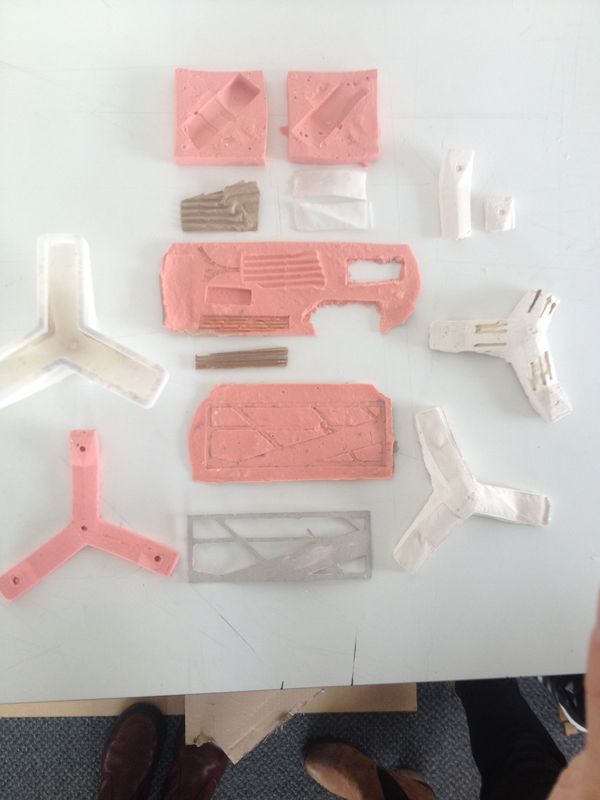
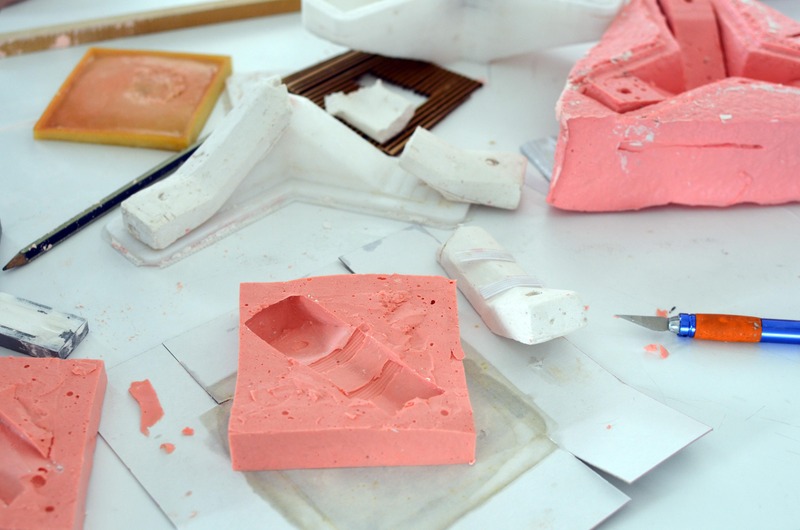
Creating mould out of Pink Alginate, however unsuccessful.
Posted 16 May 2014 21:58
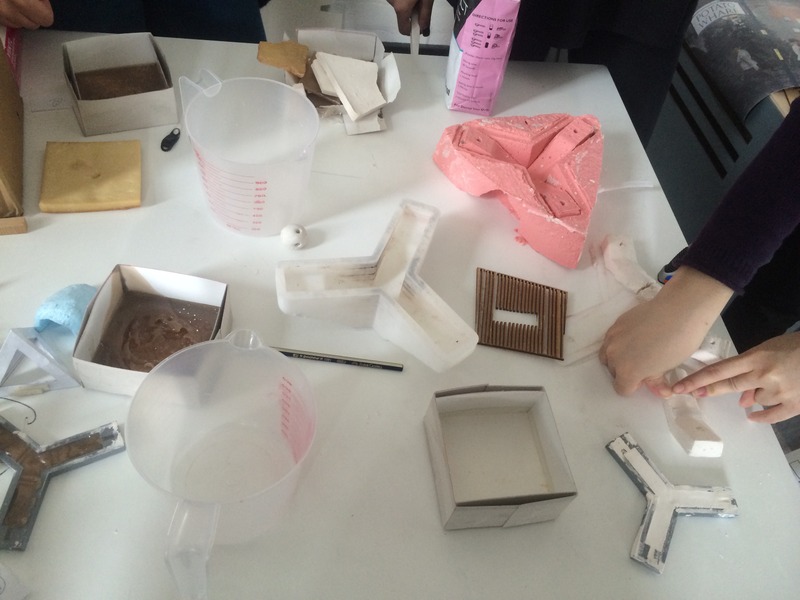
Experimenting.
Posted 16 May 2014 21:55
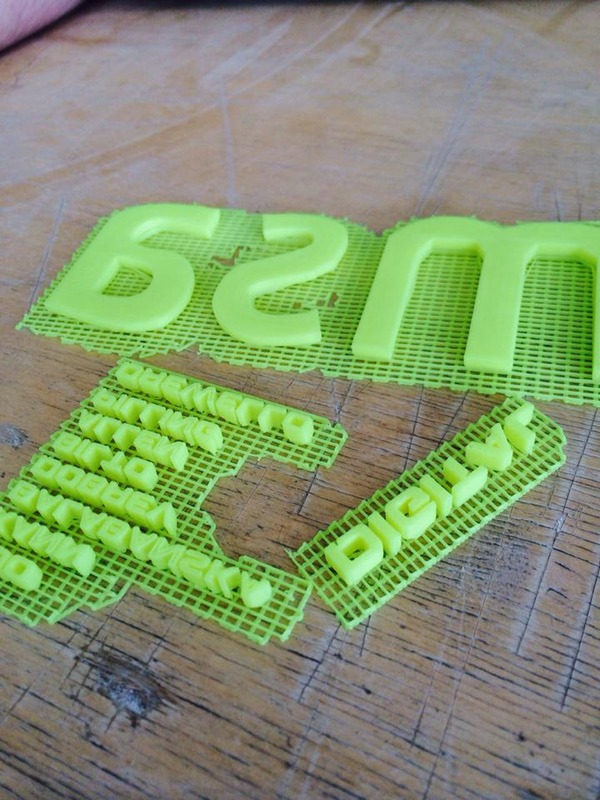
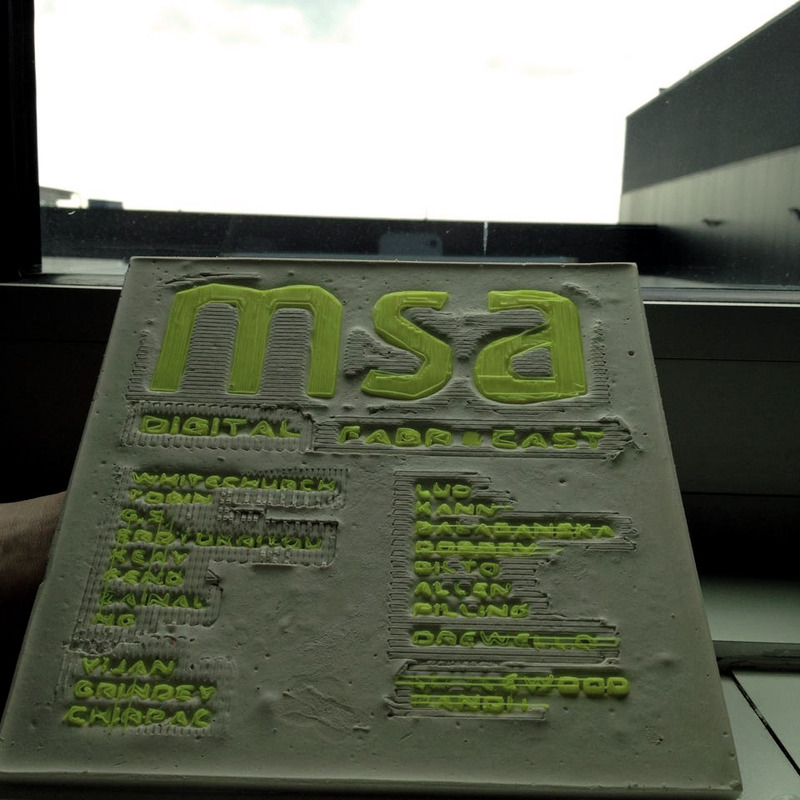
One of the tasks given was to 3D print the names of our team and label them onto the finished components
Posted 16 May 2014 21:54
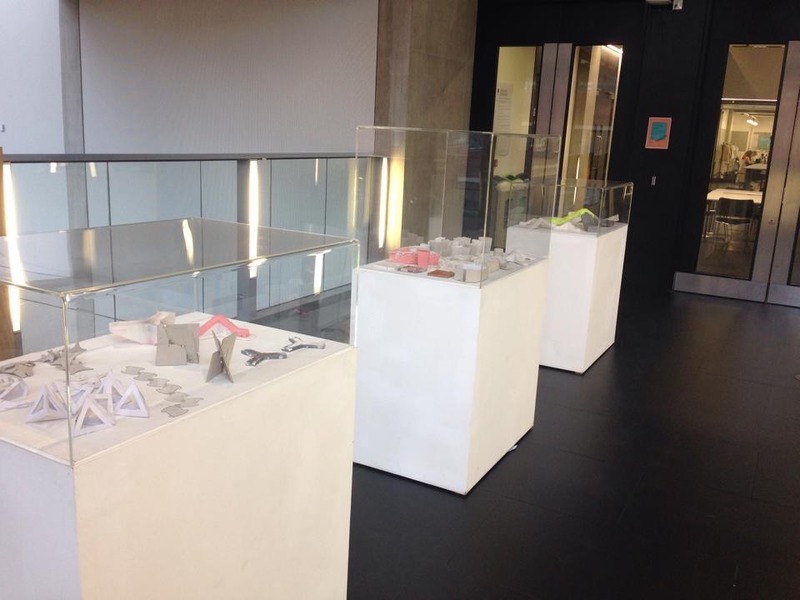
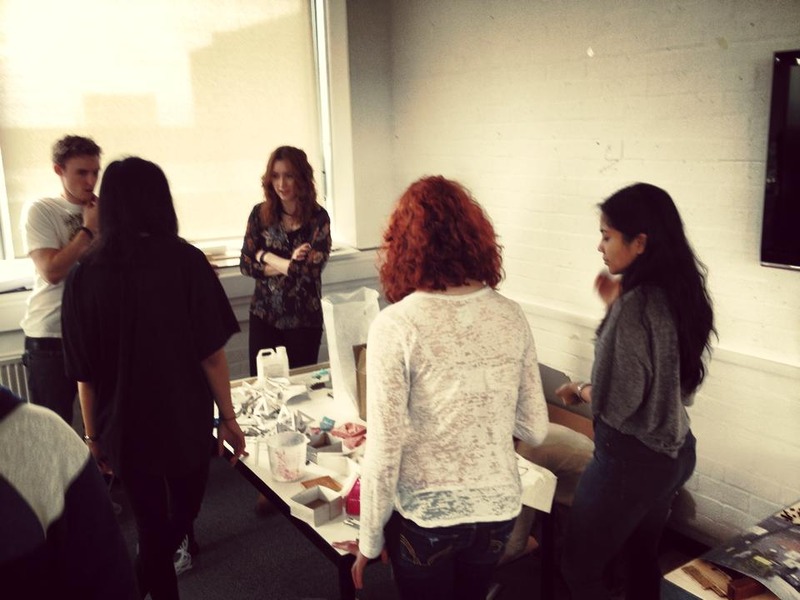
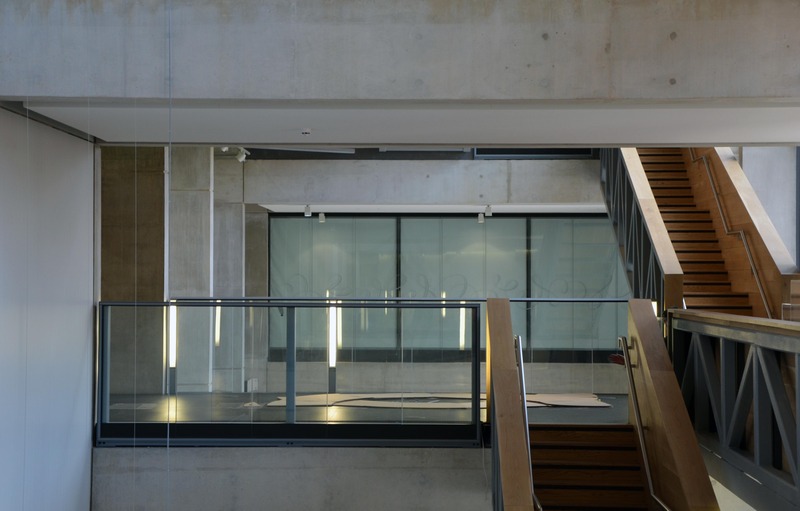
Scouting out the exhibition space trying to decide how to display our components.
Posted 16 May 2014 21:17
Finish Exhibition
Posted 16 May 2014 18:09
Took hours to print but this is a proposal from one of the other students.
Posted 16 May 2014 16:22
out presentation display done - we decided on just using the smaller components as the larger ones became too fragile
Posted 16 May 2014 12:57
final day ...
Posted 15 May 2014 16:24
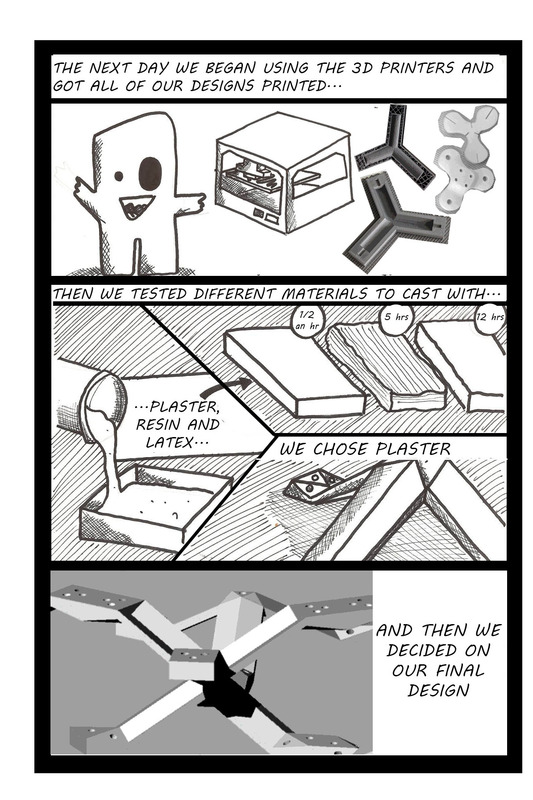
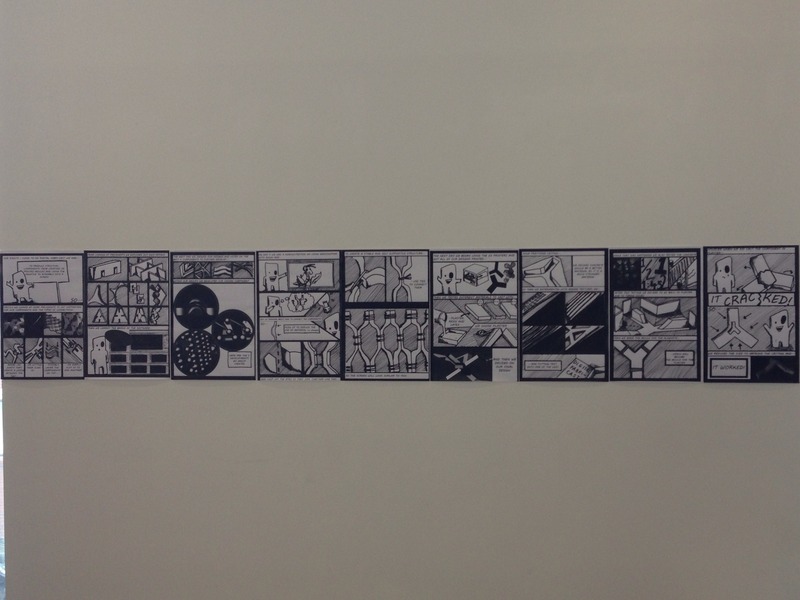
My comic book of the process and development of Digital Fabri-Cast
Posted 15 May 2014 16:19
Experimenting with casting with different materials and textures to put on the legs of the component
Posted 15 May 2014 10:57
Credits
Posted 14 May 2014 22:56
Mould made out of the "pink stuff"- didn't quite work
Posted 14 May 2014 22:56
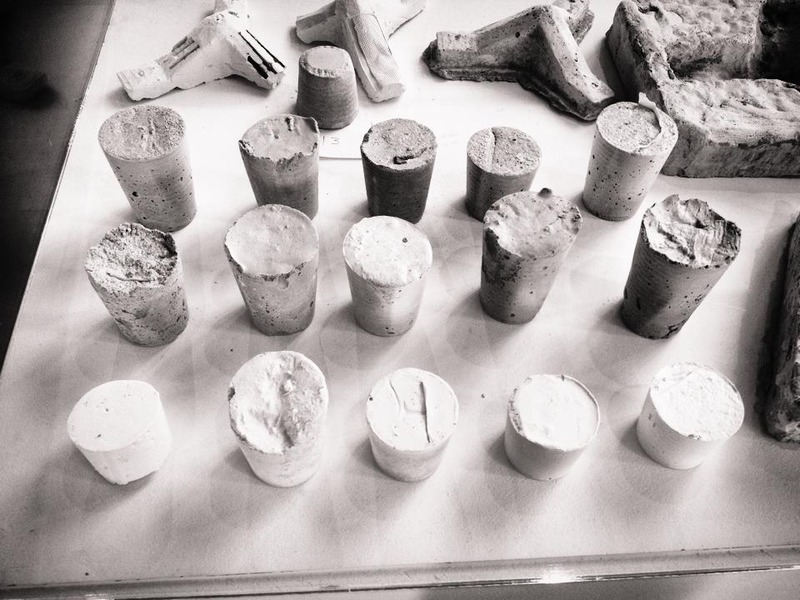
Material testing- concrete, plaster, postcrete in different proportions.
Posted 14 May 2014 22:55
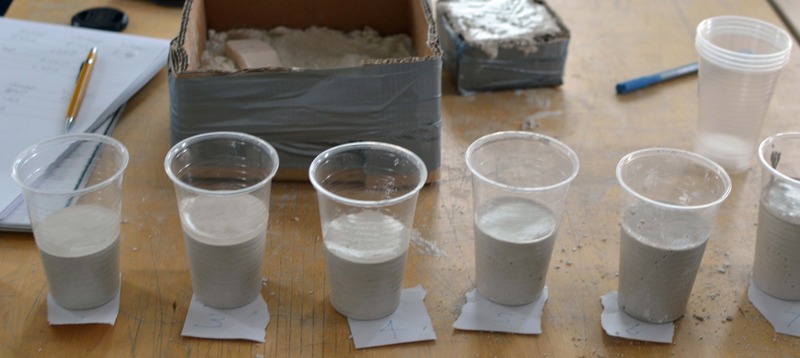
Material testing - mixing different proportions of water, sand and cement for each cup.
Posted 14 May 2014 16:36
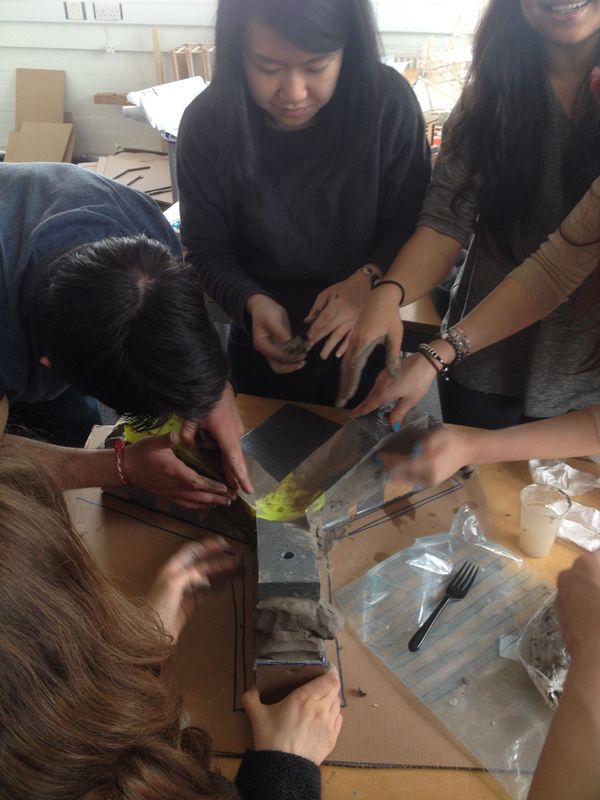
Pouring plaster into the mould.
Posted 14 May 2014 16:19
Making mould in a smaller scale with alginate.
Posted 14 May 2014 16:18
To make moulds of the component we needed to decide which material worked best for making the mould and for the component itself. So we carried out tests using resin latex and plaster.
Posted 14 May 2014 16:16
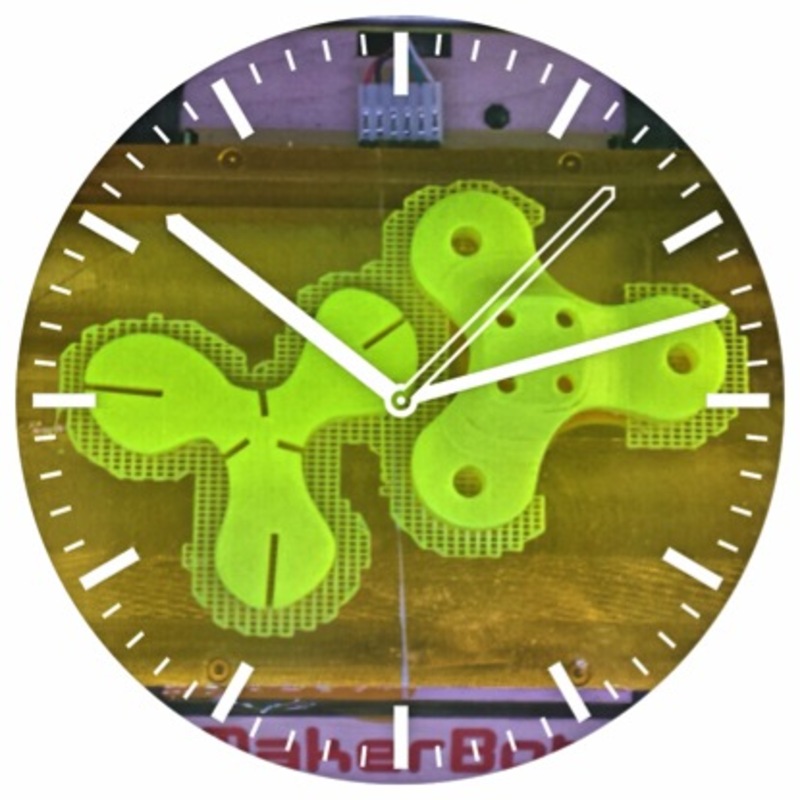
We spent the day 3d printing out each groups components. A final component was made using the aspects of each.
Posted 14 May 2014 16:15
Pouring in concrete for testing the first 1:1 component.
Posted 14 May 2014 12:36
Mould ready.
Posted 14 May 2014 12:35
Creating the mould for the components.
Posted 14 May 2014 12:35
Material and texture tests organised.
Posted 14 May 2014 12:31
comparing the actual model with the rhino model.
Posted 14 May 2014 12:30
experimentation with alginate and different textures,
Posted 14 May 2014 12:23
we decided to experiment with concrete by estimating ratios and checking the casting time.
Posted 14 May 2014 12:22
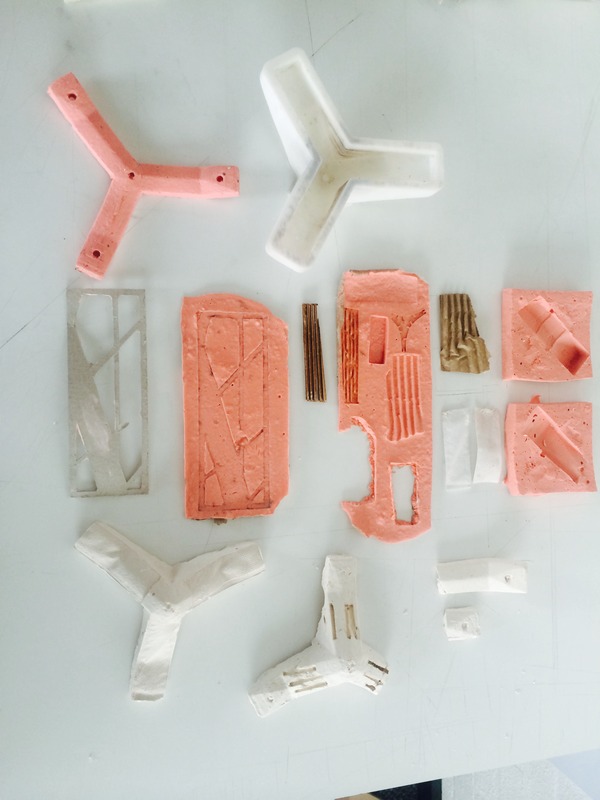
we tested a lot of moulds with different materials, textures, and finalised what material and texture we would use for the final construction model.
Posted 14 May 2014 12:20
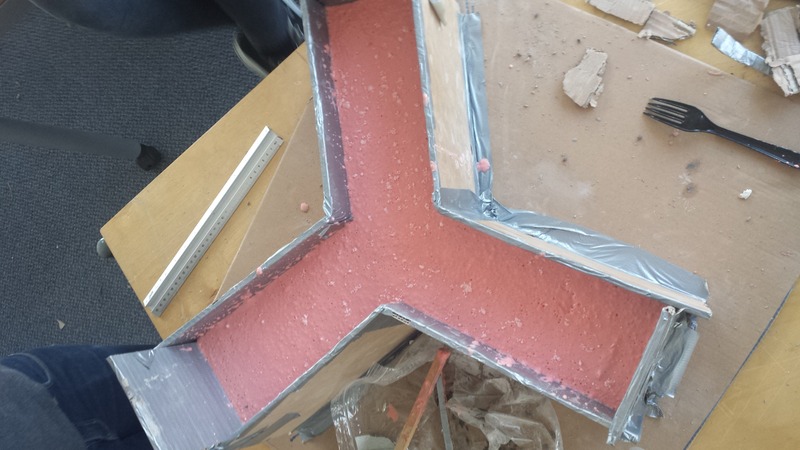
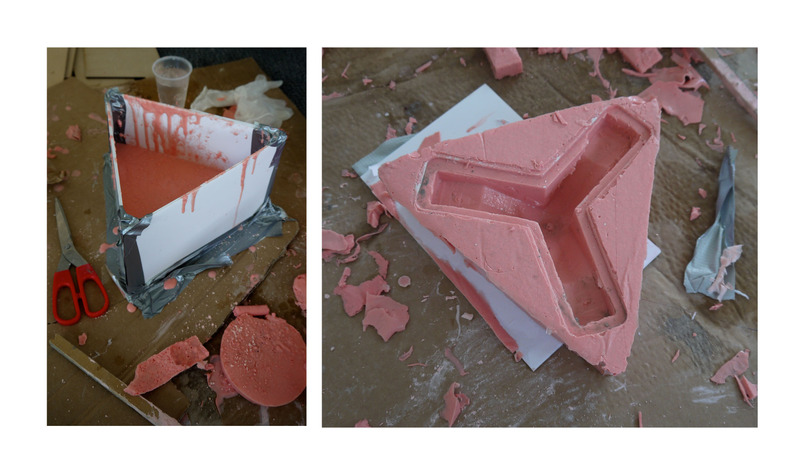
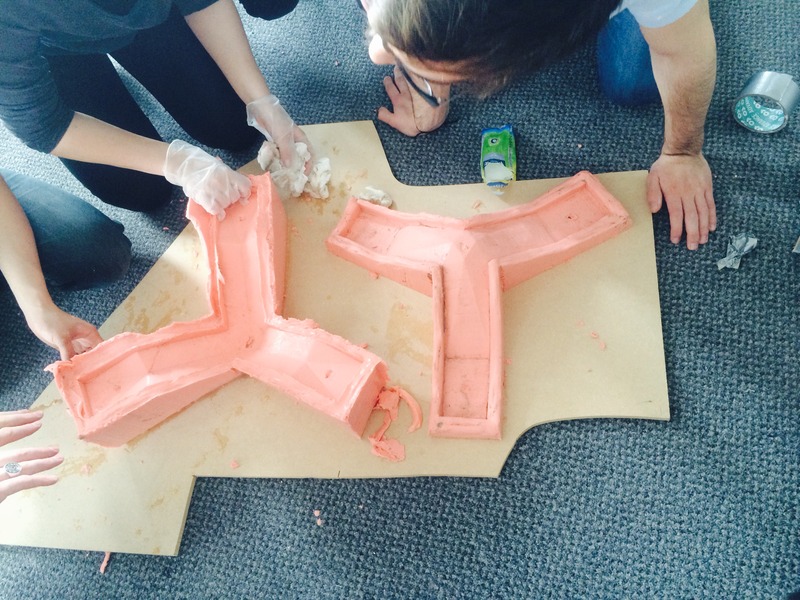
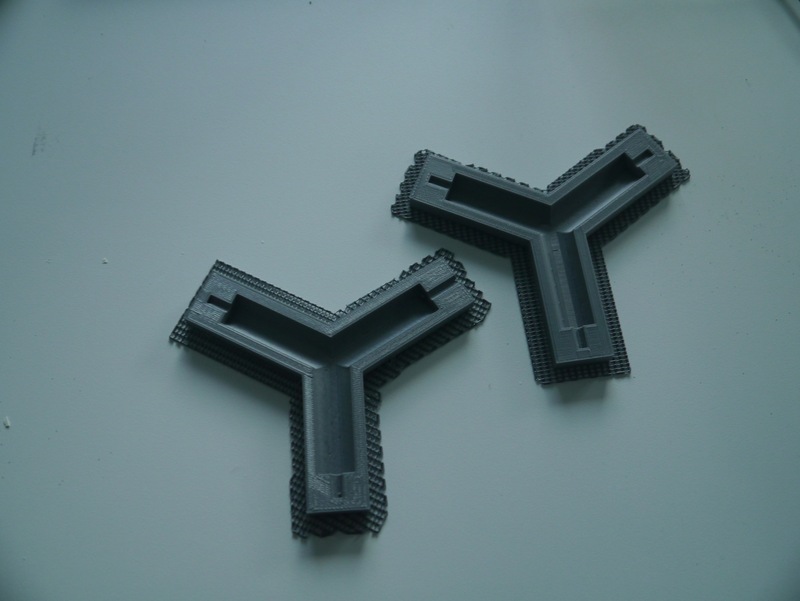
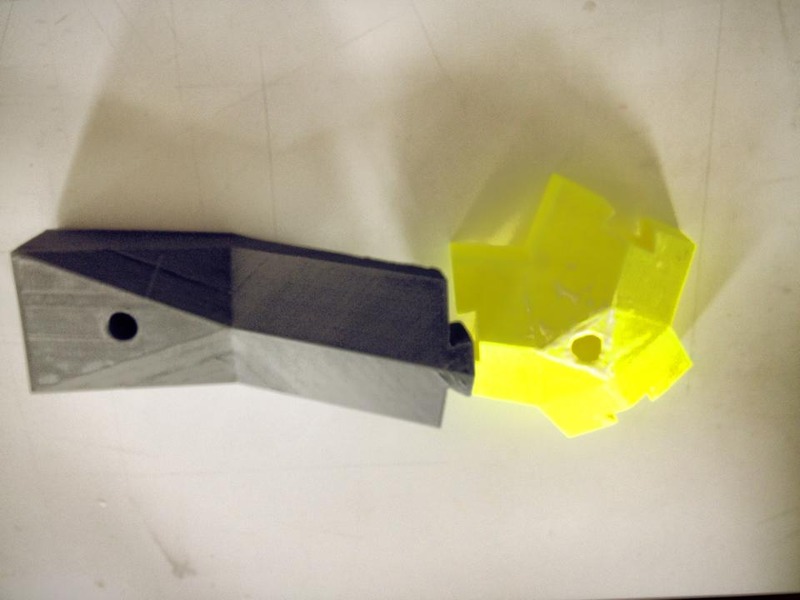
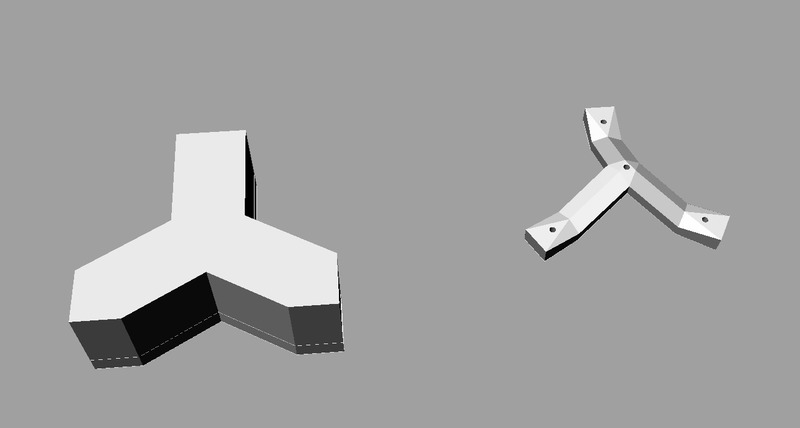
The two negatives that form the component.
Posted 14 May 2014 11:55
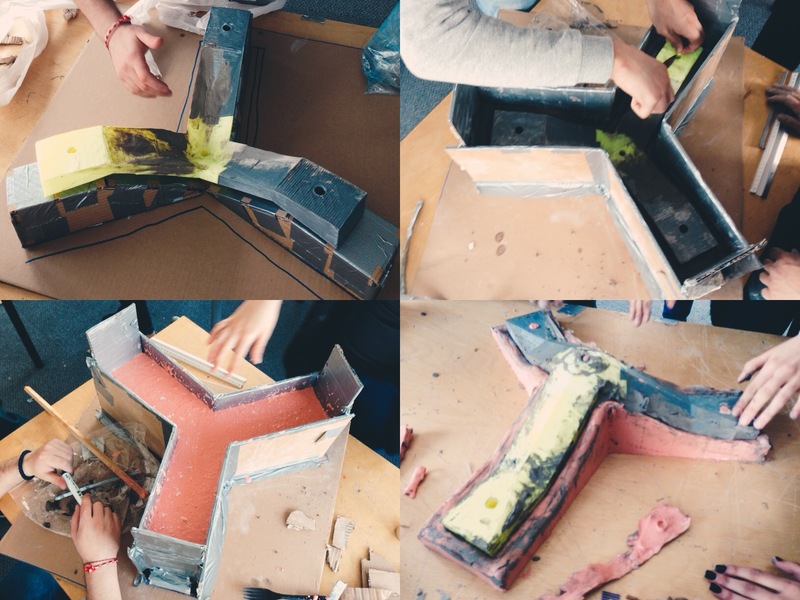
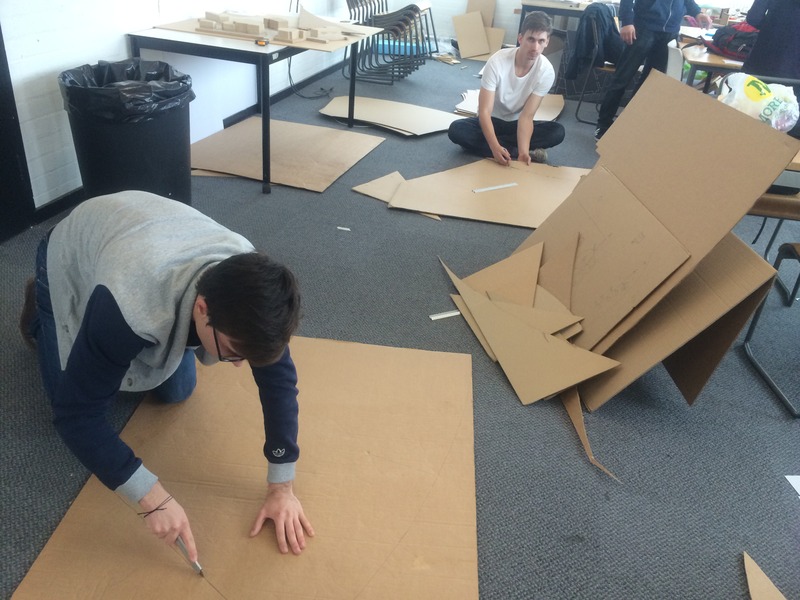
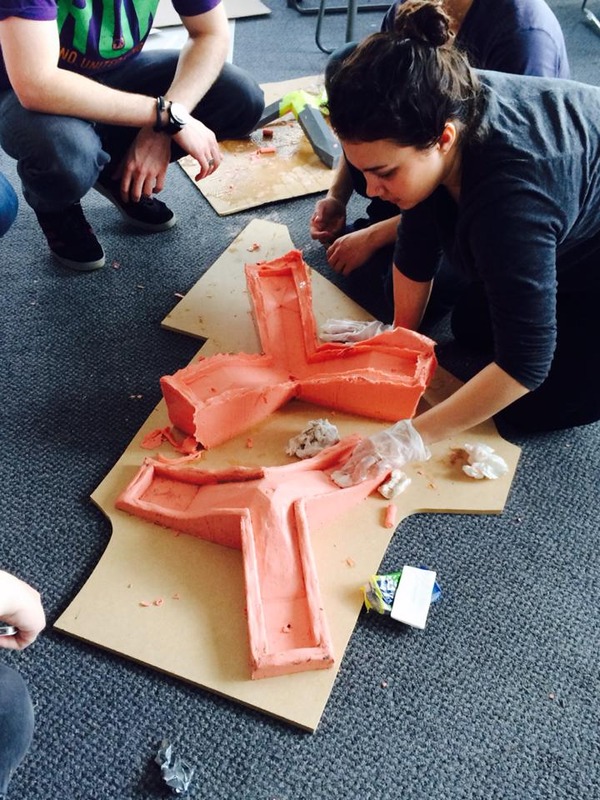
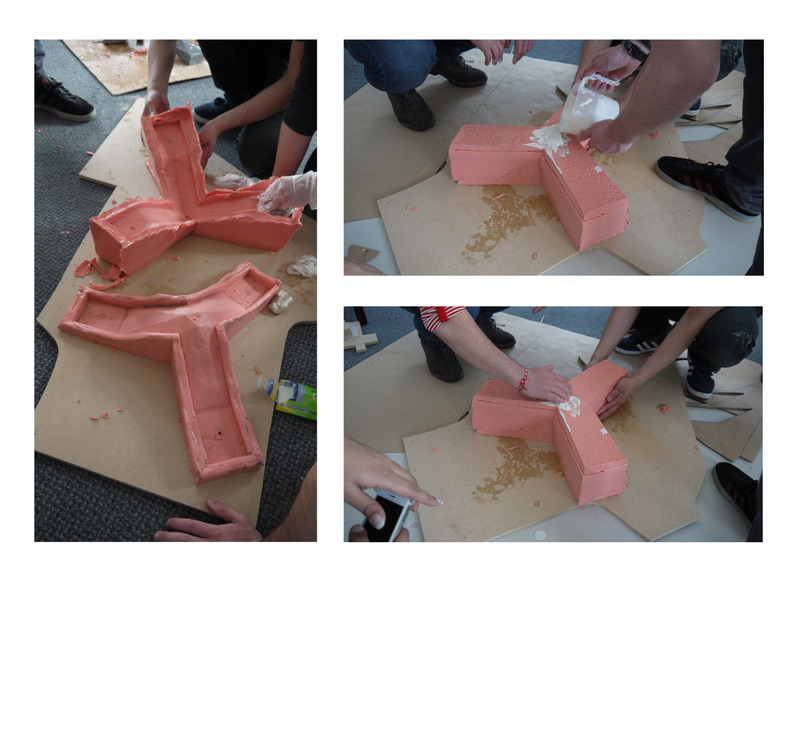
We built a cardboard structure around the component that would allow us to build the casts. The casts were made out of Alginate a flexible and quick setting material.
Posted 14 May 2014 11:48
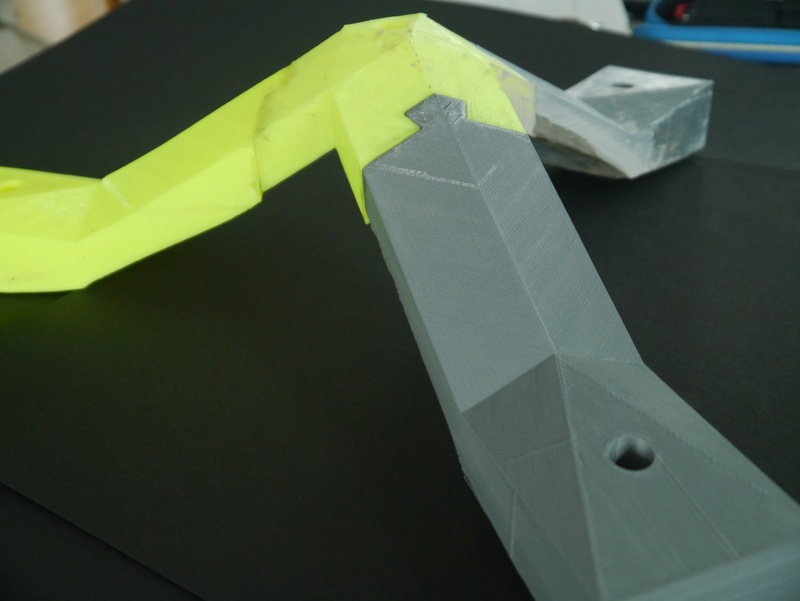
We realised the size of the component meant we would need a lot of them, and the time it takes to cast each component meant this is not practical. We therefore redesigned the component and increased it's size. This was 3D printed in 4 parts, which were then glues together, and we begin to create the mould.
Posted 14 May 2014 11:39
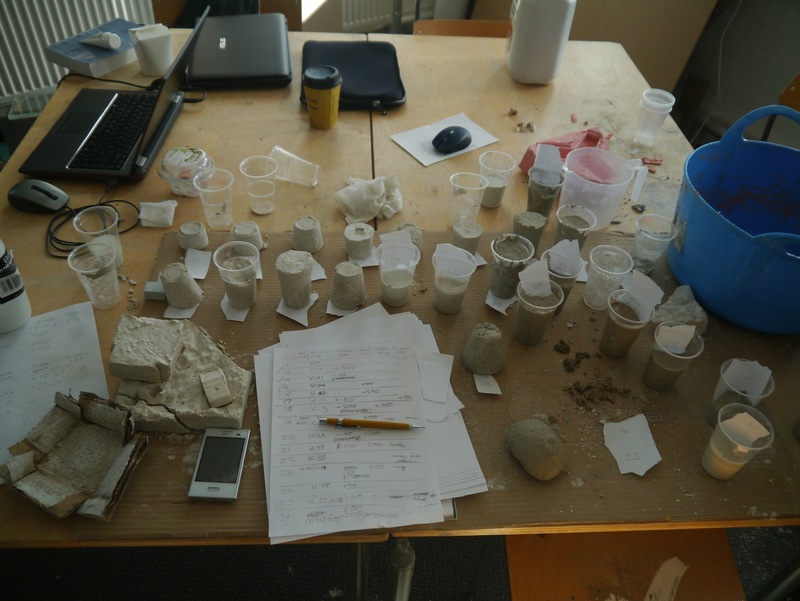
Number 13 was our favourite, as it had a relatively white colour, and took only an hour to set rock solid (for concrete this is quick). The mix was of 800ml of cement, 750ml of sand, 250ml, and 200ml of hardener.
Posted 14 May 2014 11:35
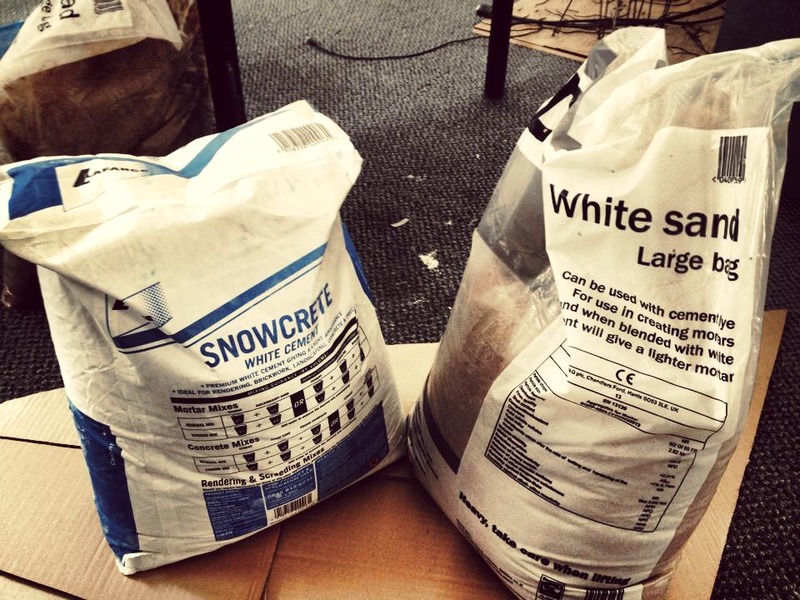
We decided to look at a stronger material than plaster. We looked at using various mixtures of Snowcrete (white cement), Postcrete (quick-drying ready mix cement), sand, water, and a hardener. We recorded each test's mixture and the time it was mixed and poured. We were looking for a good colour (preferably white) and a quick setting time.
Posted 14 May 2014 11:33
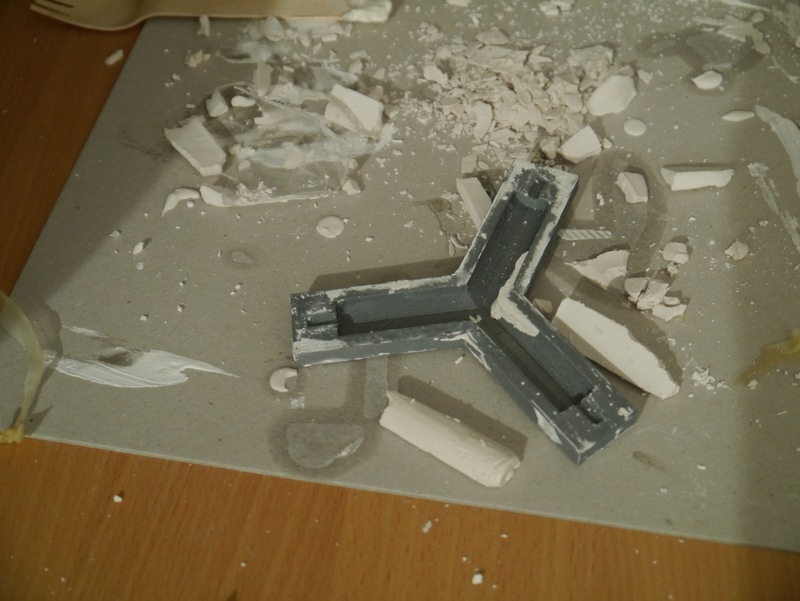
When use the mould to cast plaster, we found that despite the use of vaseline, the plaster stuck to the mould. As a result the component broke up.
Posted 14 May 2014 11:28
the two 3D printed negatives that we will use for our mould
Posted 14 May 2014 11:25
Day 7 (13/05/14) : Made a mould of the 3D component using alginate.
Posted 13 May 2014 19:37
making the mold for the mold
Posted 13 May 2014 16:43
concrete - getting the formula right
Posted 13 May 2014 16:42
Our component is all printed out were now making the mould for the alginate to fill so we can get mass producing these components out of concrete to be assembled on the 1st floor
Posted 13 May 2014 16:32
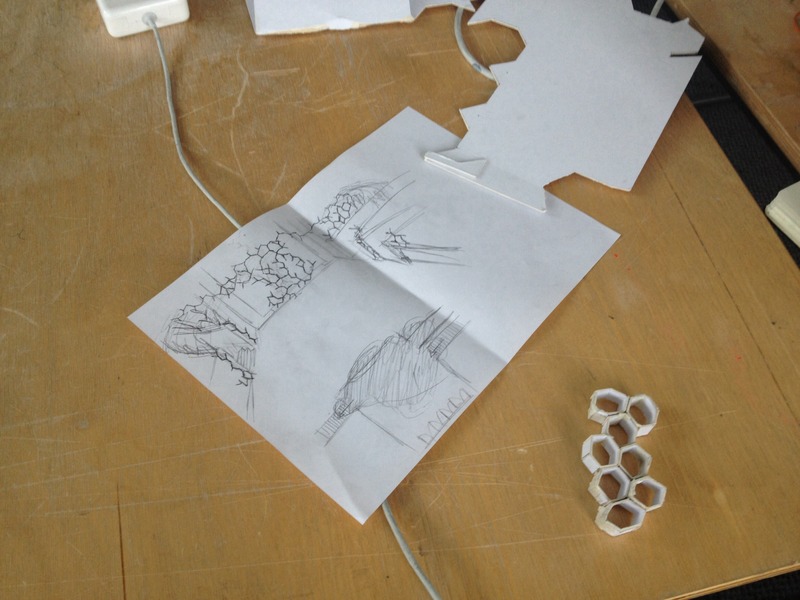
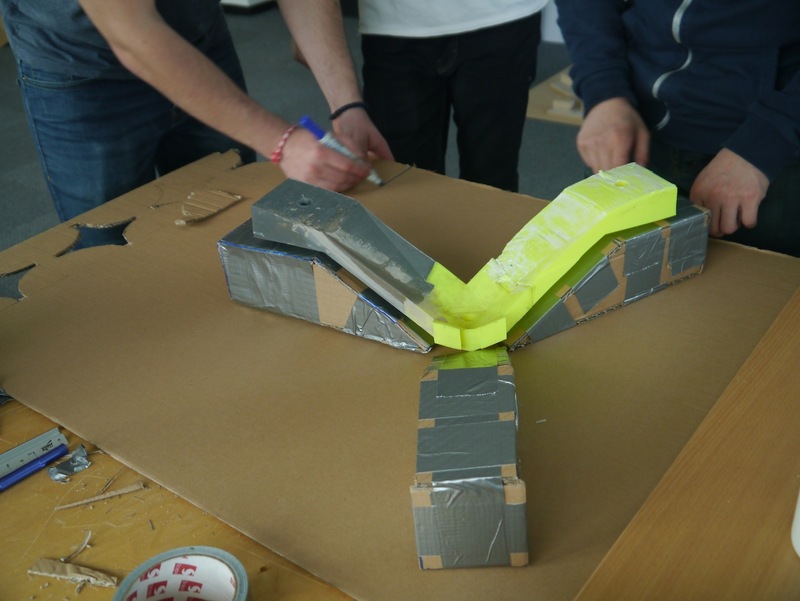
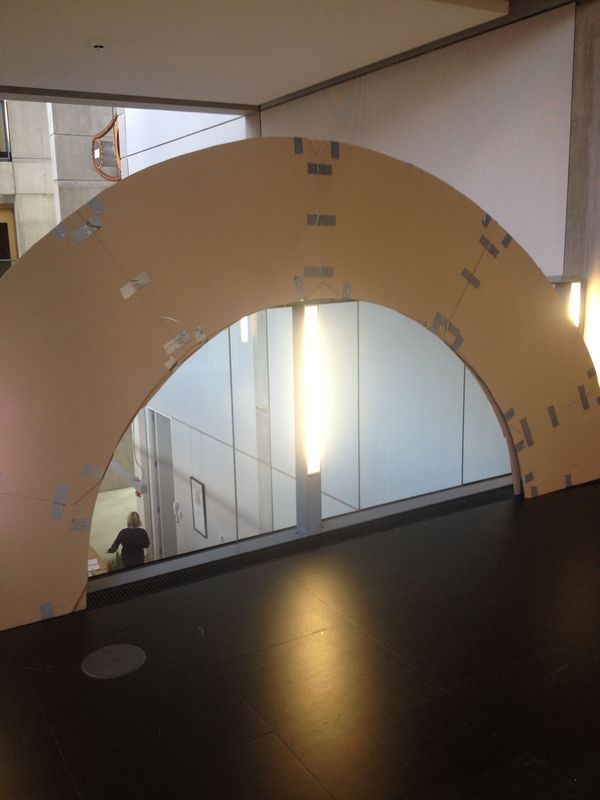
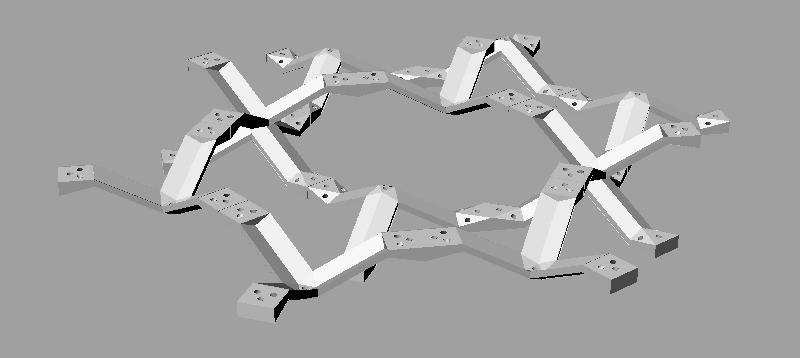
our initial design for the components to sit on- arch support
Posted 13 May 2014 16:31
all our experiments with materials
Posted 13 May 2014 16:24
casting experiments
Posted 13 May 2014 16:24
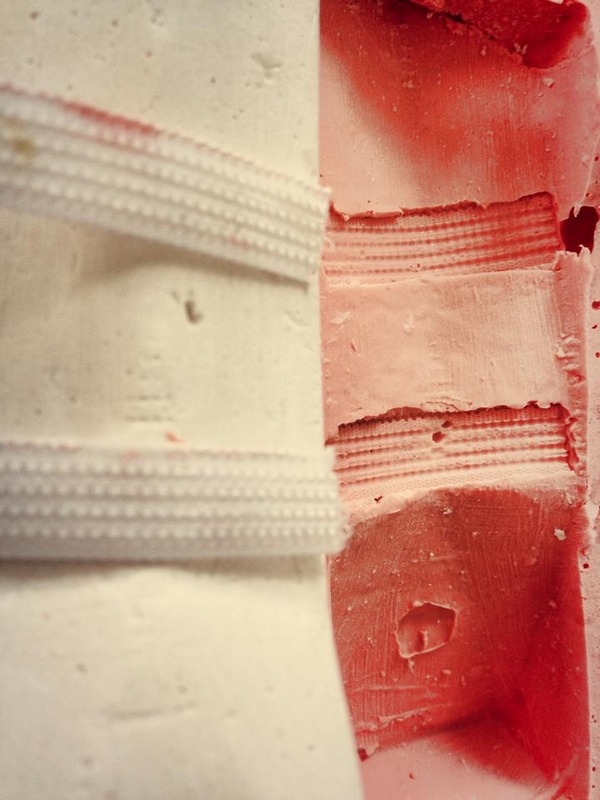
We also tried using materials to give texture to our moulds so that they get printed onto our components as well.
Posted 13 May 2014 13:26
We tried to experiment with concrete casts and weighed the pros and cons of using it.
Posted 13 May 2014 13:23
Since our previous attempts at the plaster components failed, we tried to use other materials to cast into the moulds.
Posted 13 May 2014 13:22
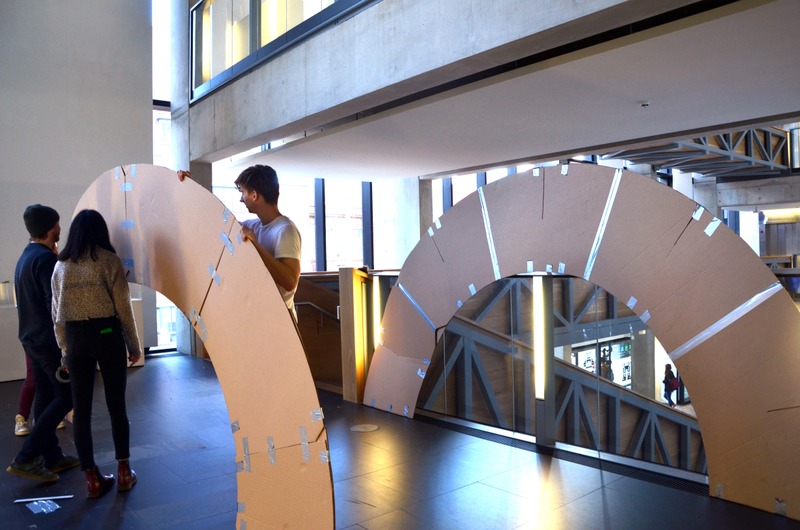
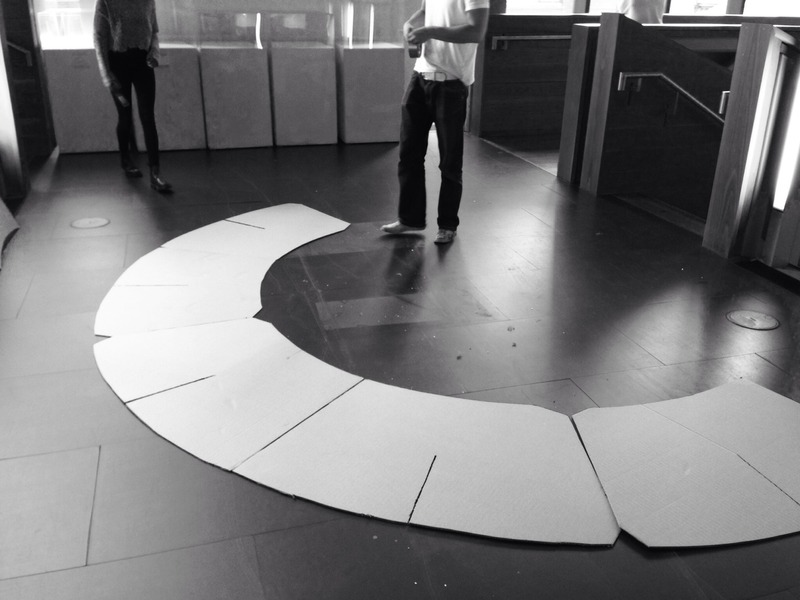
We built an arch out of cardboard for support, but it was too huge to build, so we scrapped the idea and moved on to something else.
Posted 13 May 2014 13:11
Day 7: Matt are sanding the pieces to join together.
Posted 13 May 2014 12:07
Day 7 (13/05/14) : Testing out mixture of concrete + white sand at different ratios to determine the best.
Posted 13 May 2014 11:57
DAY 7: test 1 Pattern on mould
Posted 13 May 2014 11:47
DAY 7: Cement and sand for concrete casting
Posted 13 May 2014 11:46
Day 7: Concrete Group
Posted 13 May 2014 11:44
DAY 7: Base Group/patterngroup
Posted 13 May 2014 11:44
Day 7: TWO PEICES DONE
Posted 13 May 2014 11:43
Day 7: 3D printing the second part of the final final model.
Posted 13 May 2014 11:42
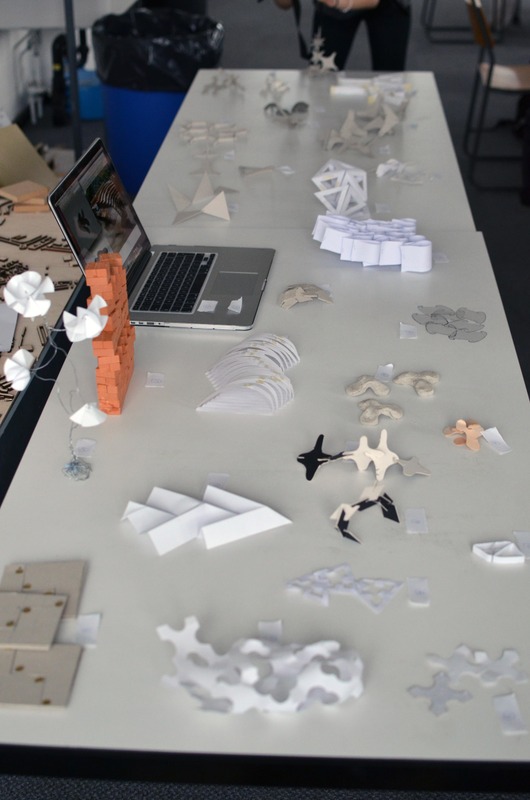
Models.
Posted 13 May 2014 11:14
Trying textures on the mould.
Posted 13 May 2014 11:14
Smoothing the sides of the component.
Posted 13 May 2014 11:13
Building the arch to support the big model.
Posted 13 May 2014 11:12
Display Space
Posted 13 May 2014 11:11
Day 6: Component Combination
Posted 12 May 2014 16:52
Day 5: The final component and mould.
Posted 12 May 2014 16:40
Day 6: The first 3d printed mould.
Posted 12 May 2014 16:35
Day 6: Arch Suport making
Posted 12 May 2014 16:34
Day 6: Test mould with alginate
Posted 12 May 2014 16:31
Putting up our cardboard support structure on Floor 1
Posted 12 May 2014 15:08
Our group proposal for the component got 3D printed.
Posted 12 May 2014 14:10