Group 03 { Digital Fabri-Cast }
Building & Modelling // Digital Techniques // Public Interaction // 3D Printing
Atelier: Re-Map
Another group's component printed.
Posted 12 May 2014 11:07
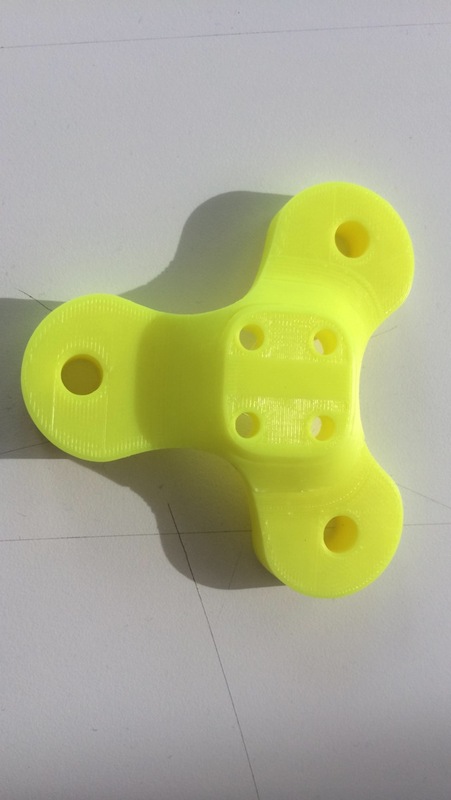
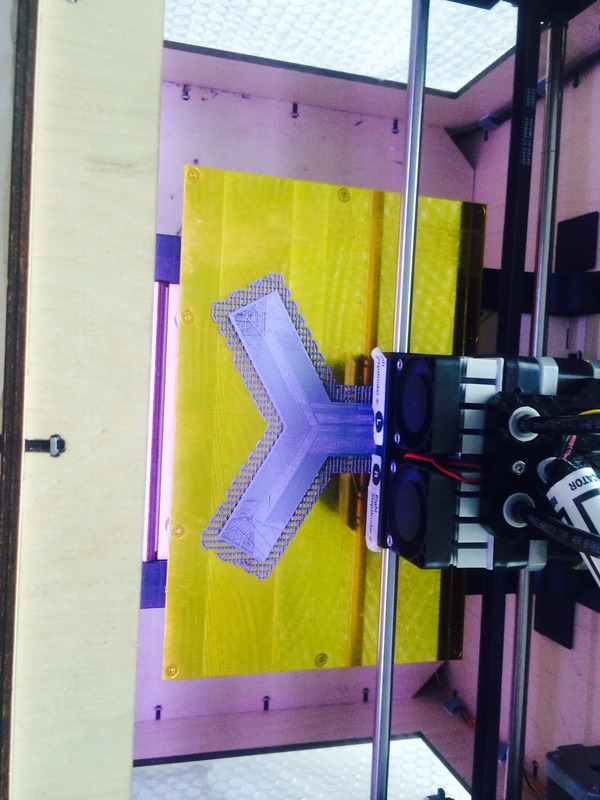
3D printed my component.
Posted 12 May 2014 11:06
2 moulds made.
Posted 12 May 2014 11:06
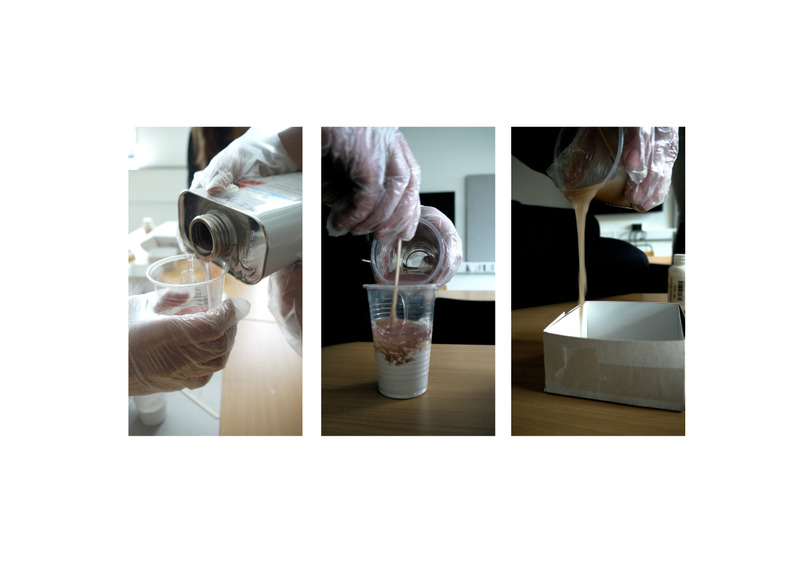
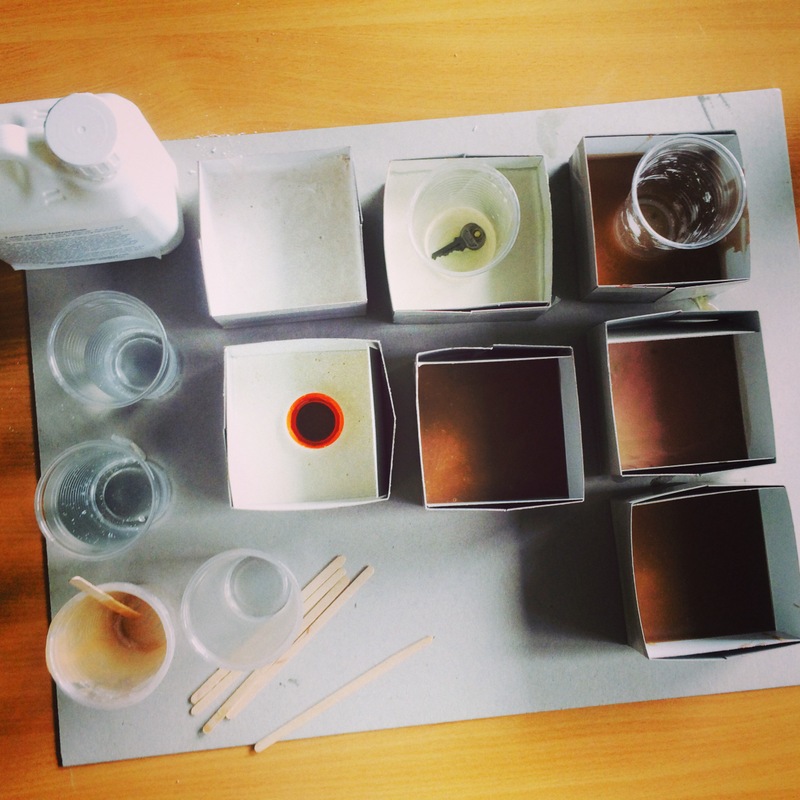
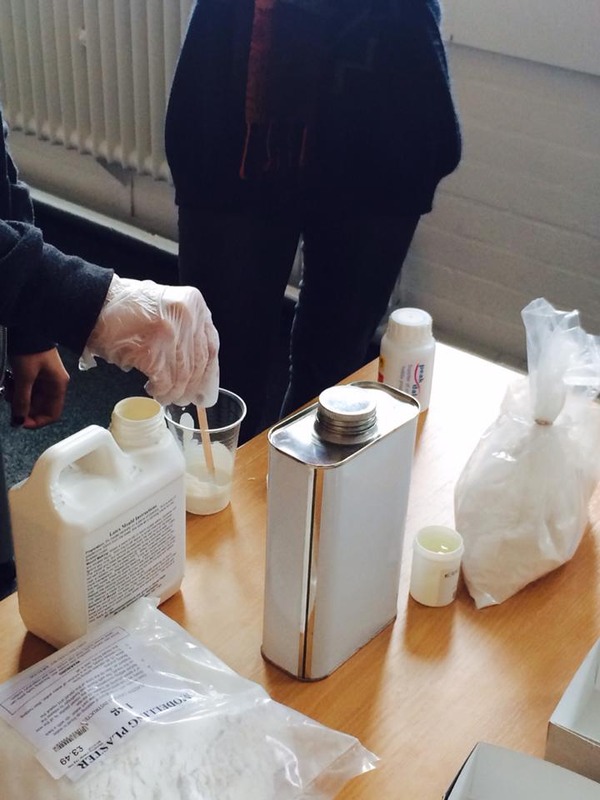
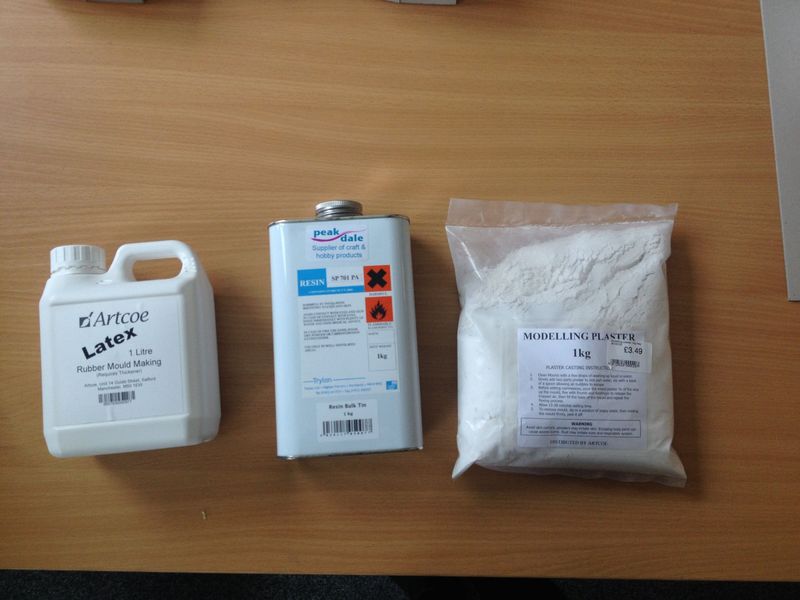
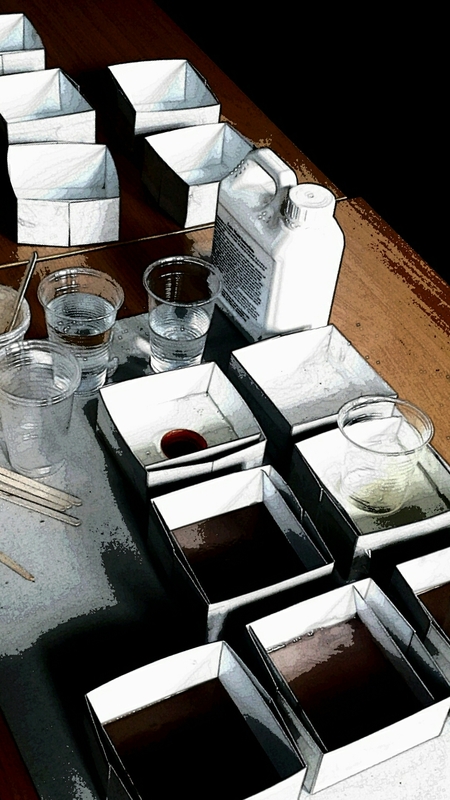
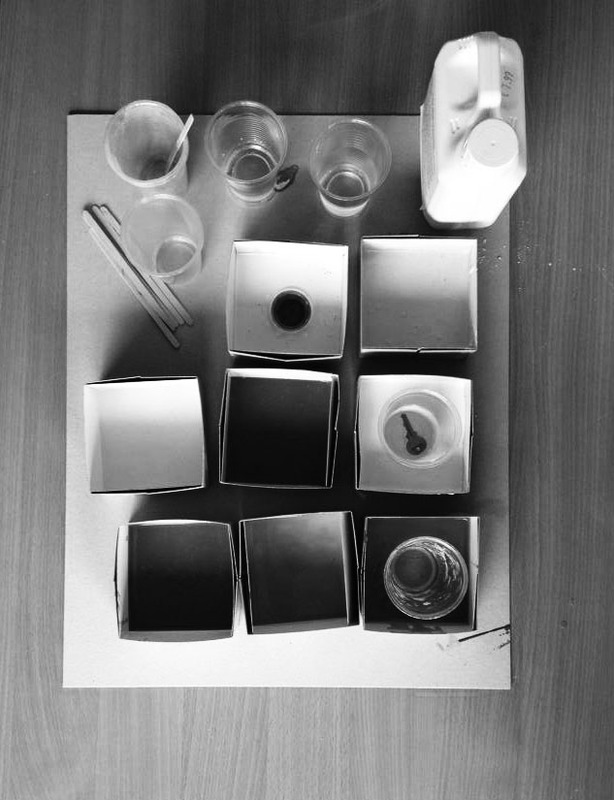
Material Testing // plaster. resin, latex.
Posted 12 May 2014 11:05
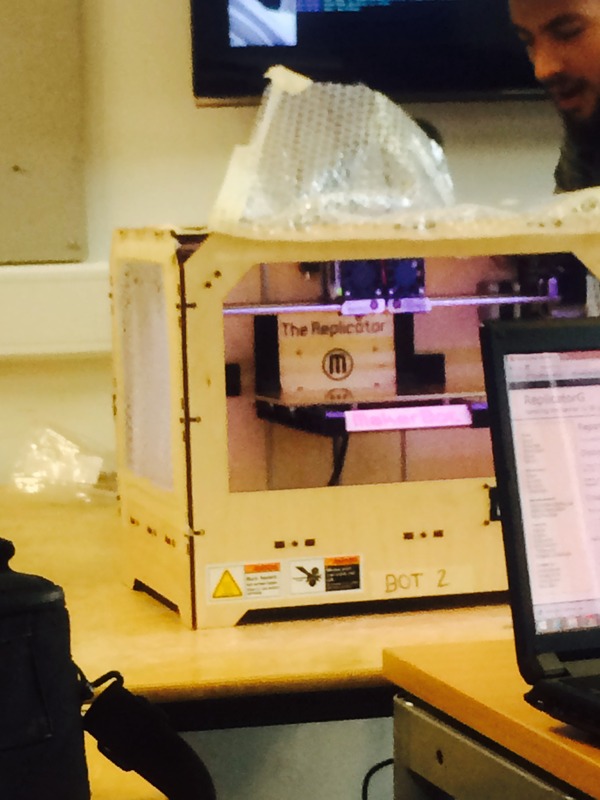
we learnt how to 3D print using a 'Replicator G' code
Posted 12 May 2014 11:02
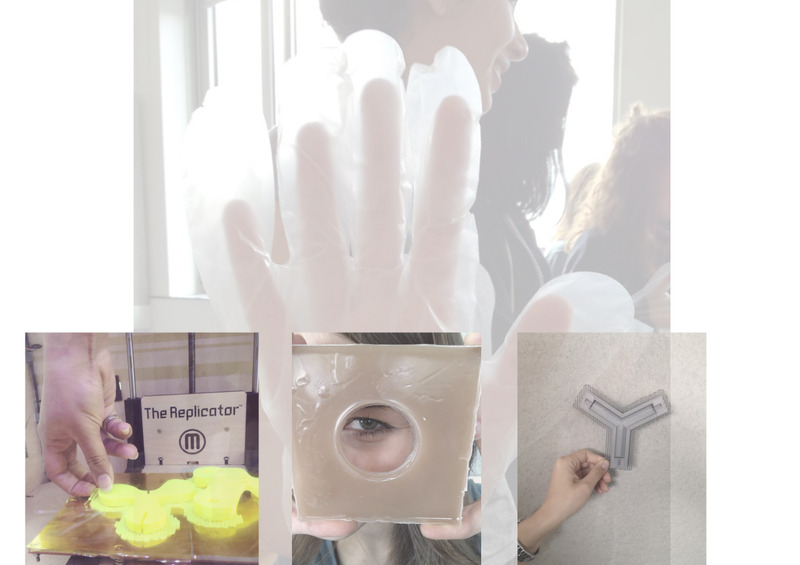
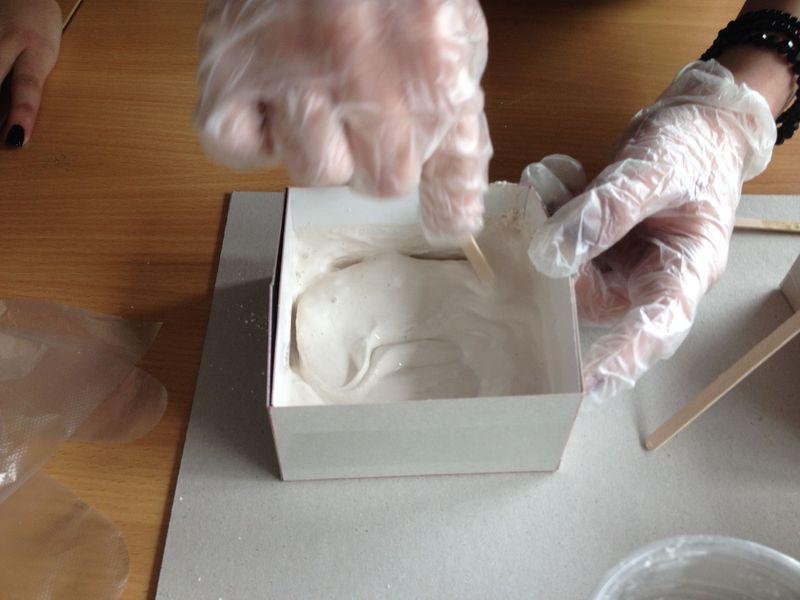
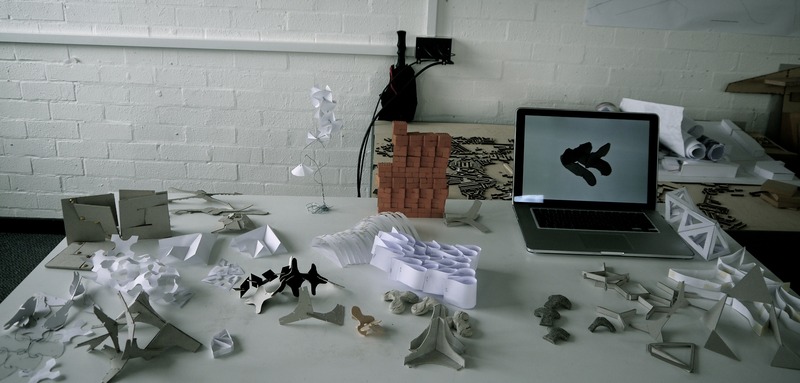
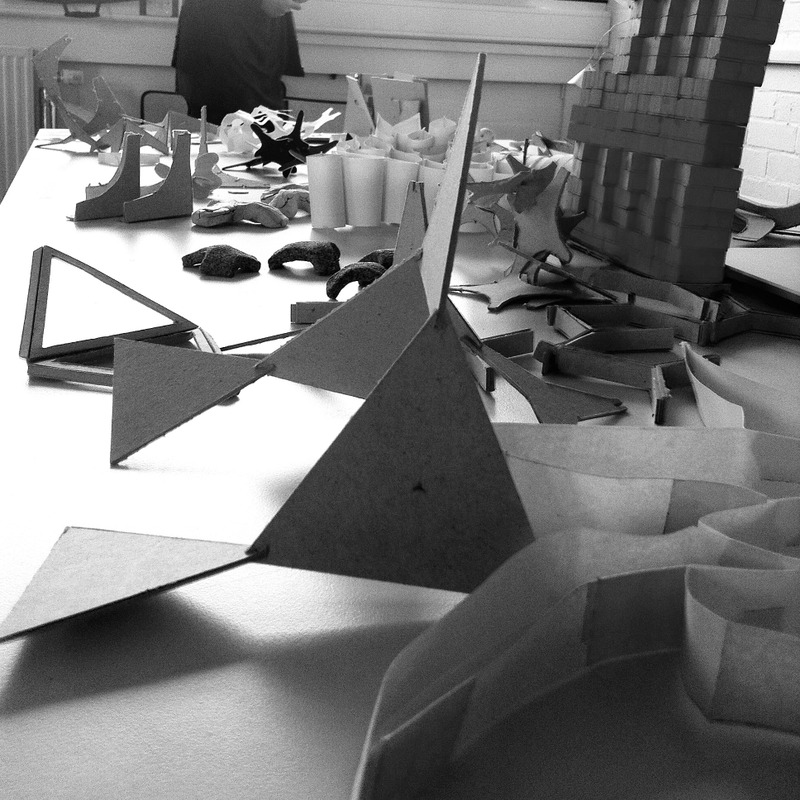
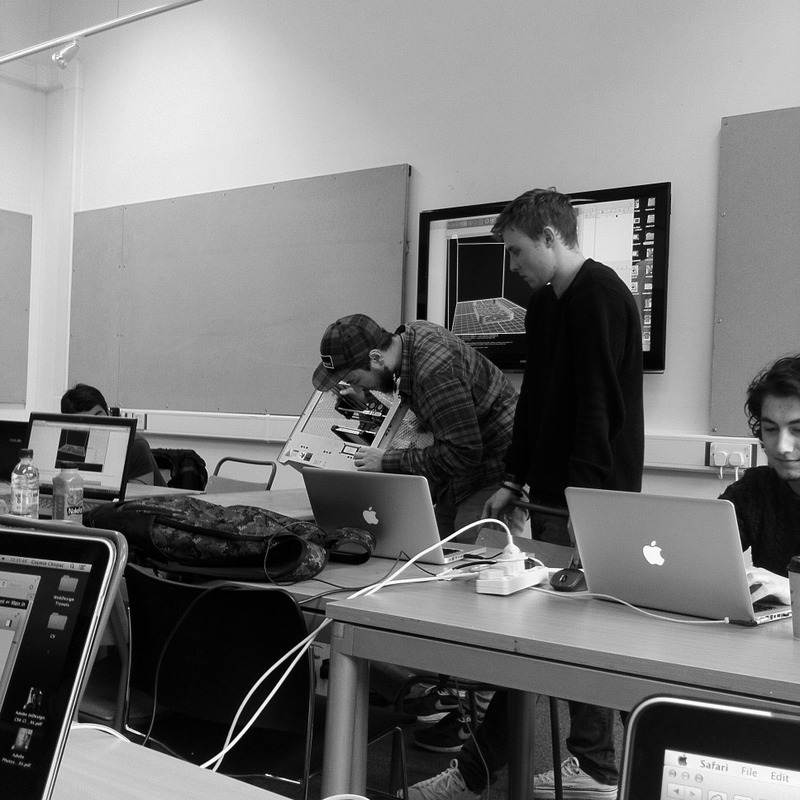
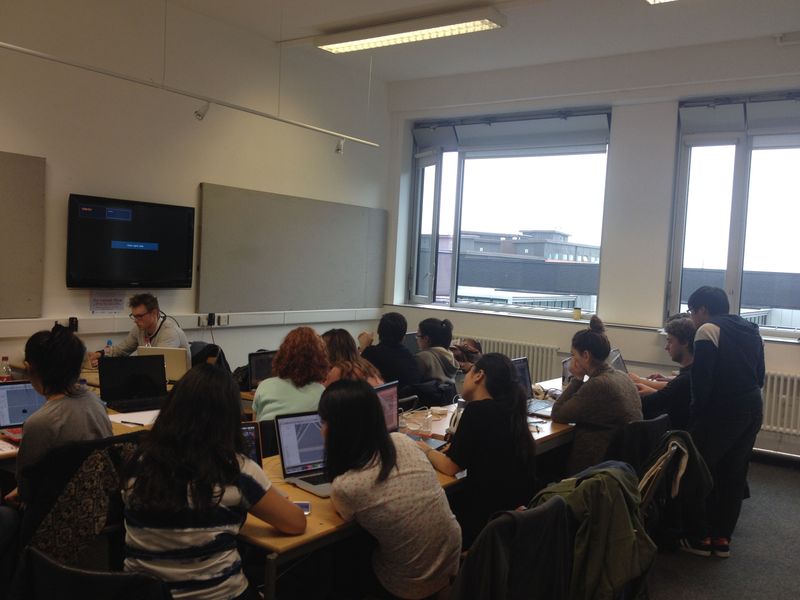
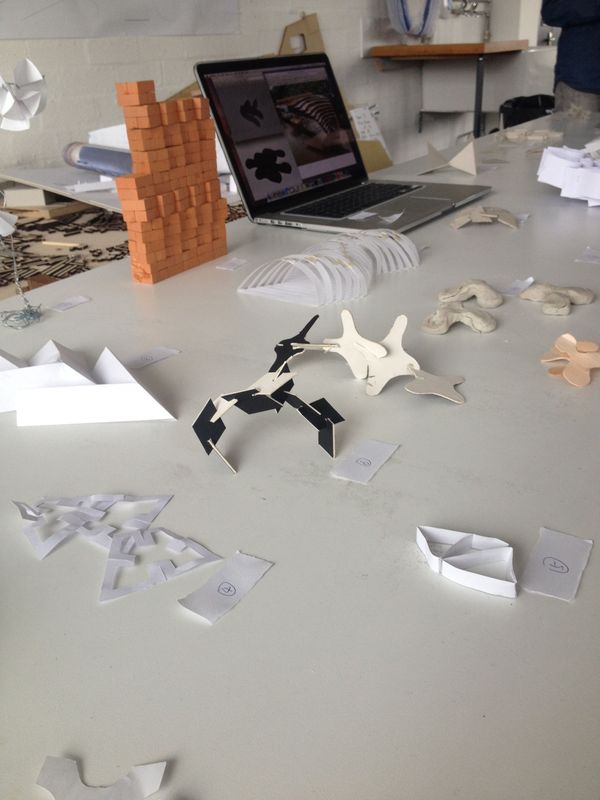
Day 5. Only hands did the talking today. Experimenting with variety of materials, 3D moulds and techniques.
Posted 12 May 2014 02:18
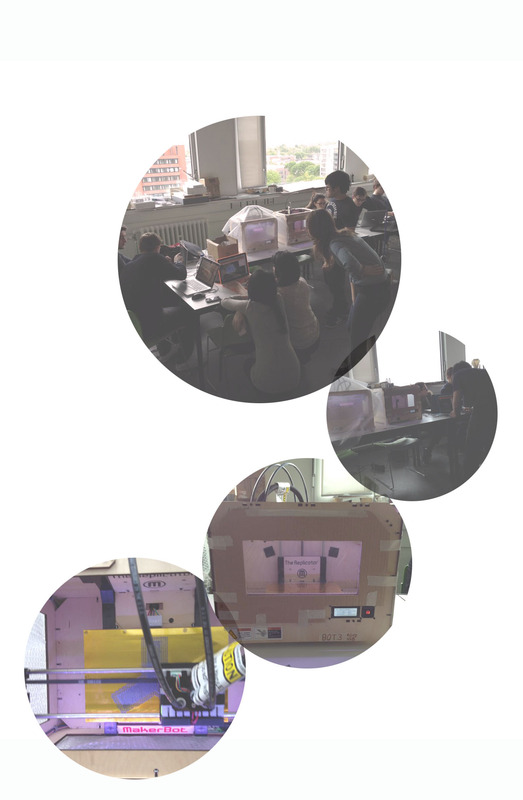
Day 5. 3D printing on process!
Posted 12 May 2014 02:06
Experimenting with materials-windows had to be kept wide open!
Posted 11 May 2014 22:51
After choosing the final design we were given an introduction to 3d printing.
Posted 11 May 2014 22:50
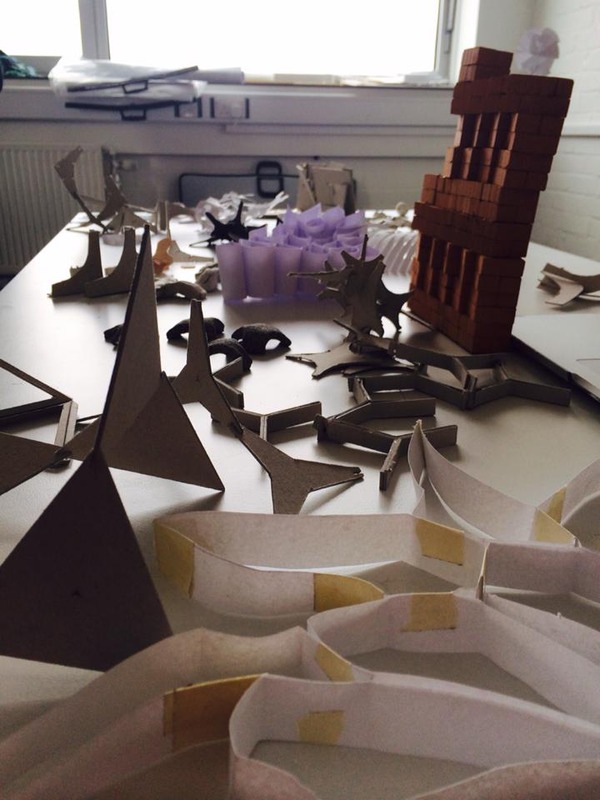
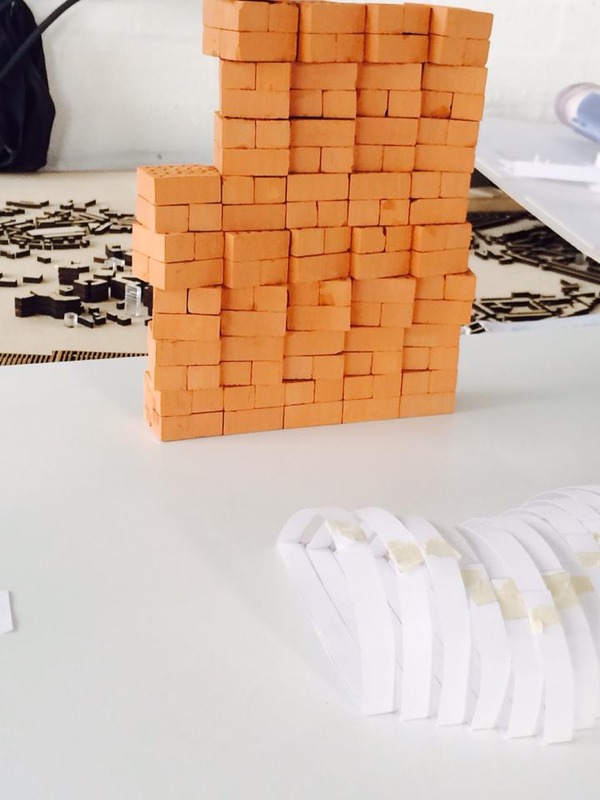
Testing construction materials-miniature bricks.
Posted 11 May 2014 22:46
Components assembled using no glue or any other sort of connectors.
Posted 11 May 2014 22:45
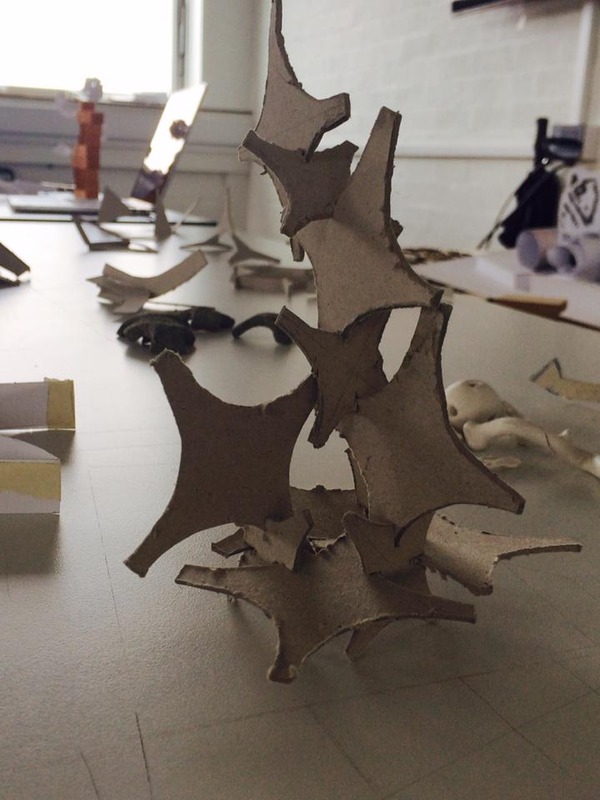
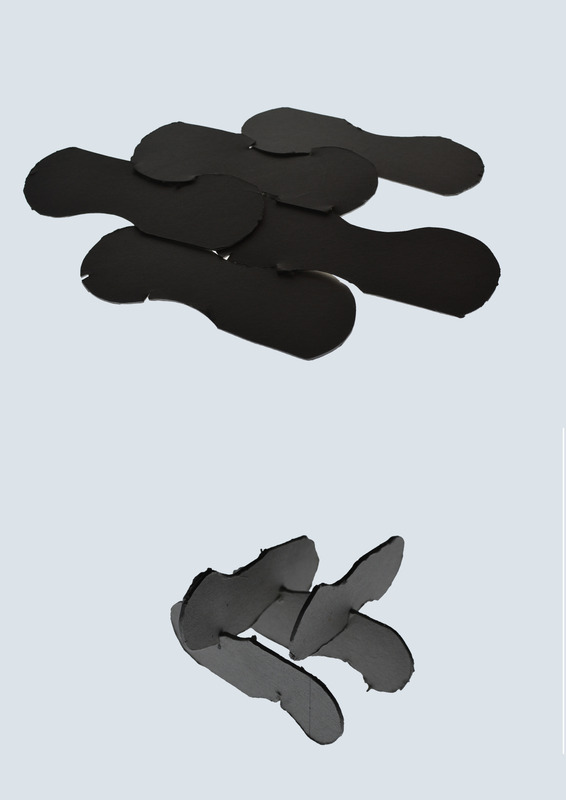
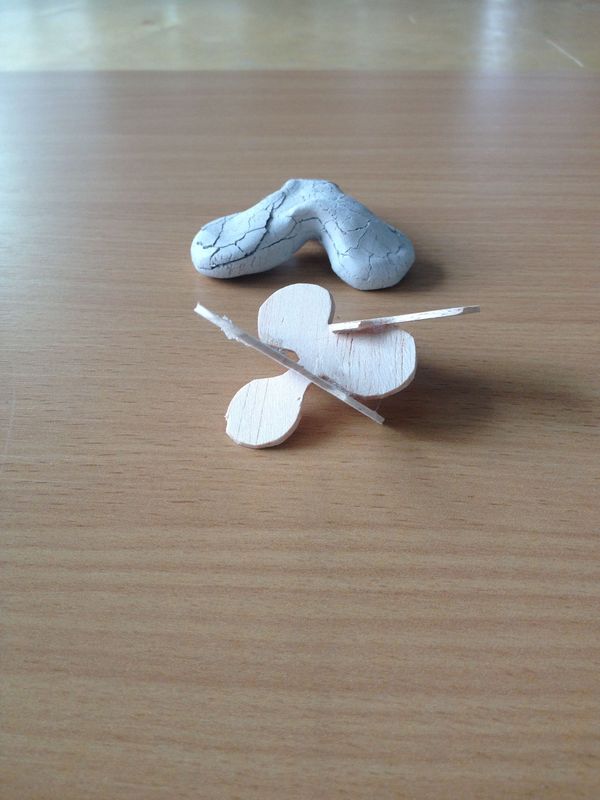
First exercise: Individually create 2d/3d components using simple model making materials.
Posted 11 May 2014 22:40
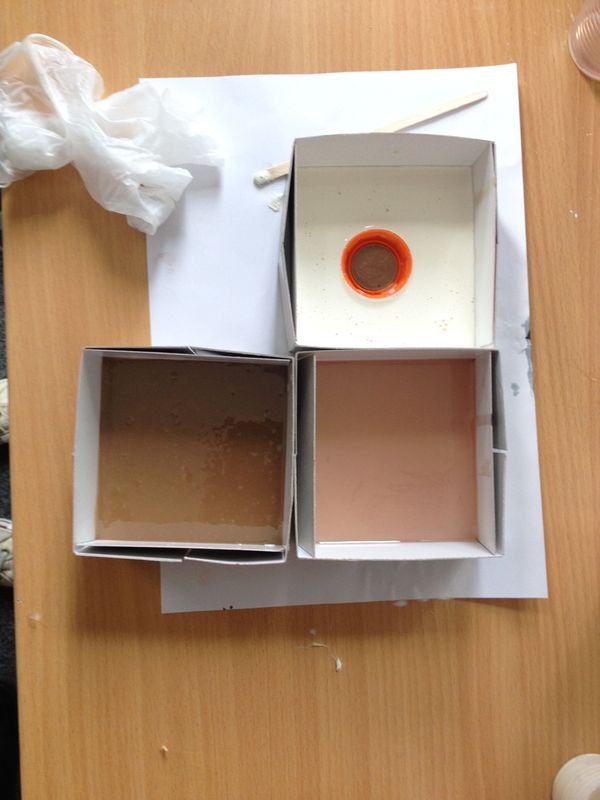
resin and plaster casts
Posted 9 May 2014 22:02
plaster cast - probably go with this. Its the fastest drying!
Posted 9 May 2014 22:01
materials testing!
Posted 9 May 2014 22:00
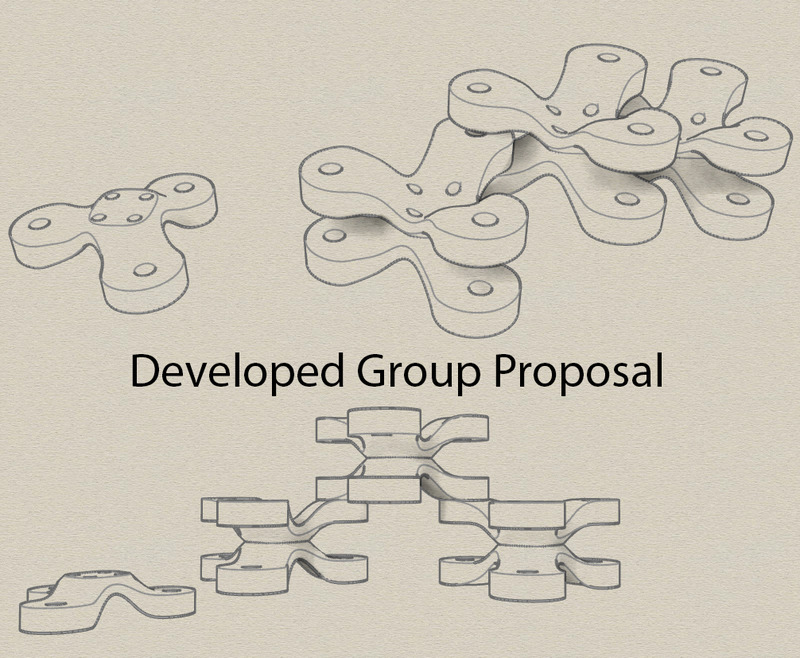
Working in groups, we further developed the shortlisted models.
Posted 9 May 2014 19:36
Day 5
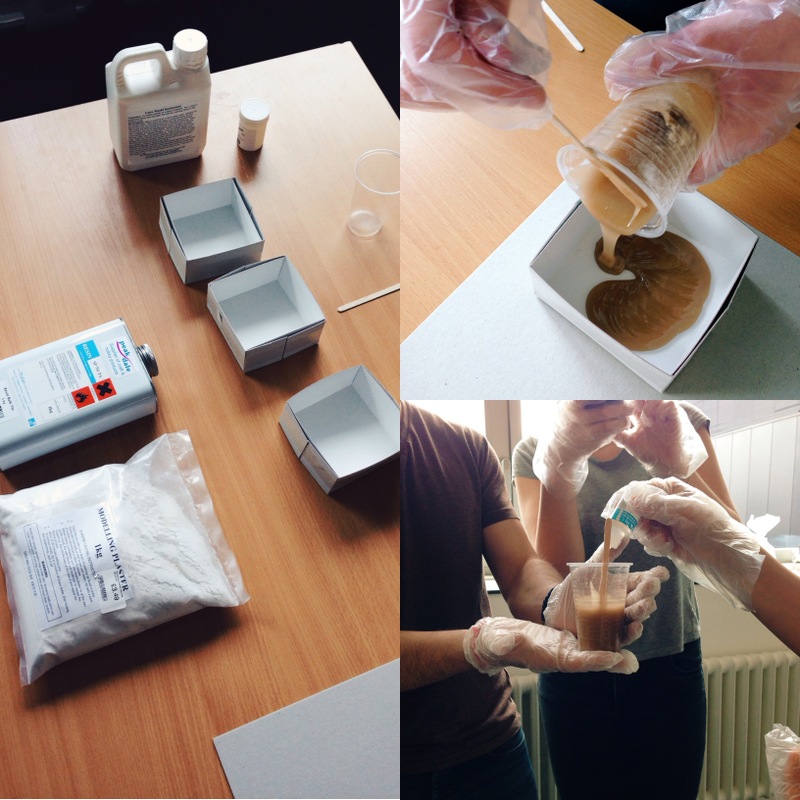
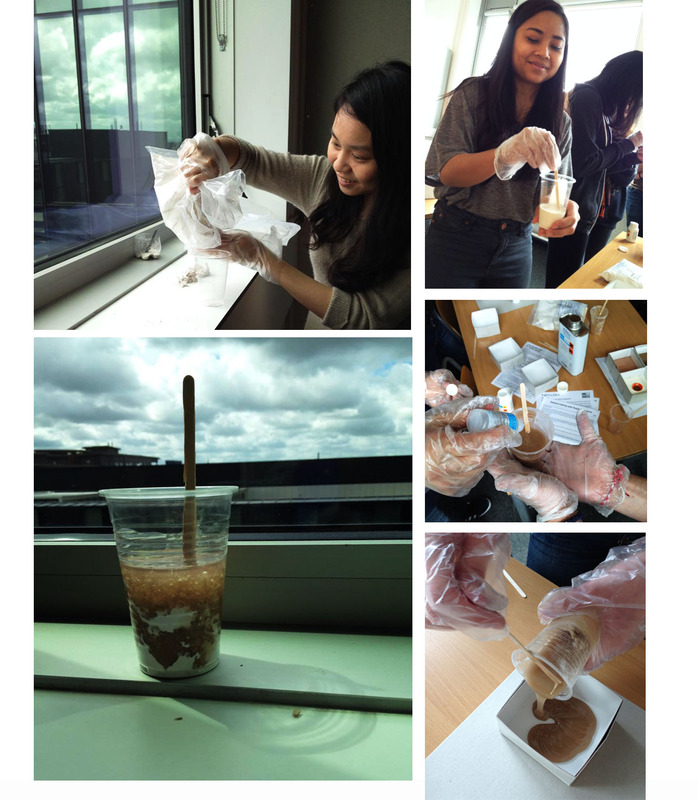
Today we experimented with a variety of materials for the moulds and the components. We tested out plaster, resin and latex to see which one would be the most appropriate for our purpose.
Posted 9 May 2014 19:26
A 3d printed model of our proposal!
Posted 9 May 2014 19:17
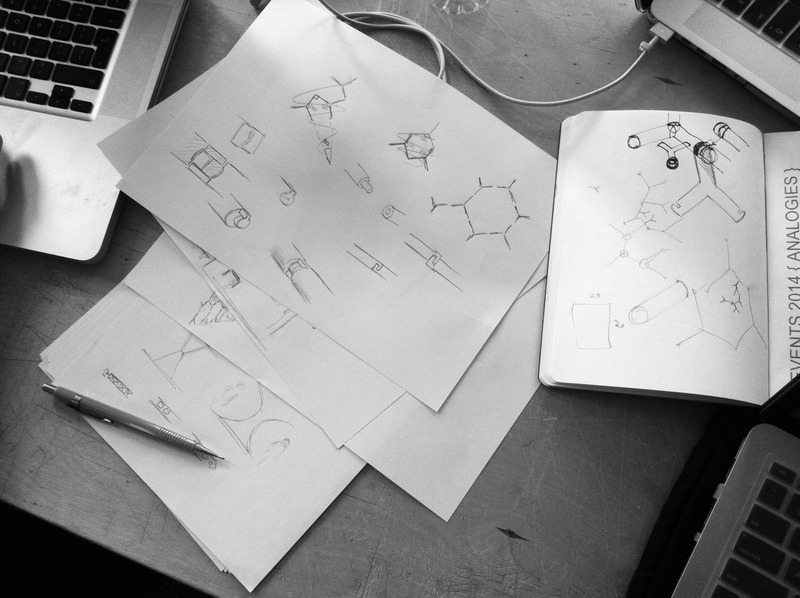
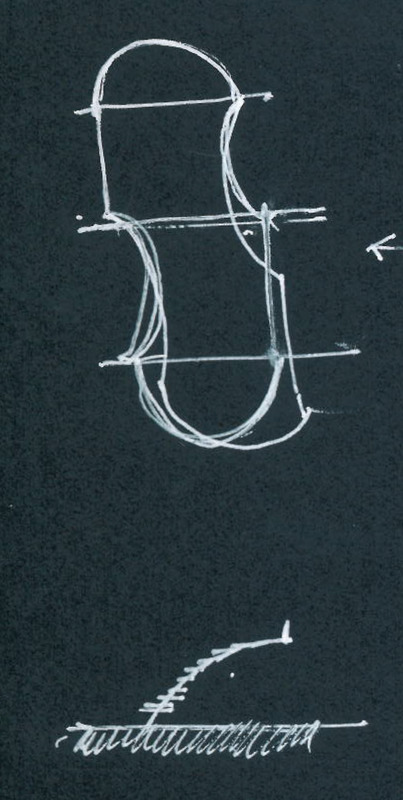
Day 1: Putting down initial ideas on paper
Posted 9 May 2014 19:04
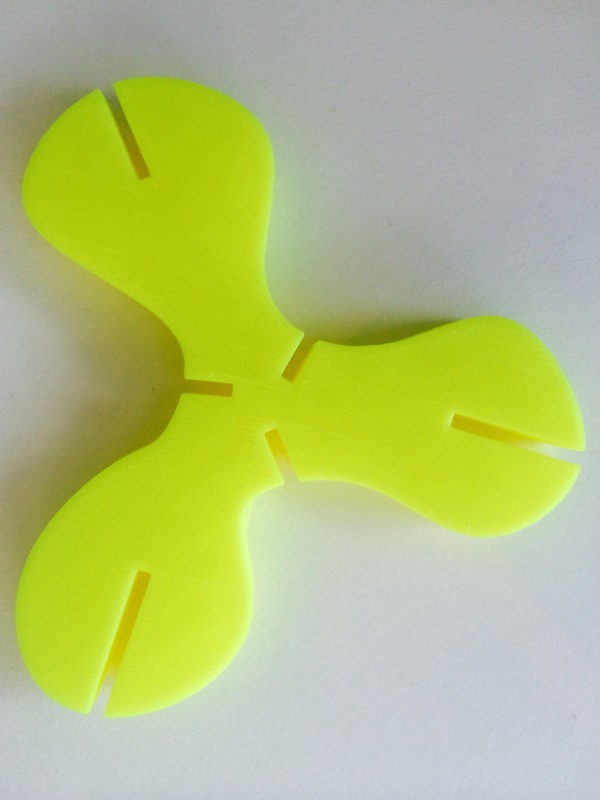
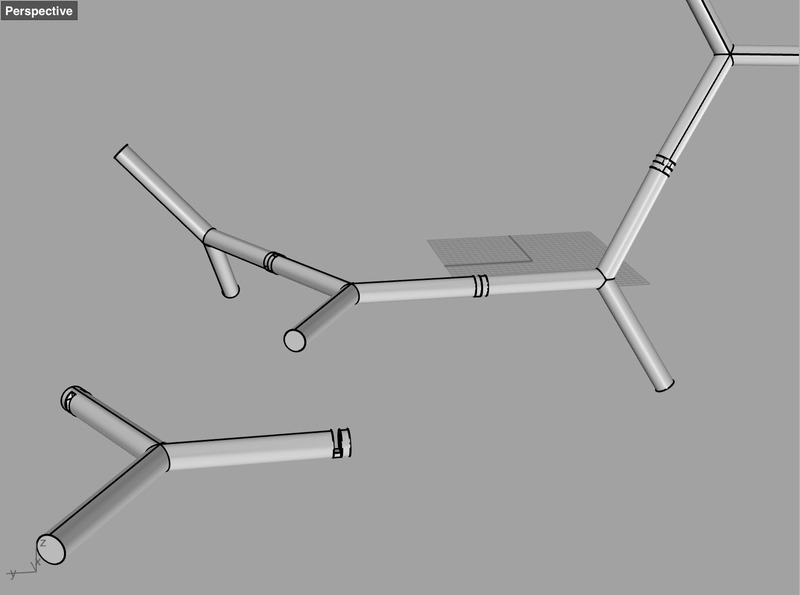
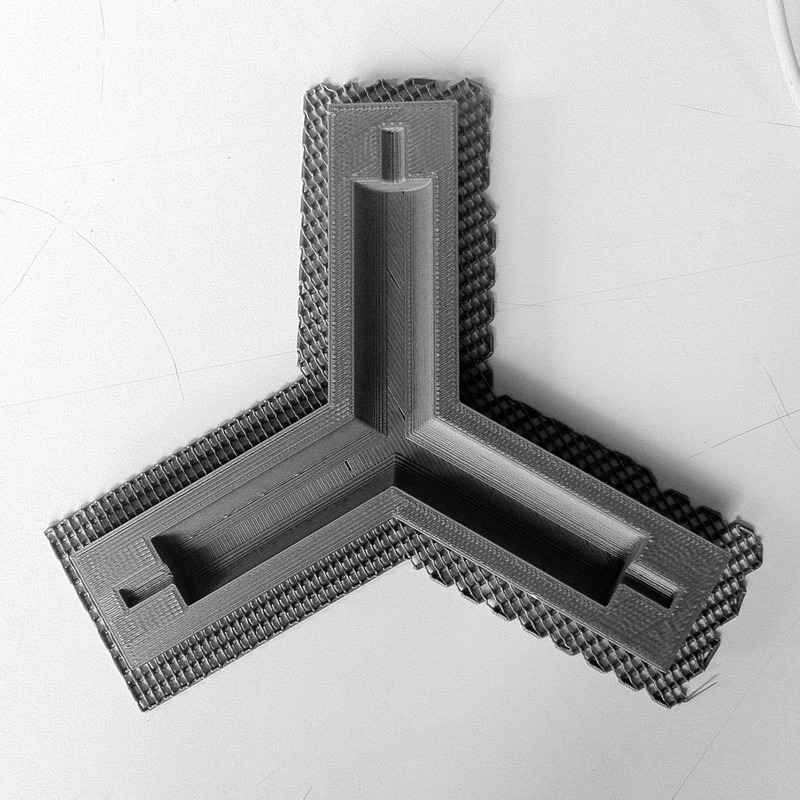
Day 4 // I added holes and connectors to the component.
Posted 9 May 2014 17:40
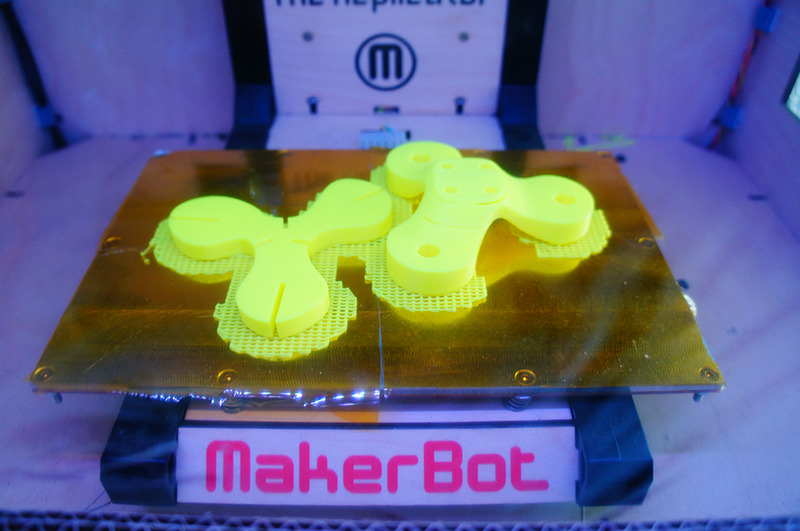
The successful 3D printing of our components today
Posted 9 May 2014 17:35
Day 5 // Morning session // Introduction to 3D printing
Posted 9 May 2014 16:45
Day 5 // Afternoon session // Materials testing // Plaster, resin and latex.
Posted 9 May 2014 16:40
Day 3 // Presentation on individual models.
Posted 9 May 2014 16:24
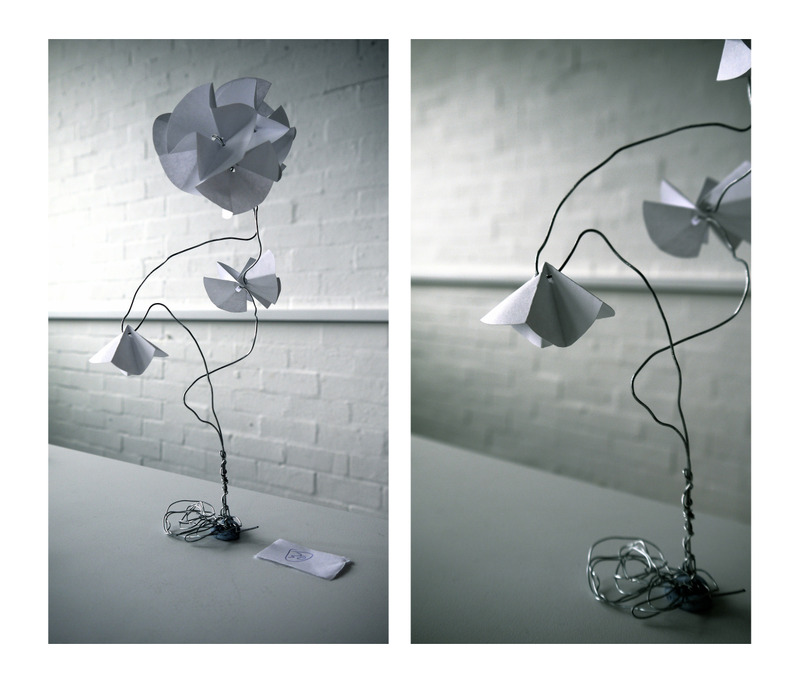
Day 1 // Making sketch models // We were asked try not to connect components together with glue, so I was thinking maybe we can cut holes in the component and connect them with a wire structure.
Posted 9 May 2014 16:13
Group model proposals.
Posted 9 May 2014 16:06
Making molds for the components
Posted 9 May 2014 16:05
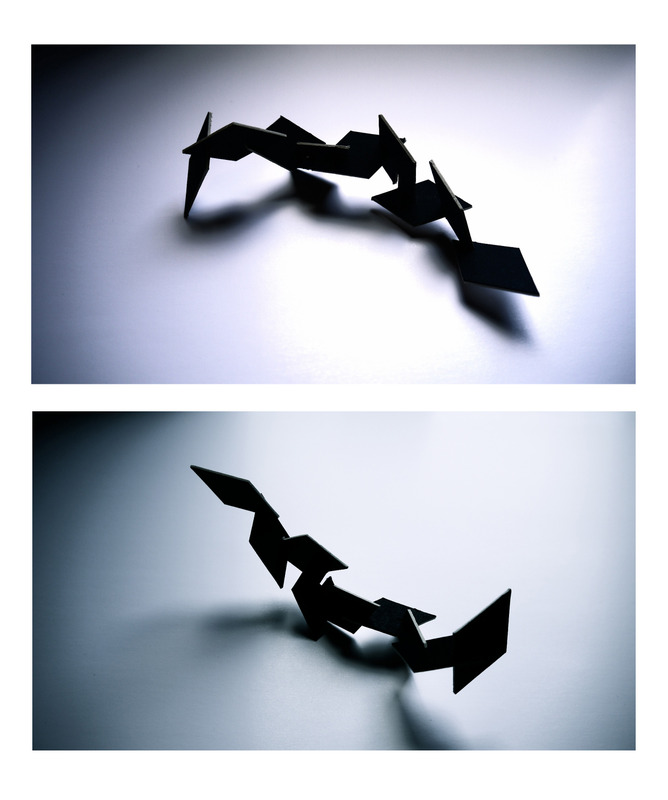
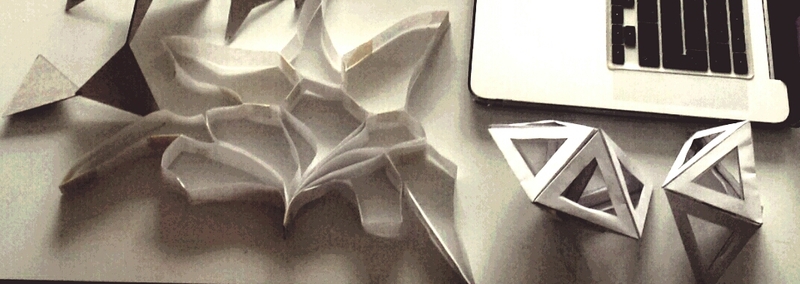
Understanding the shapes the components can make
Posted 9 May 2014 16:04
Rough model proposals.
Posted 9 May 2014 16:02
Day 1 // Making sketch models // Rhombus interlocking with each other.
Posted 9 May 2014 16:00
Material testing for the moulds.
Posted 9 May 2014 15:59
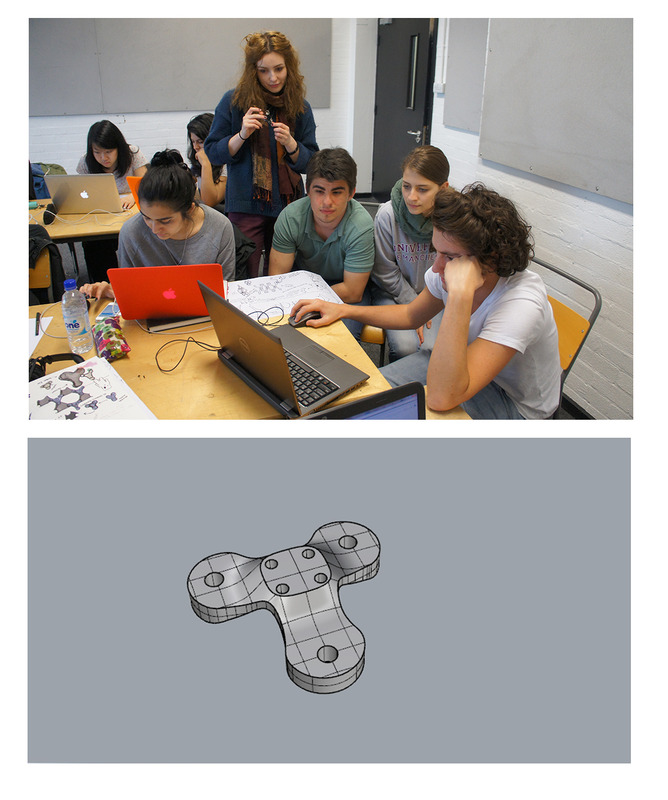
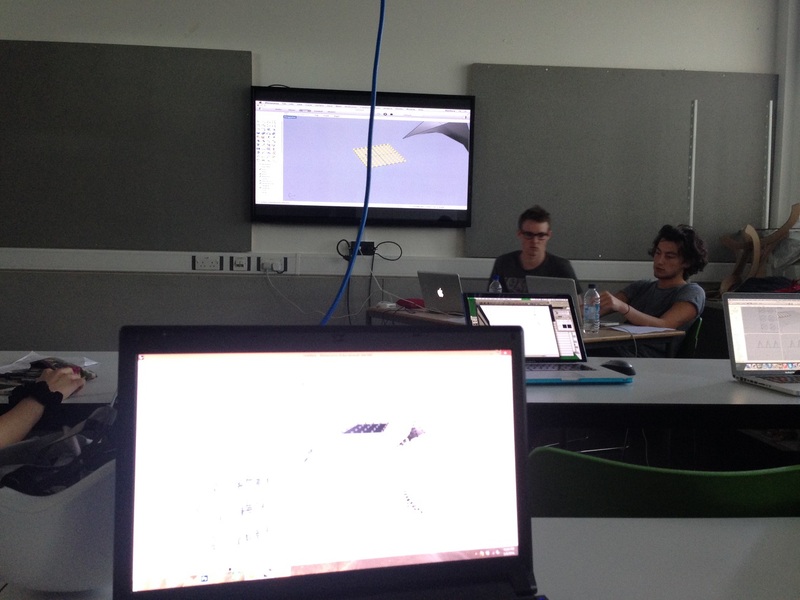
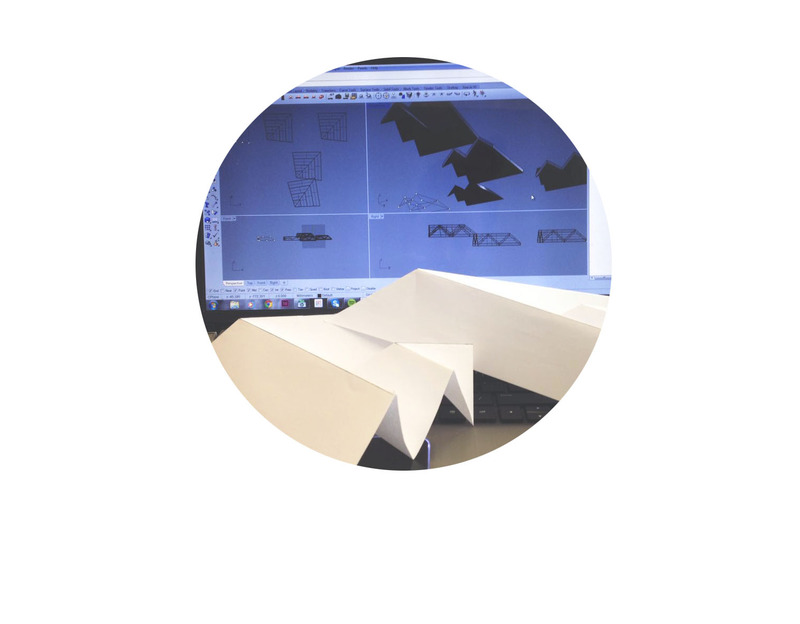
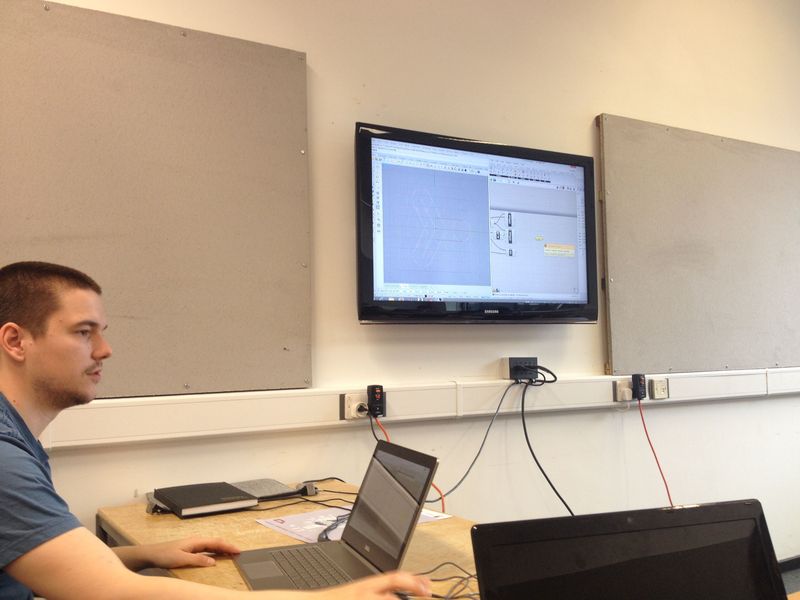
Using rhino for architecture
Posted 9 May 2014 15:59
Day 2 // Morning session // Rhino Tutorial // Learning basic commands such as Scale, Extrude, Array etc.
Posted 9 May 2014 15:47
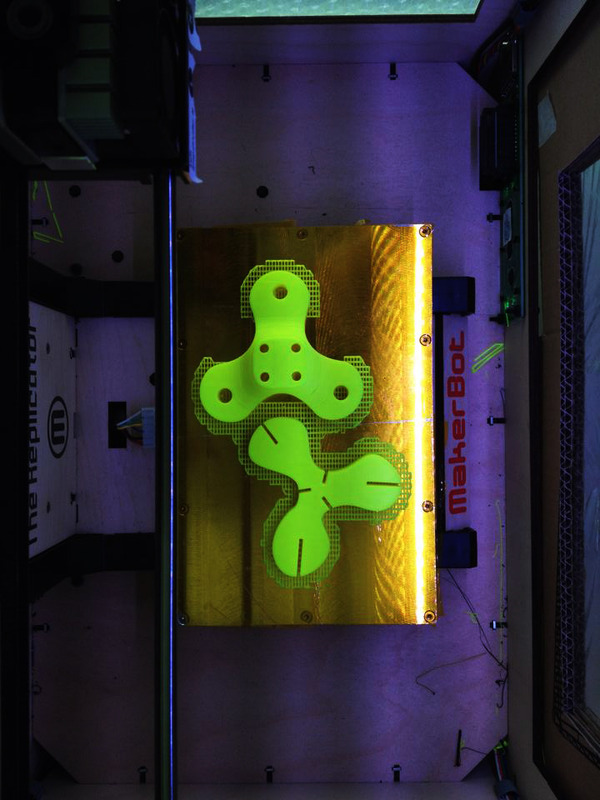
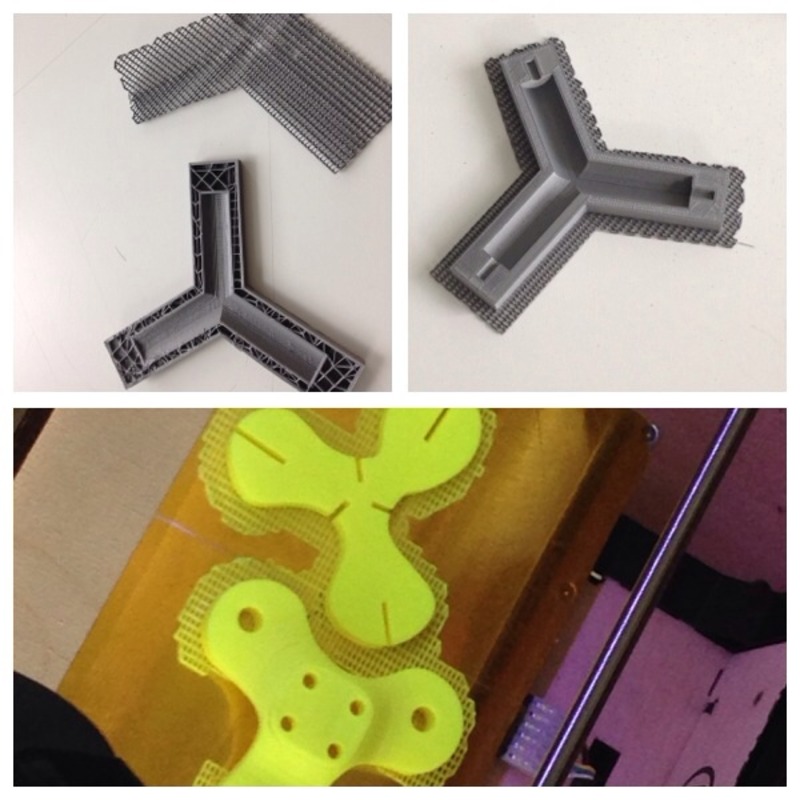
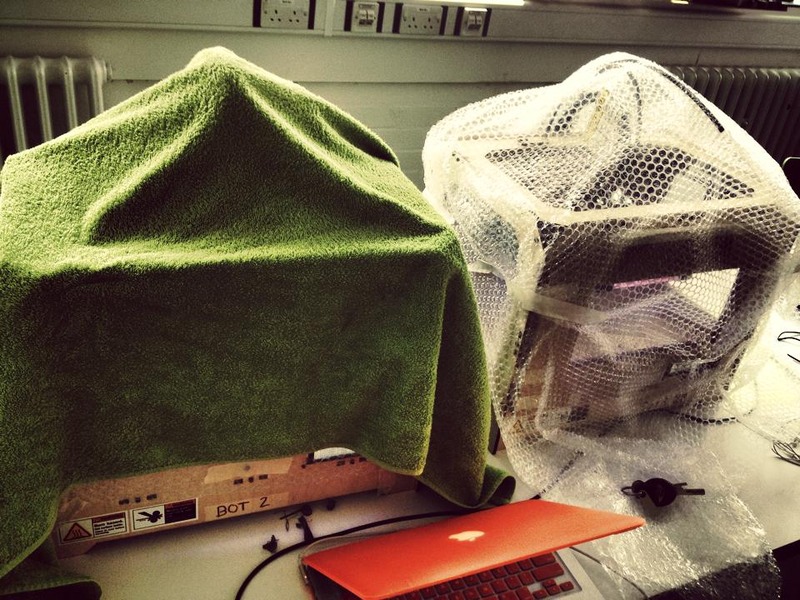
The first mould broke because the temperature in the printer was not the same all the time, and it started distorting. The second one came out perfectly after we wrapped the printer in a towel.
Posted 9 May 2014 15:37
Testing materials, including resin, latex, and plaster
Posted 9 May 2014 15:28
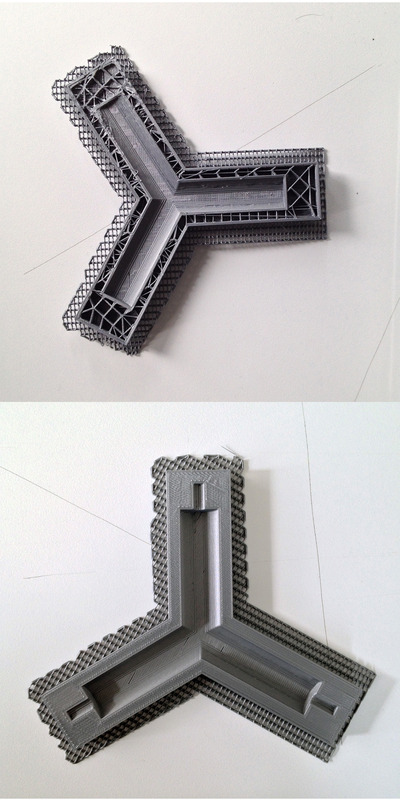
Mould 3D printed correctly
Posted 9 May 2014 15:28
Day 3, models that we all made
Posted 9 May 2014 15:23
Day 5 (9/5/14) : Experimenting with different casting materials; resin, latex and plaster.
Posted 9 May 2014 14:57
Day 3: using sketches and rhino to develop the components
Posted 9 May 2014 14:45
3D Printing the mould for the group project.
Posted 9 May 2014 14:42
Day 5. Experimenting with materials and techniques.
Posted 9 May 2014 14:40
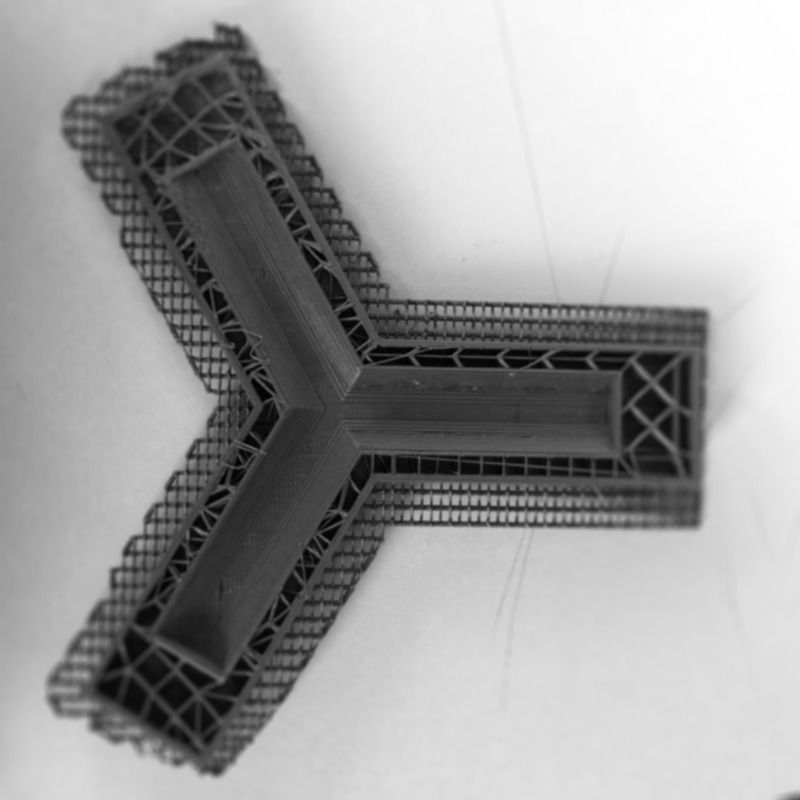
Day 5 3D Printing: The 'Twin Towers'
Posted 9 May 2014 14:39
Day 5. Testing different materials for the moulds.
Posted 9 May 2014 14:31
Day 5: Start printing moulds.
Posted 9 May 2014 14:22
Day 5: Casting and mould materials testing including plaster, resin and latex.
Posted 9 May 2014 14:18
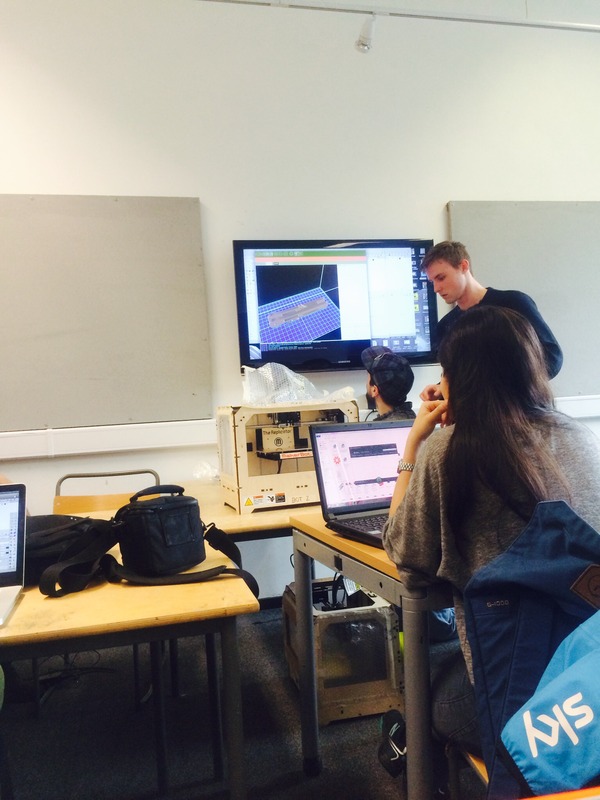
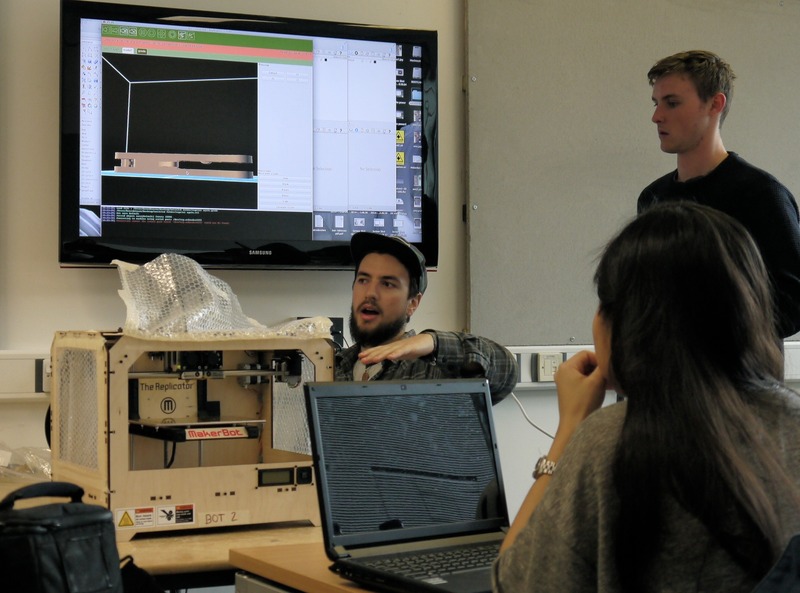
Before starting printing we were given a tutorial on how to use "Replicator G" in order to produce the final product
Posted 9 May 2014 14:17
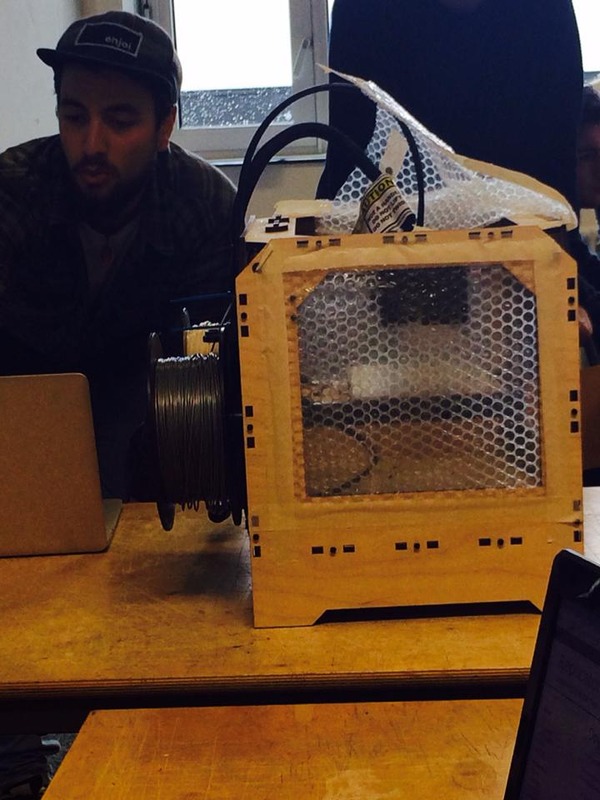
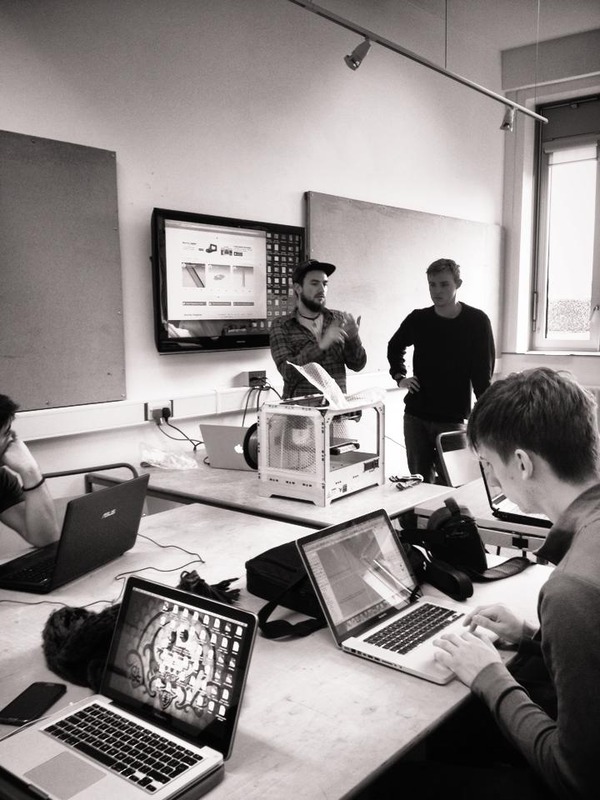
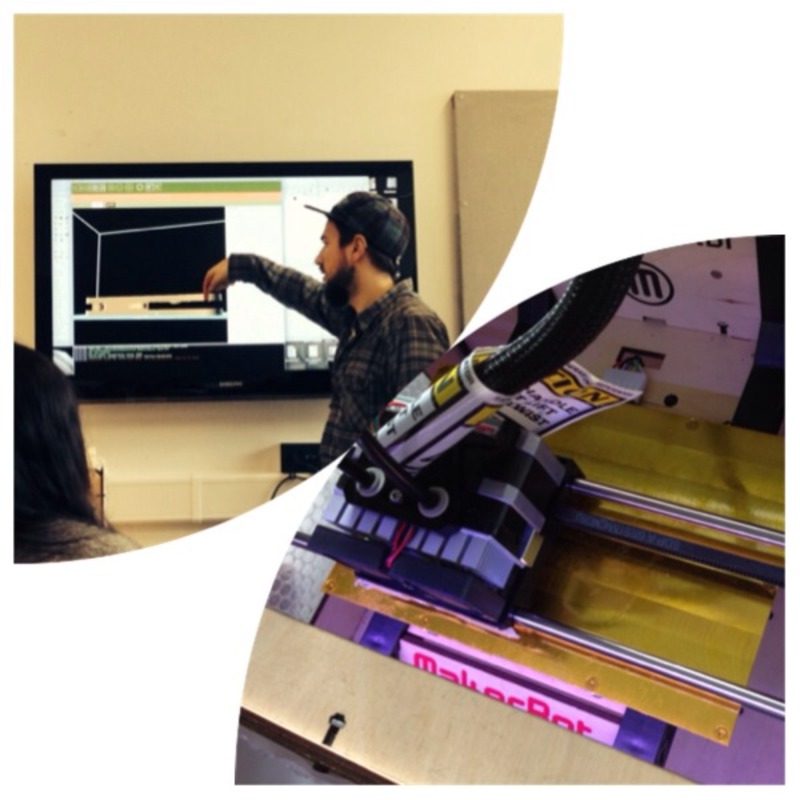
Day 5: 3D Printing Workshop by Ben Robinson (Remap)
Posted 9 May 2014 14:17
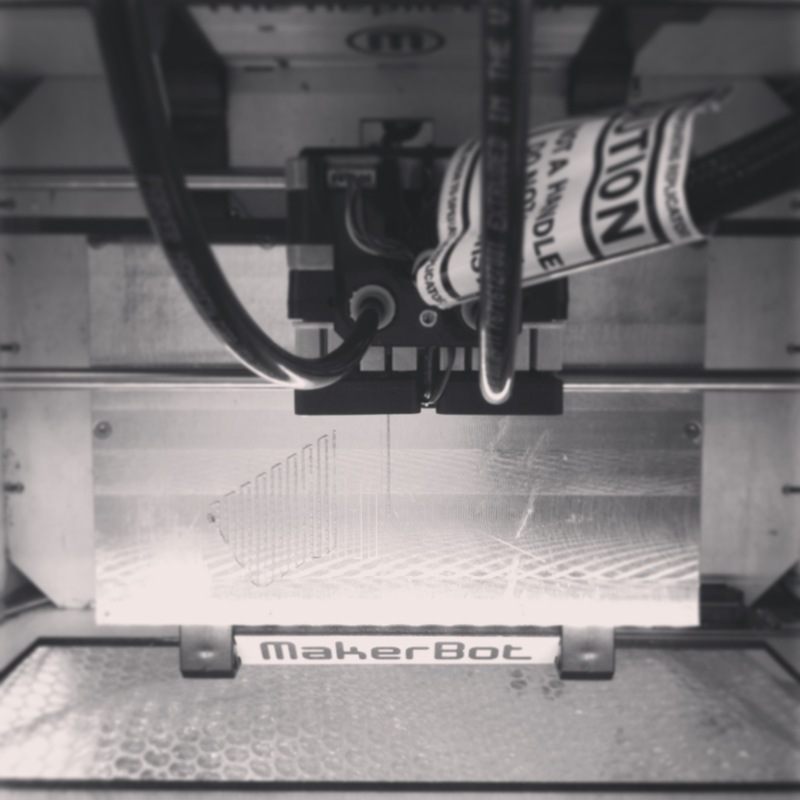
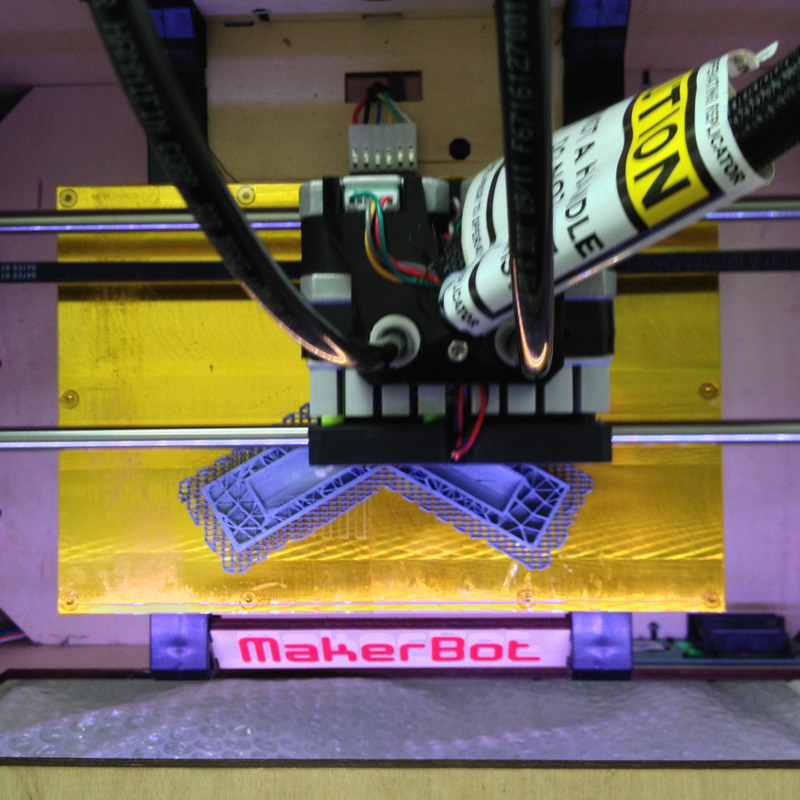
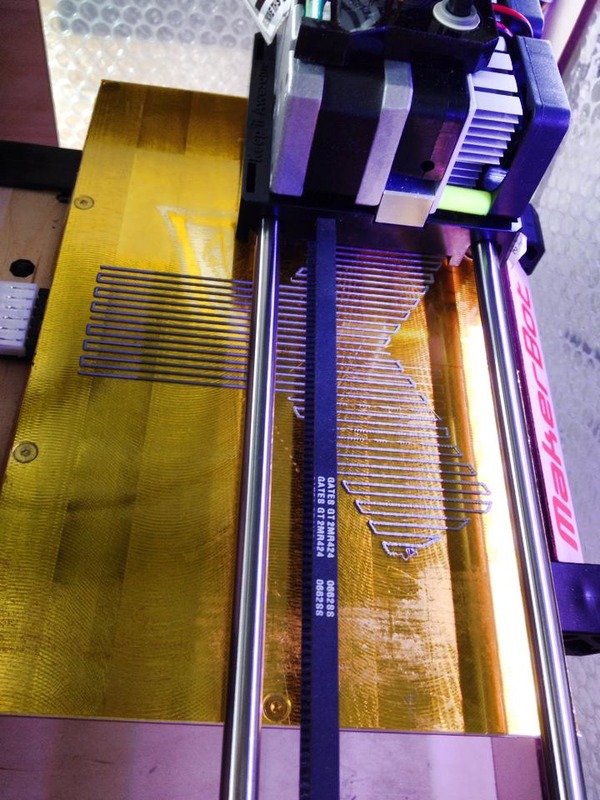
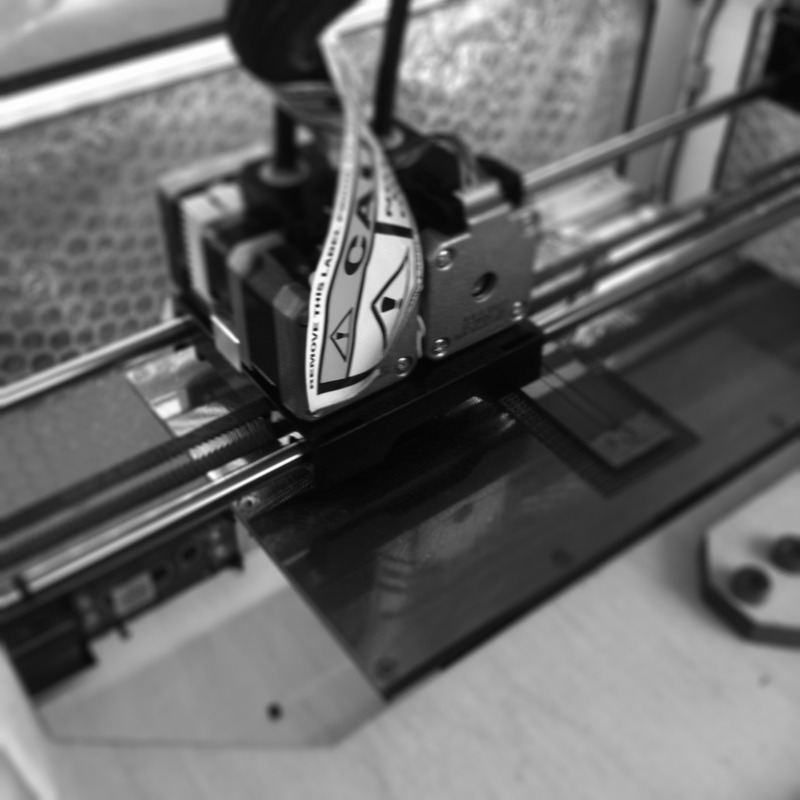
This is a photo taken during the printing process.
Posted 9 May 2014 14:00
Today we tried printing test models using a 3d printer and we successfully printed one mould.
Posted 9 May 2014 13:58
Day 5. Testing moulds by 3D printing.
Posted 9 May 2014 13:36
Learning how to 3D print
Posted 9 May 2014 13:19
3D printed mould that broke
Posted 9 May 2014 13:18
3D printing
Posted 9 May 2014 13:12
3D printing moulds and components to experiment with materials and casting later
Posted 9 May 2014 13:07
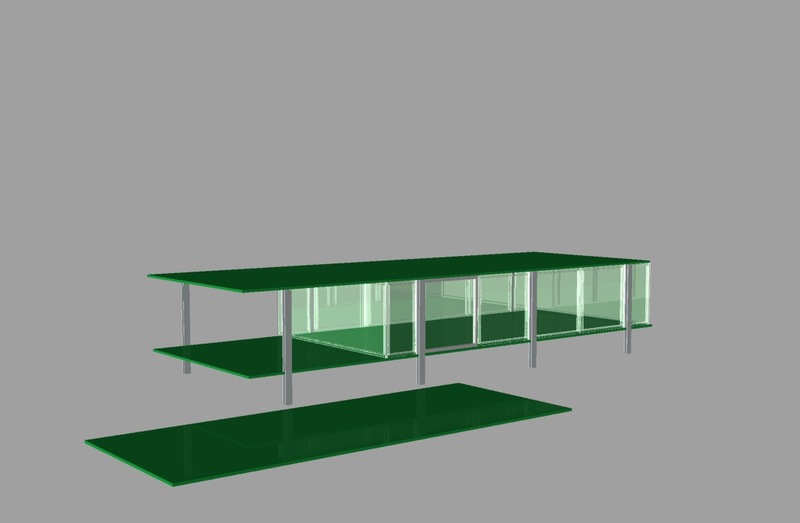
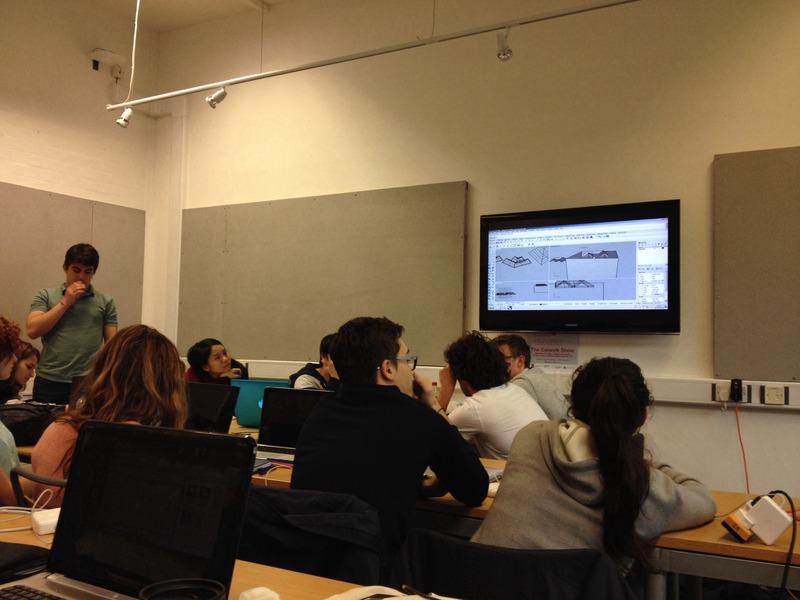
On Tuesday we had a session learning the basics of Rhino 3D. After lunch we used these skills to create a quick 3D model of Farnsworth House, then applying whatever materials were available just to test out how rendering worked.
Posted 9 May 2014 13:06
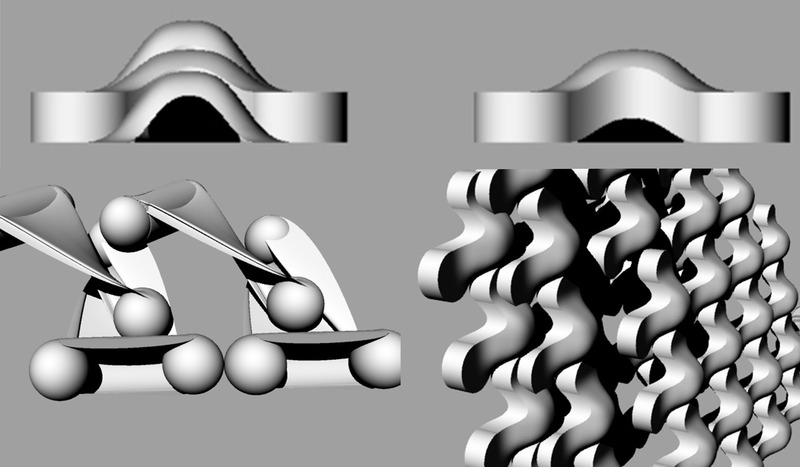
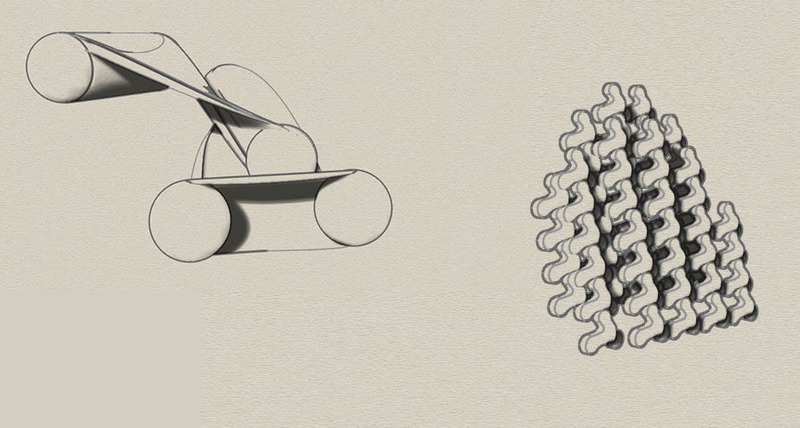
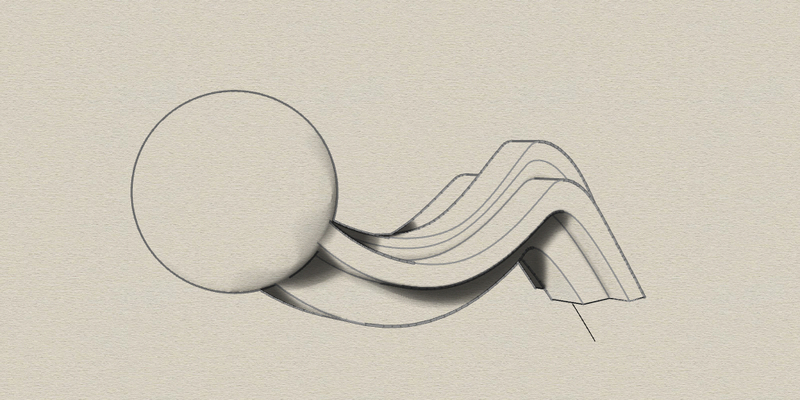
Early development sketch of my form and the way they stack.
Posted 9 May 2014 12:52
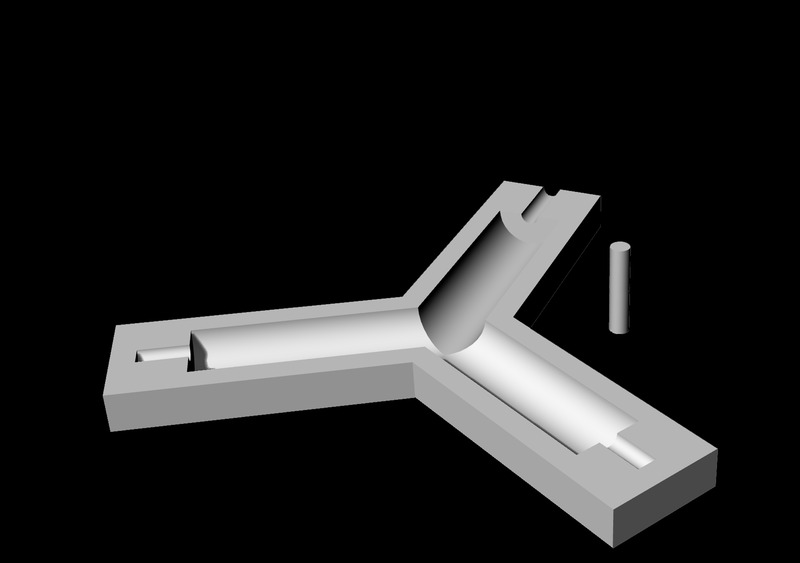
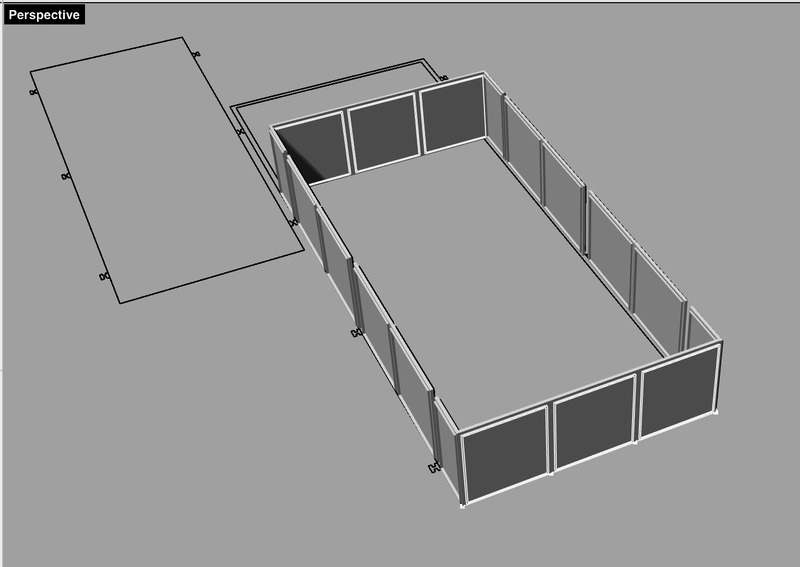
Rhinoceros model of the mould. There will be 2 of the same mould stuck on top of each other and the plaster will be poured in through the whole at the end.
Posted 9 May 2014 12:50
Deciding what component to use
Posted 9 May 2014 12:46
Day 2 (6/5/14) : A workshop-style session on using Rhinoceros 3D.
Posted 9 May 2014 12:27
Day 3 (7/5/14) : Developing the chosen models, figuring out how to connect the modular elements and form an intriguing (and possible) installation to place on site.
Posted 9 May 2014 12:20
Day 4 (8/5/14) : A brief tutorial on the basics of Grasshopper 3D.
Posted 9 May 2014 12:15
Day 5 (9/5/14) : Demonstration on how to use a Makerbot 3D printer.
Posted 9 May 2014 12:12
Day 5- 3D printing our components today is the objective
Posted 9 May 2014 12:11
choosing our final component design
Posted 9 May 2014 10:41
our initial component design
Posted 9 May 2014 10:41
Day 4. Creating components for the mould.
Posted 8 May 2014 15:57
Day 4- All working hard on creating our components ready to create our negative moulds to 3D print for tomorrow.
Posted 8 May 2014 15:16
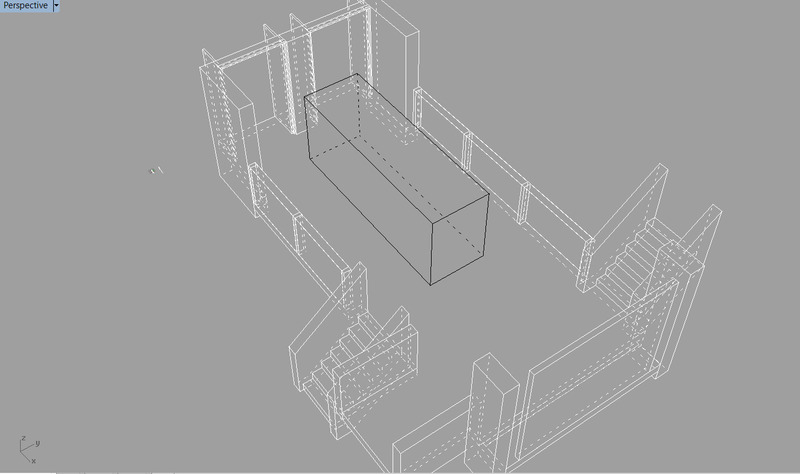
Day 4: Display Space Constraint (1500x5000x2000)
Posted 8 May 2014 12:48
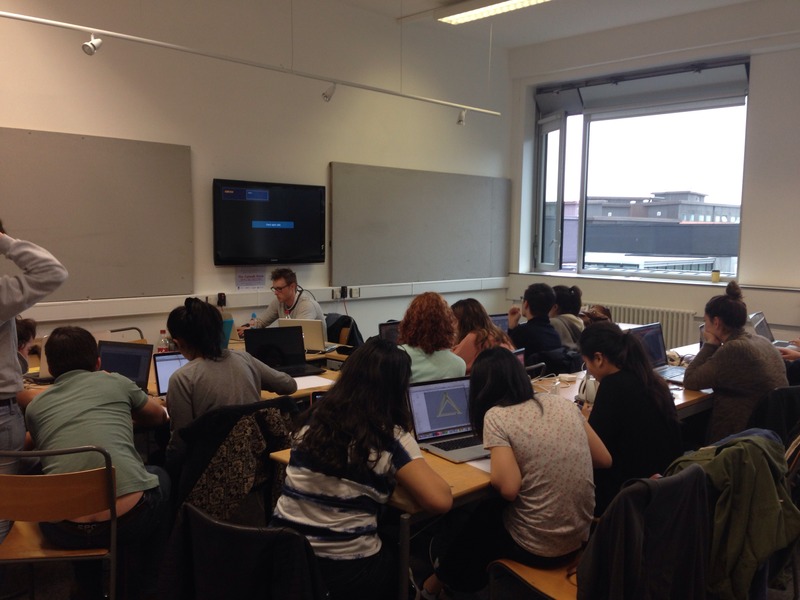
Day 4 : Grasshopper workshop by Patrick Drewello on basic function
Posted 8 May 2014 12:42
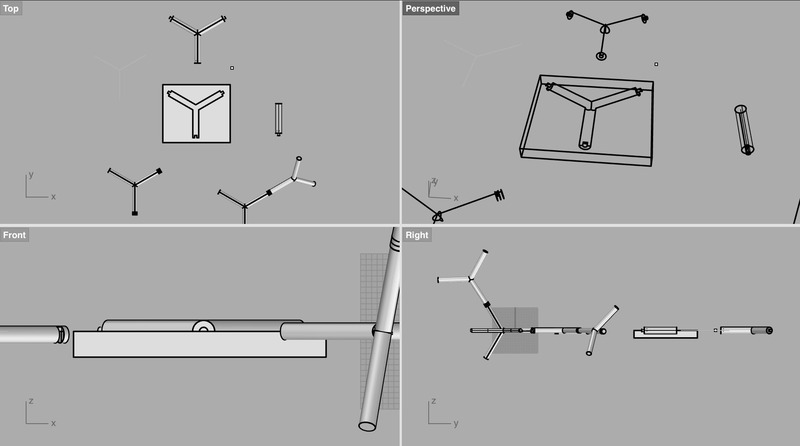
Rhino trials for the group model. Different types of joints.
Posted 8 May 2014 11:45
DAY 4 - 8/5
Grasshopper: Baking the Geometry
Posted 8 May 2014 10:54
DAY 3 - 7/5
MODELS
Posted 8 May 2014 10:52
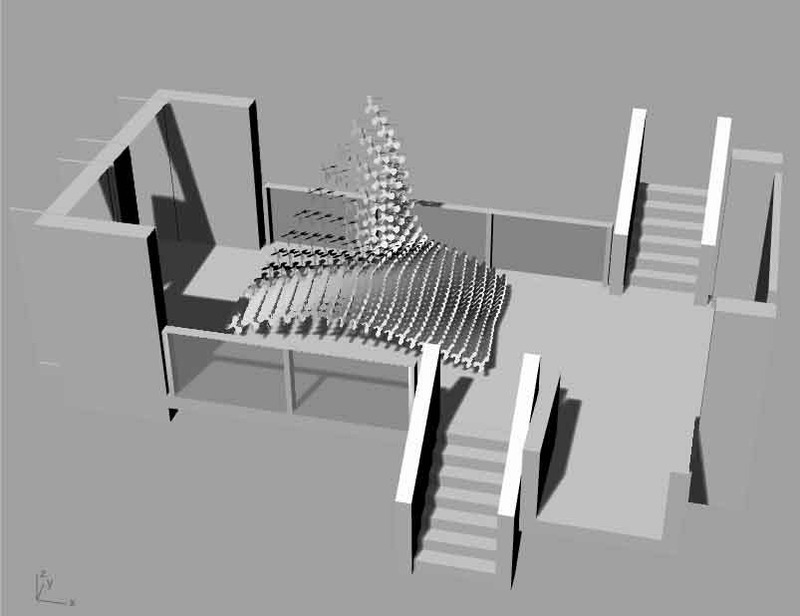
Brainstorming for a simple form that could generate a large scale figure, a wall or maybe pavilion, shed.
Posted 8 May 2014 10:13
Group Proposals
Posted 7 May 2014 20:33
Individual Proposal
Posted 7 May 2014 20:27
Day 3 - From being split into groups we each chose a design to develop on Rhino this is our development.
Posted 7 May 2014 18:36
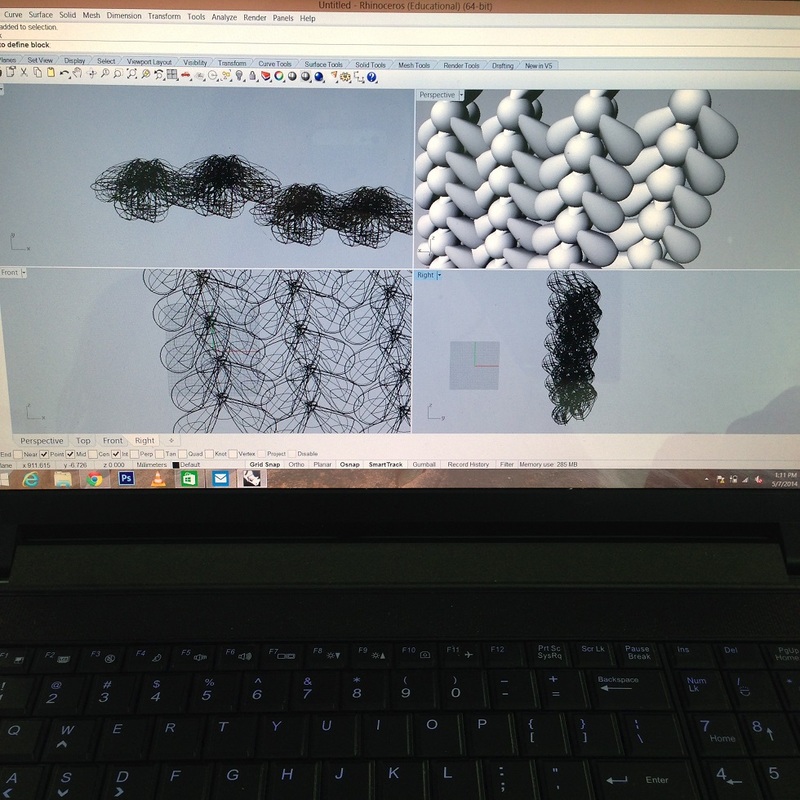
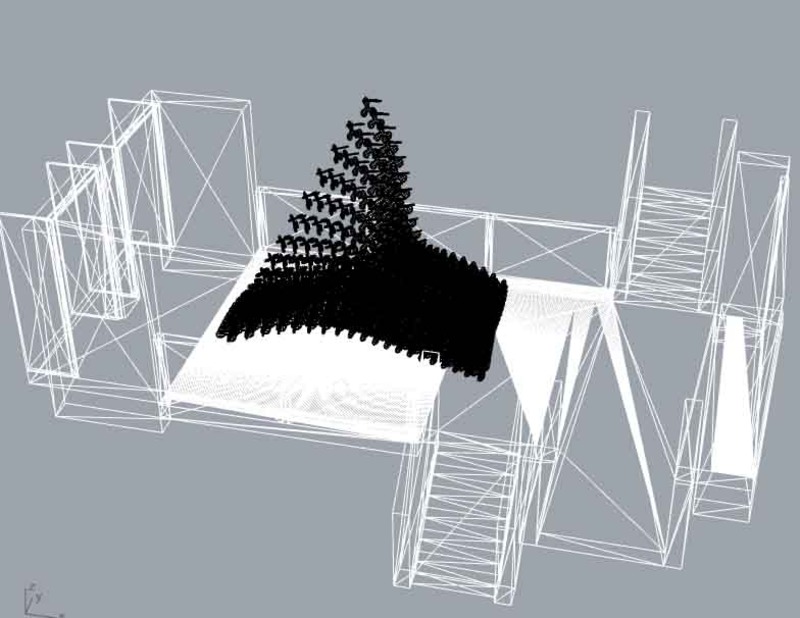
Wire mesh view!
Posted 7 May 2014 16:26
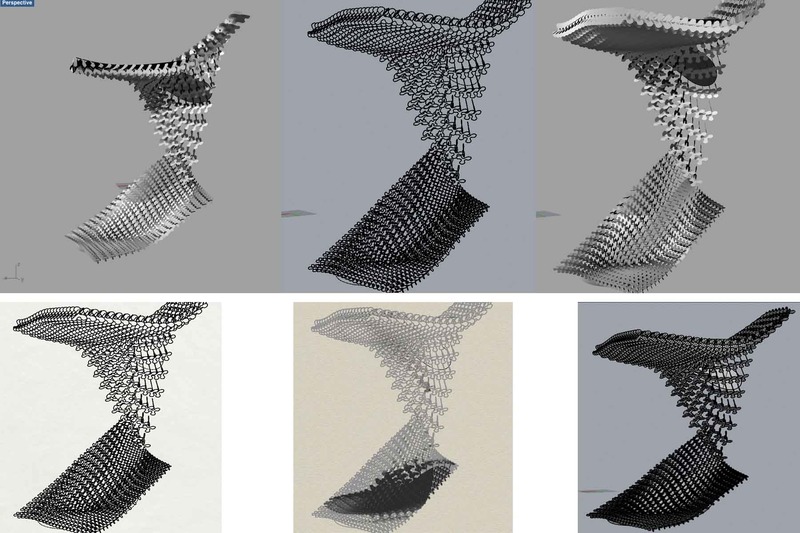
I put in use the shortlisted model shapes from today's activity and the techniques from yesterday's tutorials and came up with this digitally casted installation.
Posted 7 May 2014 16:22