Session 4.- Development
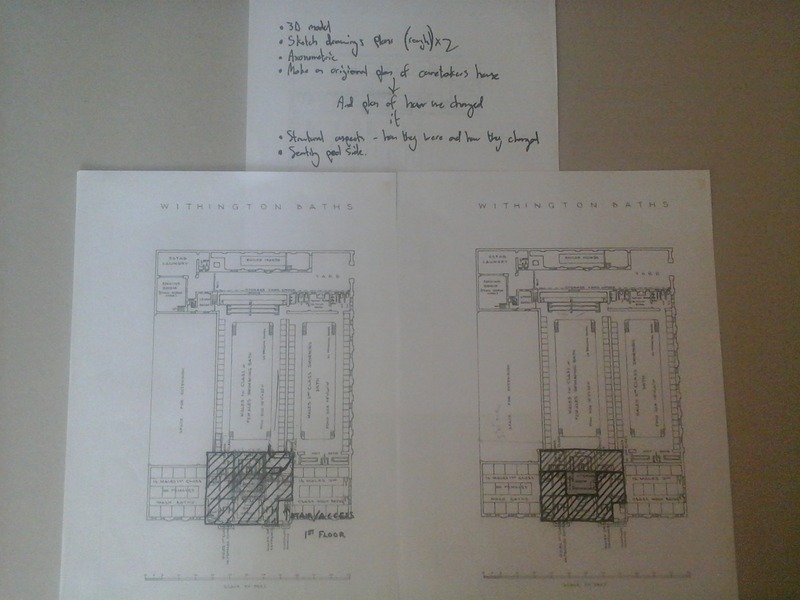
Proposed area for café, located on the first floor, a level above the pool.
Posted 15 May 2014 11:46
An updated concept plan after expanding our site beyond the original site boundary.
Posted 15 May 2014 11:45
Session 6: Final presentation day.
Posted 15 May 2014 11:45
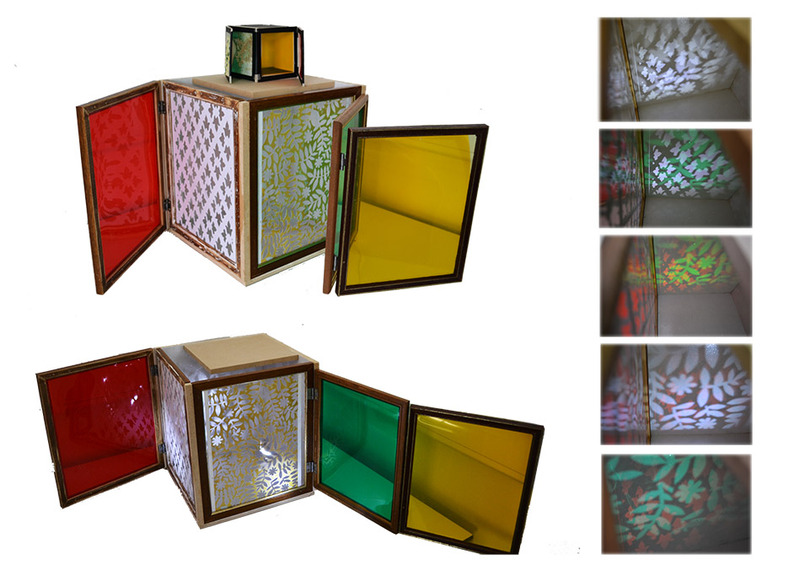
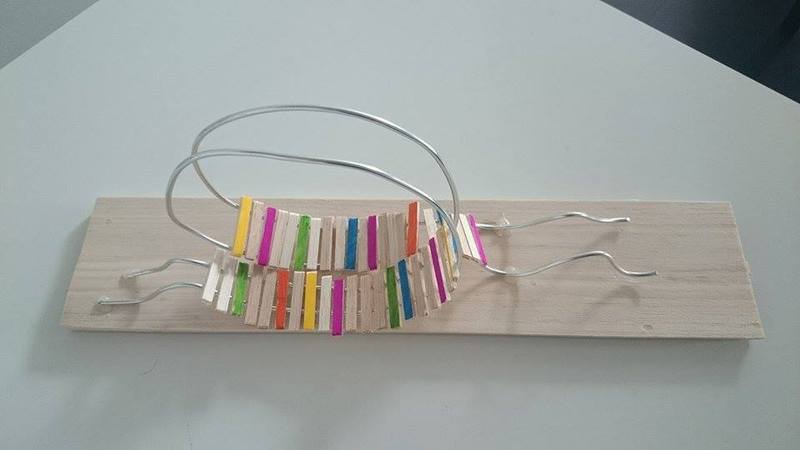
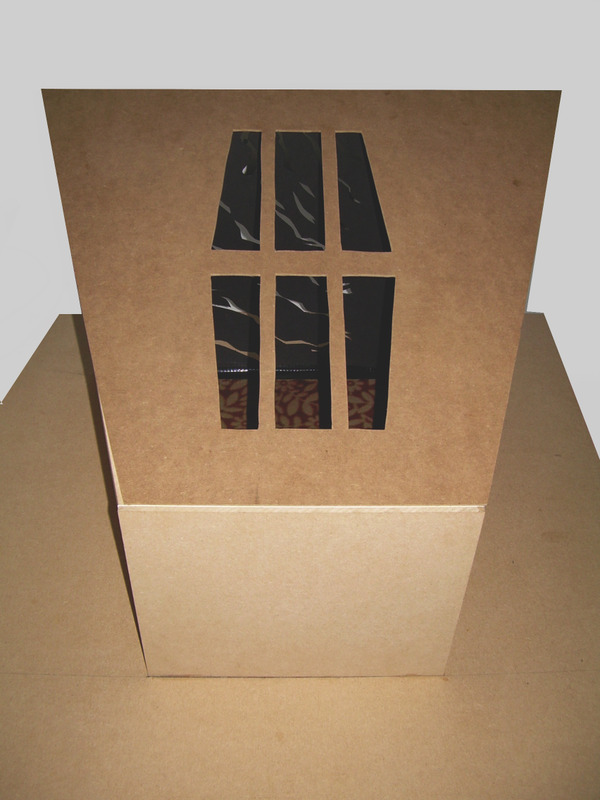
The final version of our model, with the conceptual model. The different combinations of light patterns created are shown on the right.
Posted 15 May 2014 11:44
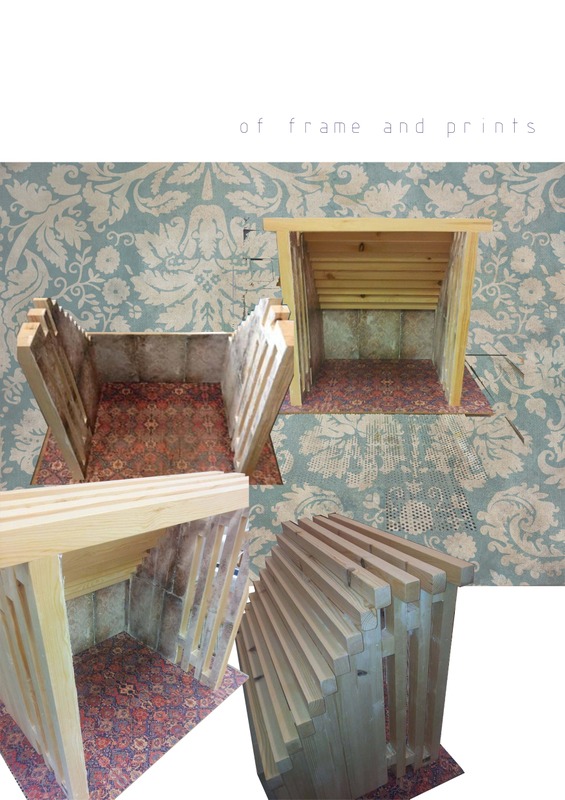
The partial model of our final design
Posted 15 May 2014 11:44
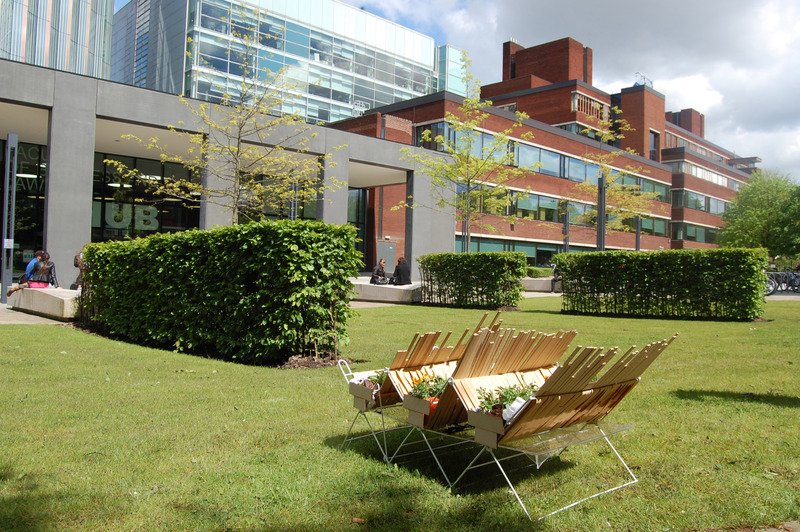
Planter constructed on the Business school area from the reclaimed materials. Site chosen due to the materials being synthetic/ man made much like the business school site. The Planter was also designed to allow as much sunlight into the 3 different areas. Using the idea from old studio spaces and simply reversing gives this result.
Posted 15 May 2014 11:44
Day 6
Final presentation day. I made a model in order to show how the structure would work in a 3D environment
Posted 15 May 2014 11:43
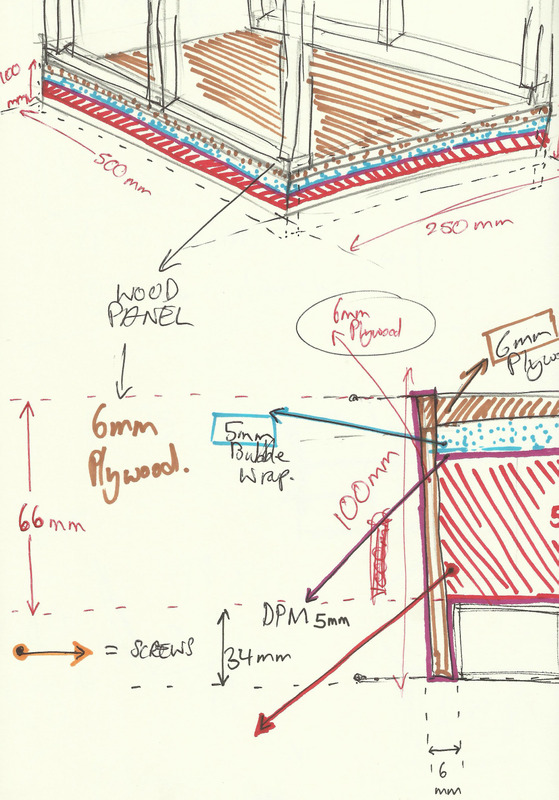
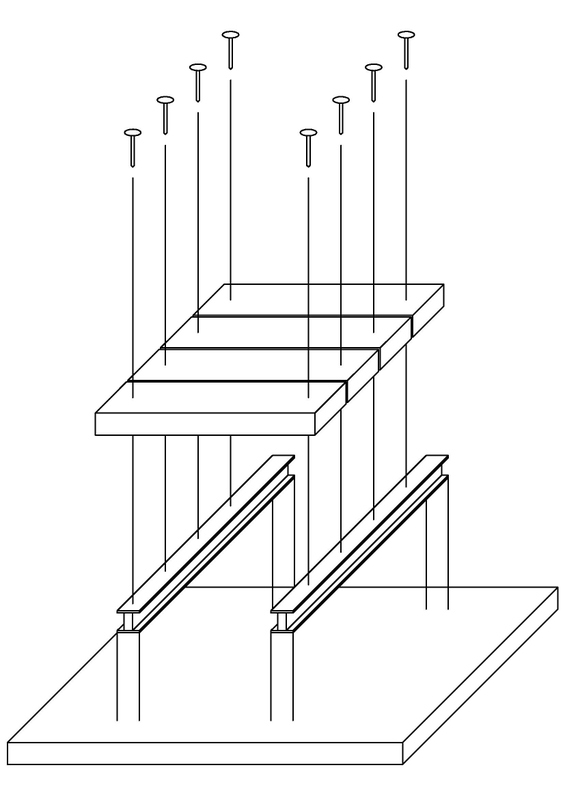
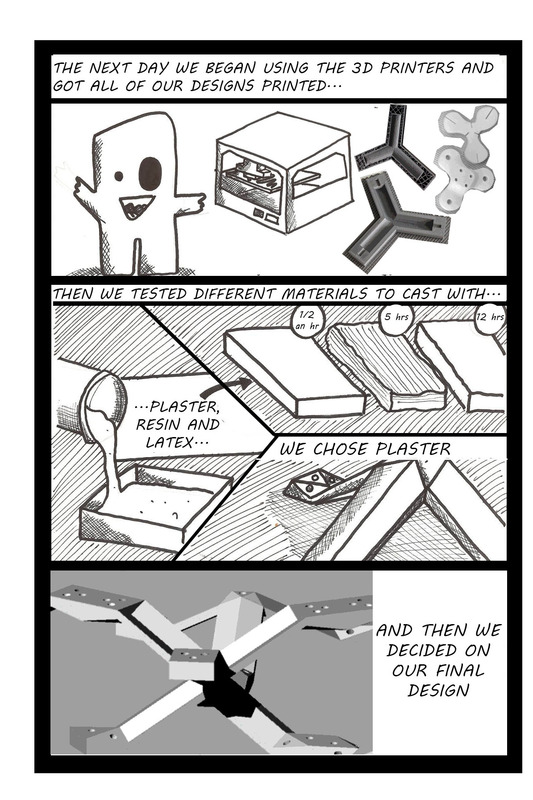
This sketch shows the basic design of the floor structure and shows the materials we would use. In reality the substructure also has a lightweight steel frame that surrounds it. The red hashed area is where the polyfoam would be placed, and beneath that is the space for the pipes that would aid in making the structure buoyant.
Posted 15 May 2014 11:41
After changing and polishing off our final design we presented our final idea to the fifth years and would be sent digitally to the client to have a look at our scheme.
Posted 15 May 2014 11:40
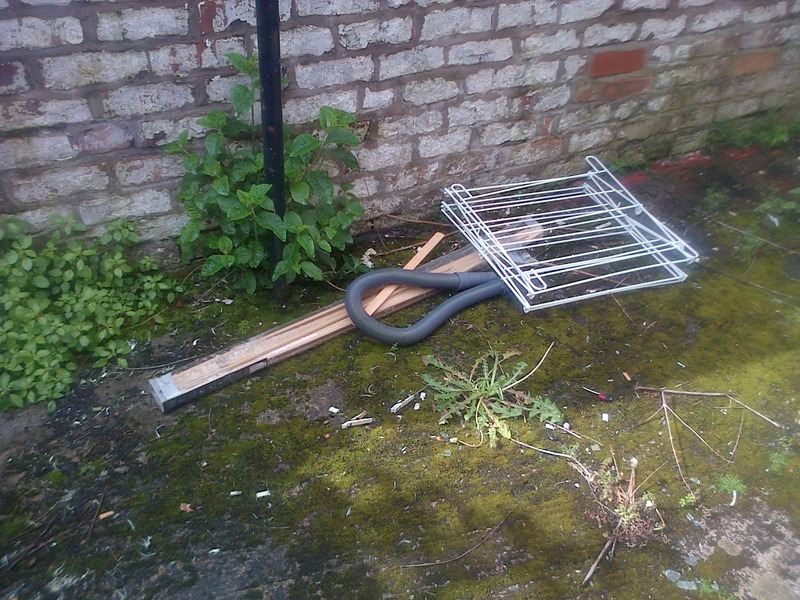
Finding forgotten material in Manchester. clothes horse, venetian blind and hoover pieces, found in fallowfield.
Posted 15 May 2014 11:39
Session 5: Detailed elevation and plan/section showing materiality.
Posted 15 May 2014 11:38
Day 5
Assembly details for the structure
Posted 15 May 2014 11:38
micro-modelling. uses small figures to create detailed little scenes
Posted 15 May 2014 11:38
Day 4
Finalized elevations with materials and background
Posted 15 May 2014 11:36
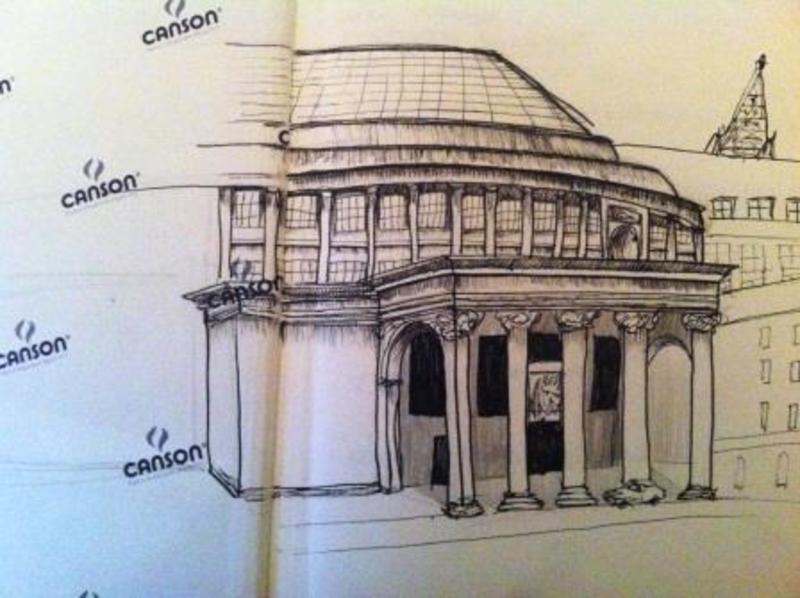
1. Visit to the central library
Posted 15 May 2014 11:34
This was one of the initial concept sketches for our floating building. It shows a space for water storage at the top and the possible entry method.
Posted 15 May 2014 11:33
Session 4: Part of the detailed plan with more refined structural frames and timber planks.
Posted 15 May 2014 11:33
Session 3: Plan of the proposed structure, showing the general shape of the frames.
Posted 15 May 2014 11:28
Day 3
Figuring out the structural details on the elevation
Posted 15 May 2014 11:28
Session 2: Initial sketches and ideas for our proposal.
Posted 15 May 2014 11:23
Day 2
We met with the fifth years in studio and showed them our initial ideas for the proposal.
Posted 15 May 2014 11:22
Day 6: Final discussion with 5th years about the final output
Posted 15 May 2014 11:18
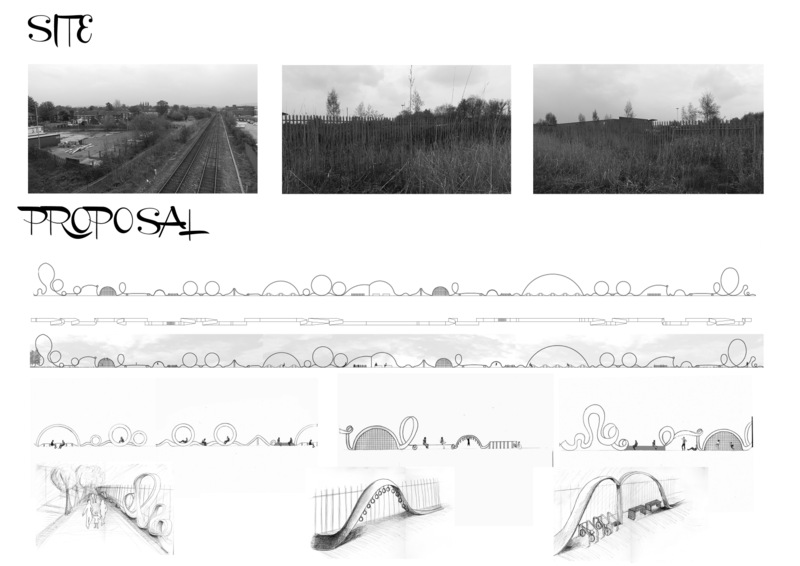
Session 1: Meeting with New Charter and site visit.
Posted 15 May 2014 11:15
Proposal's concept model to help the client understand our proposal better.
Posted 15 May 2014 11:05
Day 6
Building! The final product complete with champagne and many many photos
Posted 15 May 2014 11:00
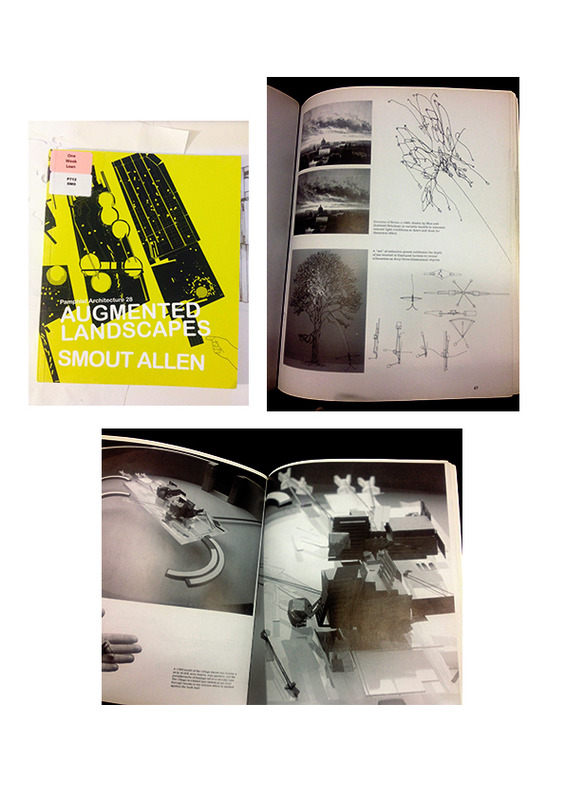
5/.
I read this book as a gateway into theoretical applications of landscape architecture. It speaks of ways to use the land without abusing it, and also how we can create architecture to tread lightly in niche environments. It was a real delight to see how the project can make some interesting and light steps towards some of the book's main concepts. It definitely allowed me to explore some new crossovers in both Architecture and landscape architecture, where the two do not have to be separated into fixed categories, and can work as a unit.
Posted 15 May 2014 10:59
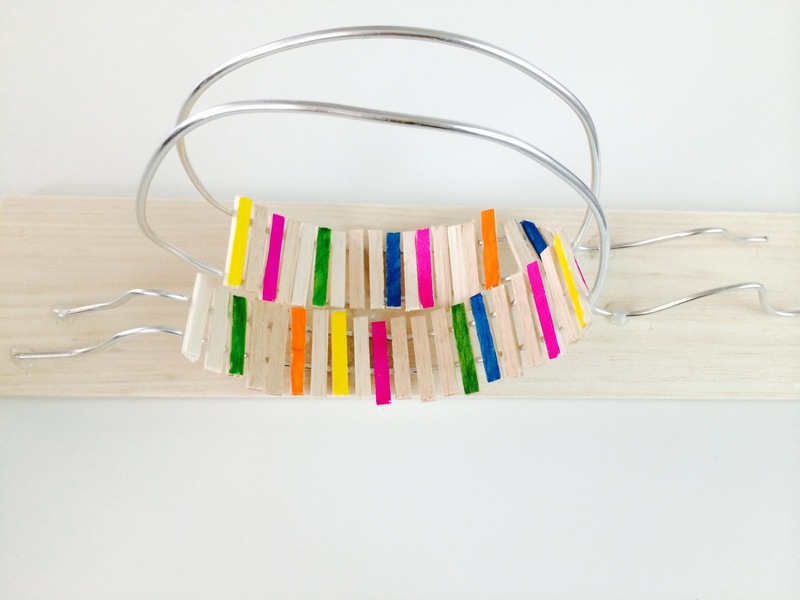
Experimenting with casting with different materials and textures to put on the legs of the component
Posted 15 May 2014 10:57
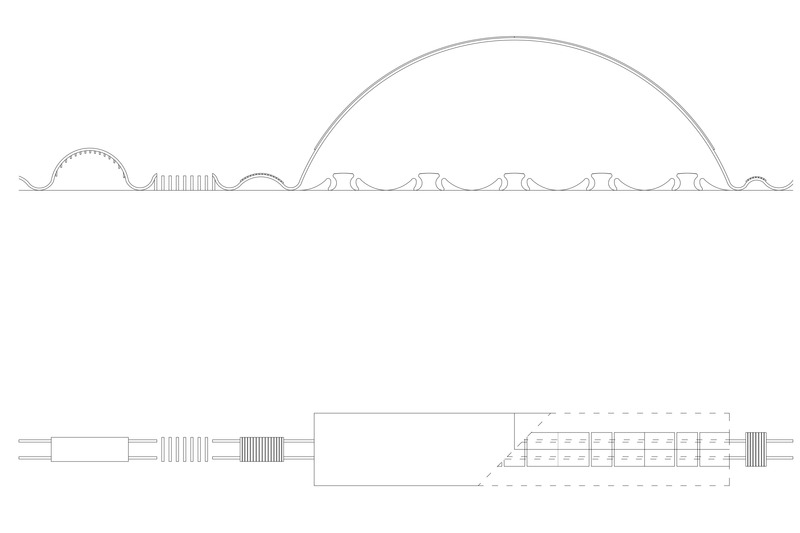
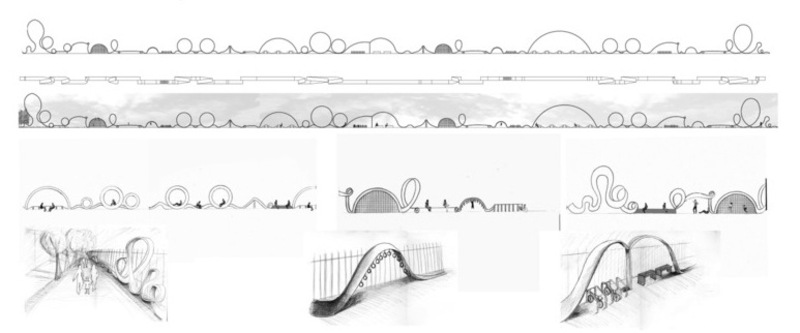
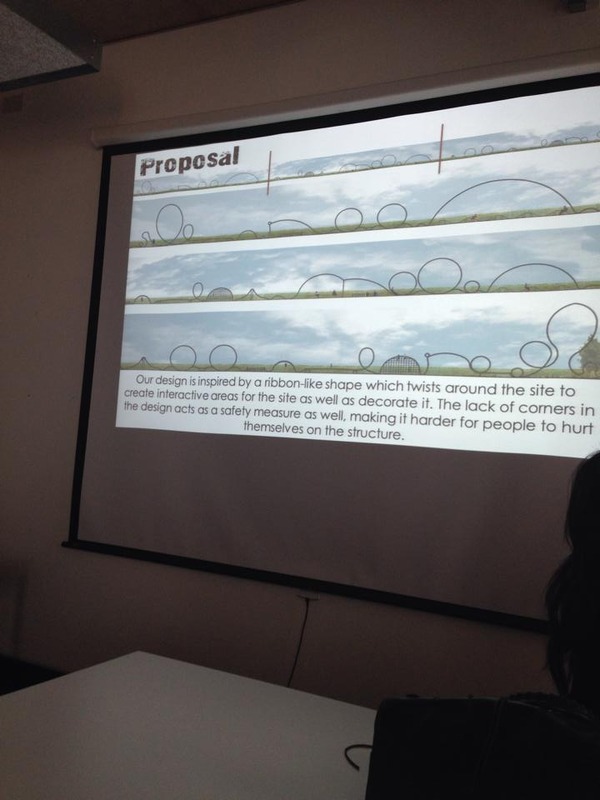
Proposal's site elevation.
Posted 15 May 2014 10:56
Chatham halls after Events
Posted 15 May 2014 10:55
Proposal presentation to the client!
Posted 15 May 2014 10:55
Day Eight: Photographing Event 2 building their recycled installation in the collaborator's back garden in Chorlton.
Posted 15 May 2014 10:49
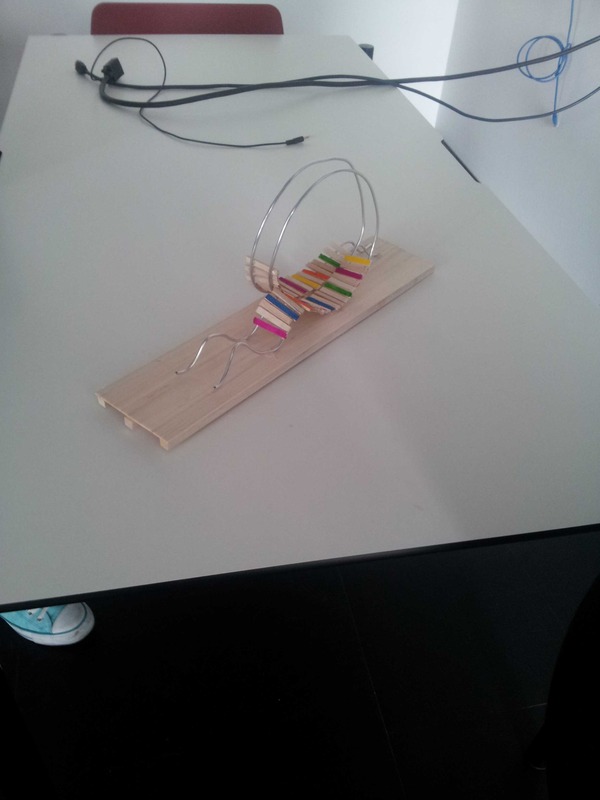
Spiral model of design//
Posted 15 May 2014 10:46
Final Presentation
Posted 15 May 2014 10:44
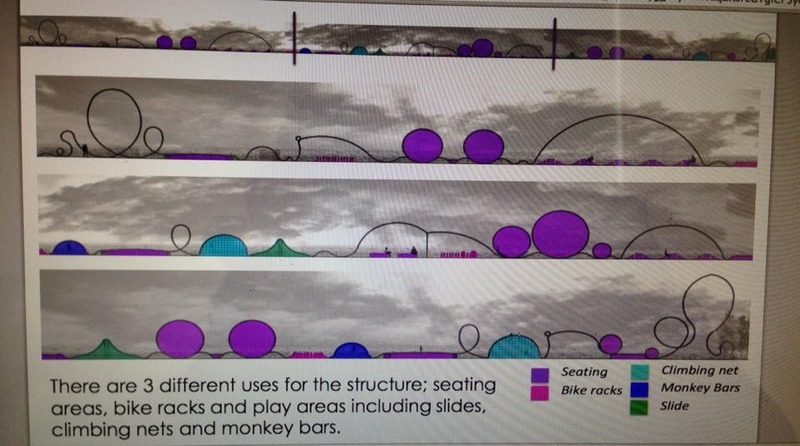
Our design explained using a color scheme.
Posted 15 May 2014 10:44
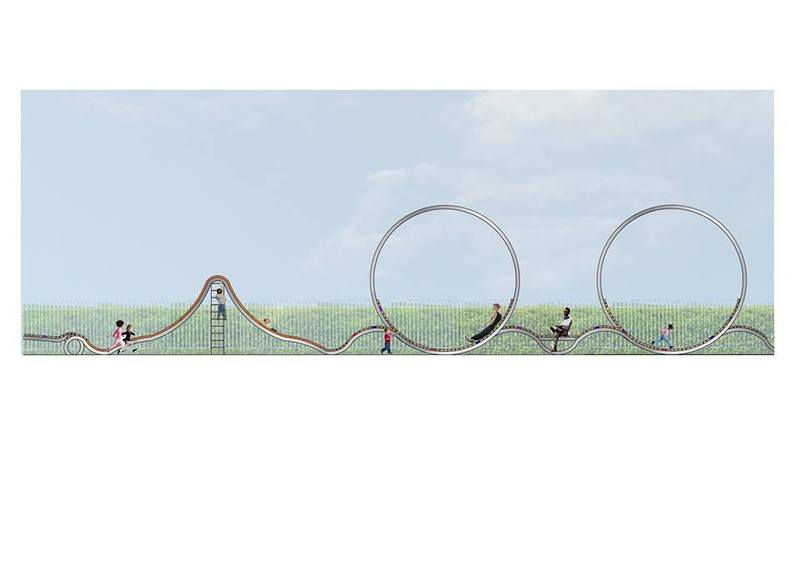
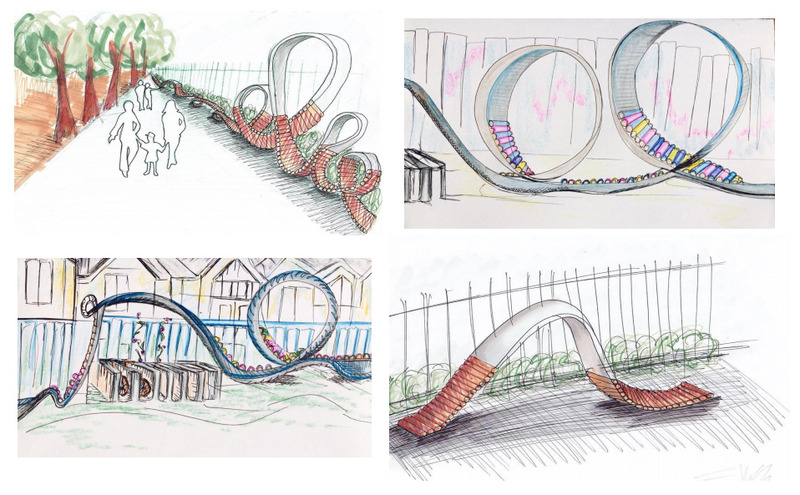
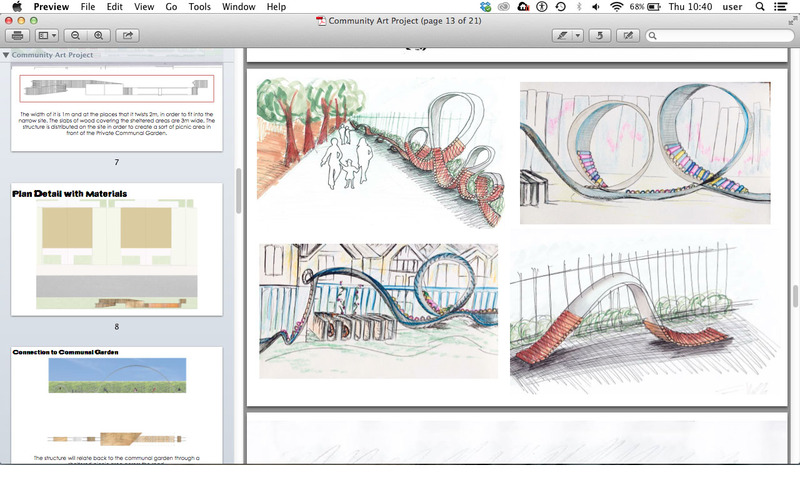
Sketches illustrating the playful scheme and ambience of our design!
Posted 15 May 2014 10:42
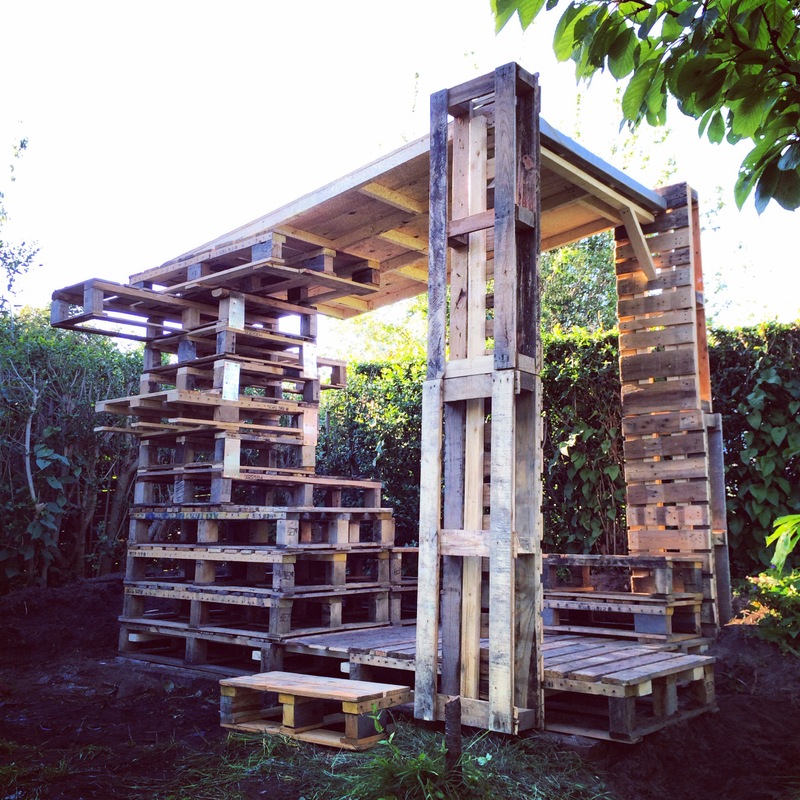
#6 Completion: the micro-shelter is successfully built after two weeks of hard work and great team effort.
Posted 15 May 2014 10:41
#5 Assembly on site: all components are delivered to site and assembled by the team.
Posted 15 May 2014 10:41
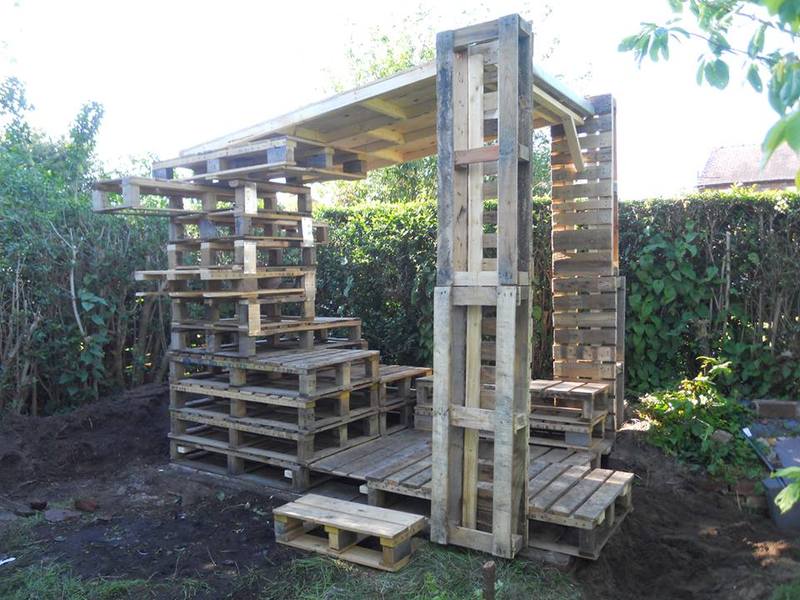
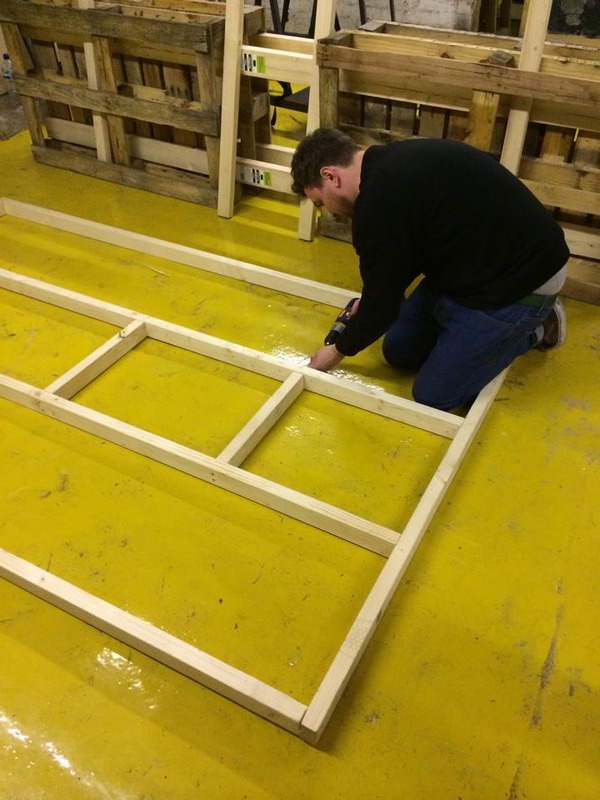
#4 Second stage of construction: building the timber bracing for the base/columns and constructing the roof structure.
Posted 15 May 2014 10:40
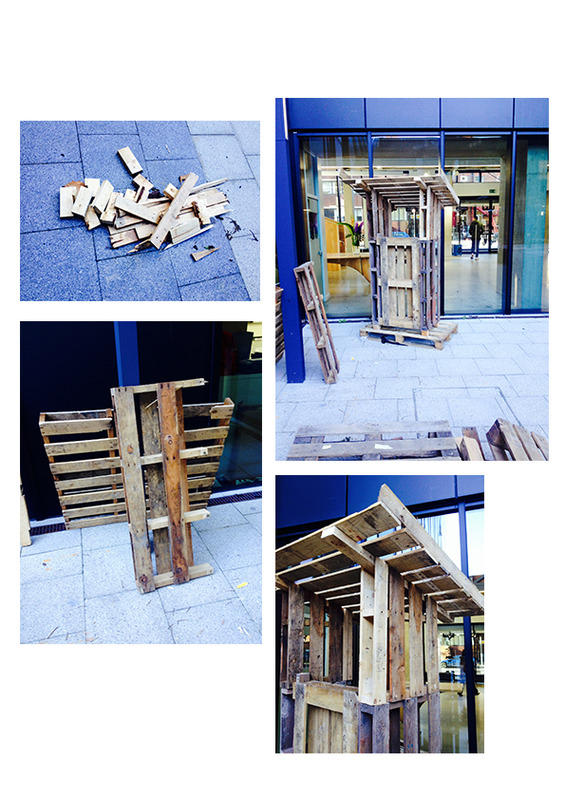
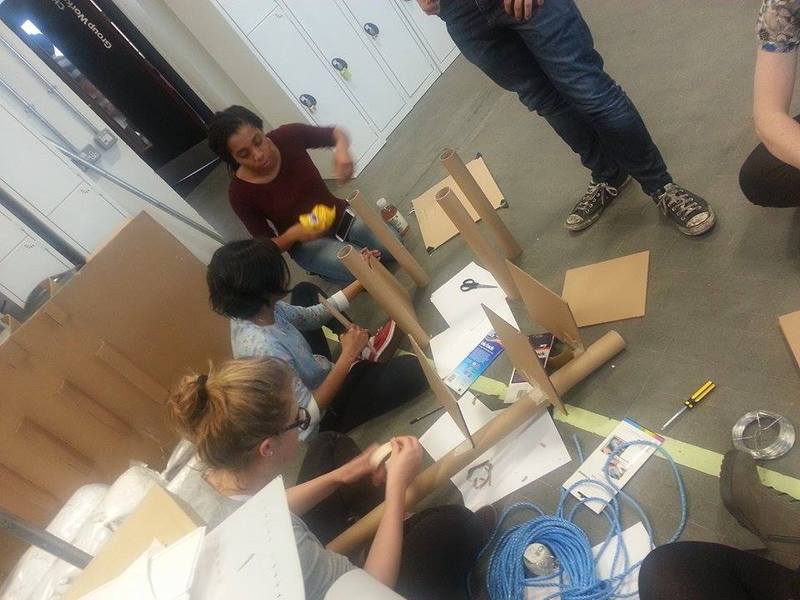
#3 First stage of construction: cutting the timber pallets into specific dimensions and shapes required.
Posted 15 May 2014 10:40
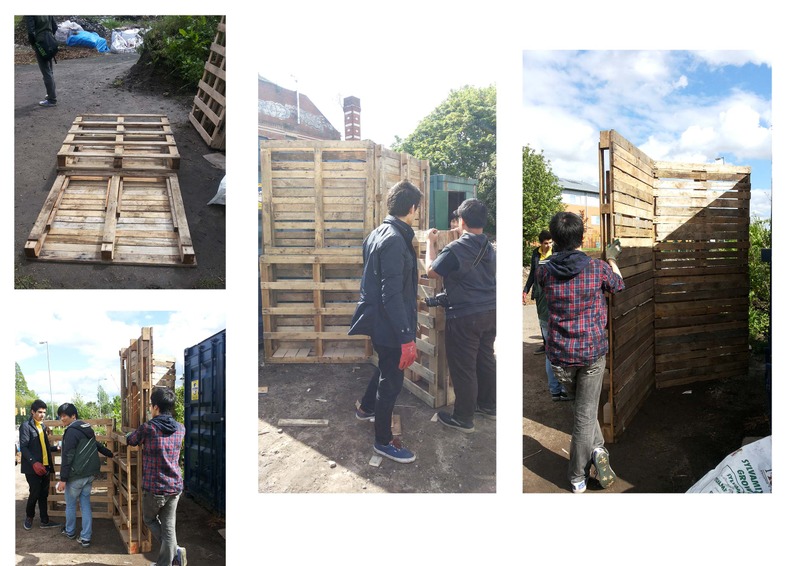
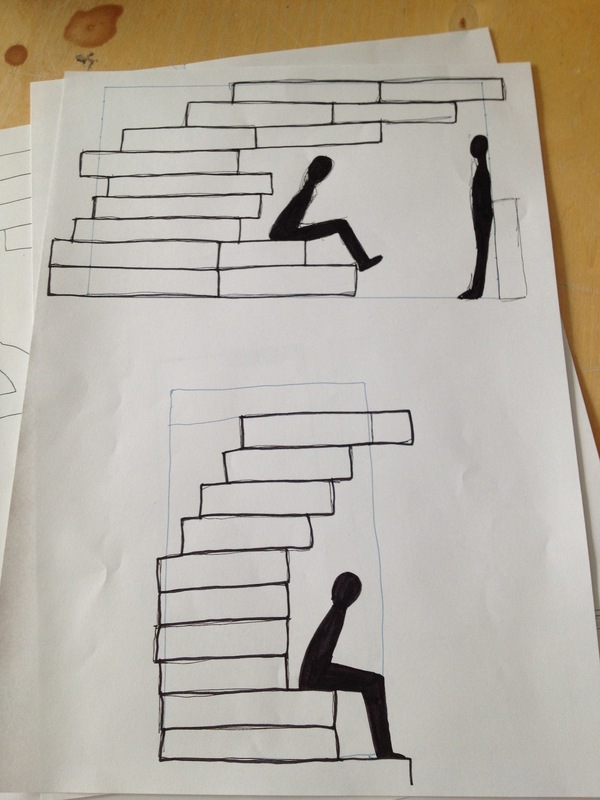
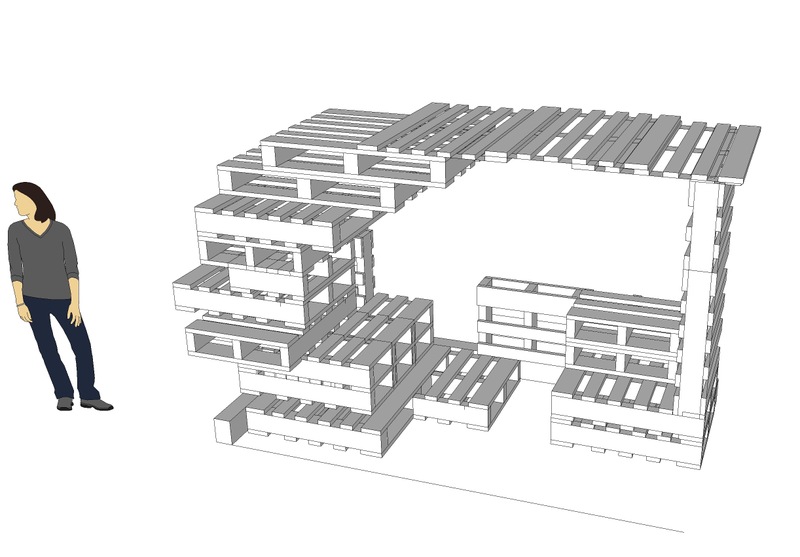
#2 Design Process: Visualising and improving the design through stacking of timber pallets.
Posted 15 May 2014 10:39
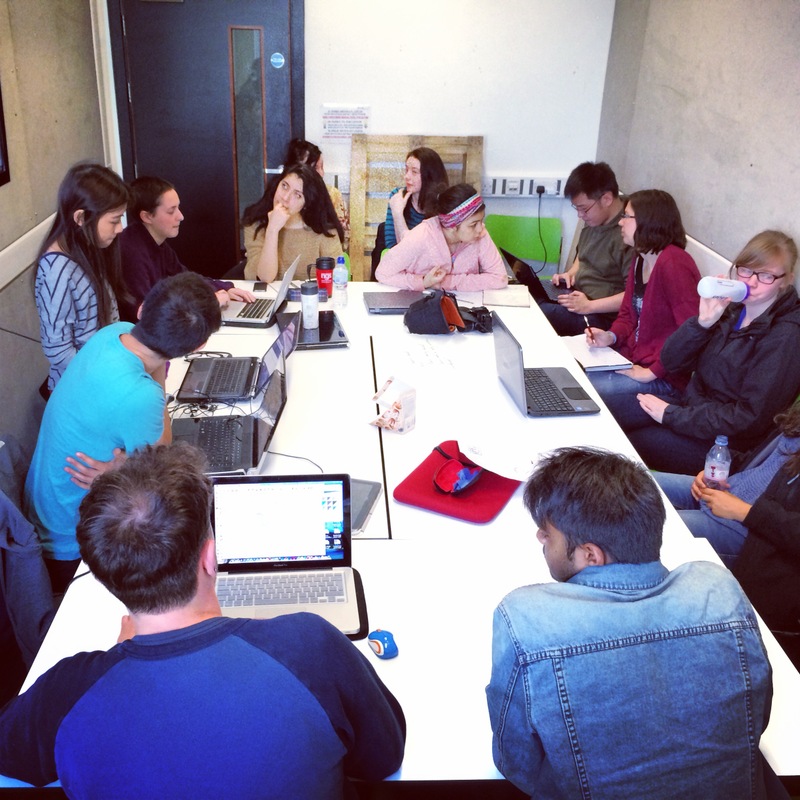
#1 Design Process: Critical thinking session with Jane Leach, the client to further develop the initial design.
Posted 15 May 2014 10:38
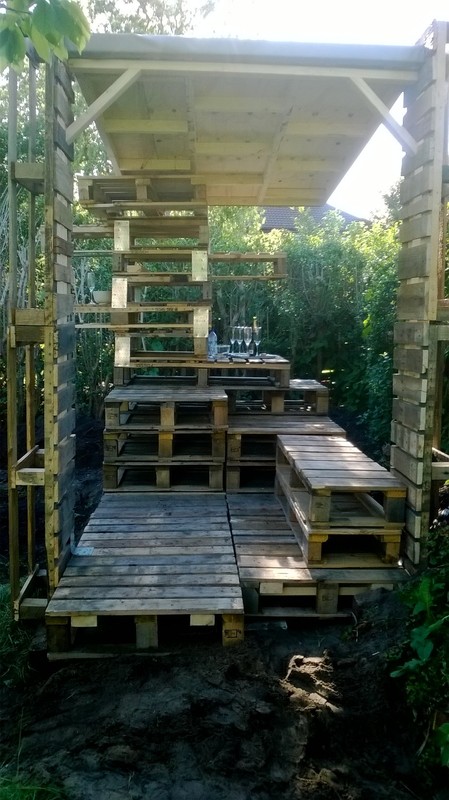
6/.
This was another design we created as we had some spare pallets to play around with. It was a sheltered component that would accomodate a laptop, and play a video of the intervention being built. This hut made use of a lot of the spare pallets, and as you can see from the picture above, there was next to nothing waste!
Posted 15 May 2014 10:34
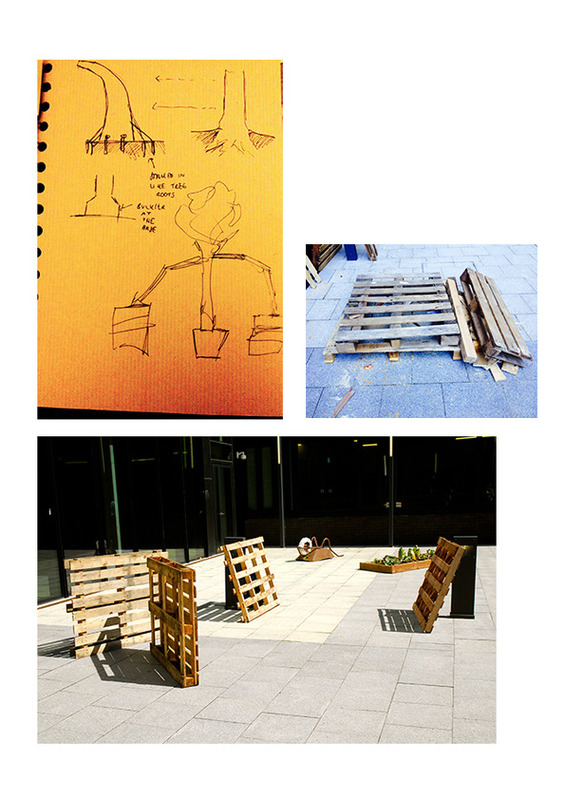
3/.
The material we had to use had now changed to standard wooden pallets, and therefore the design had to be changed. Once we collected the pallets we started drawing, discussing and then arranging the pallets on new forms and shapes, with an array of functionalities.
Posted 15 May 2014 10:33
Final presentation day.
Posted 15 May 2014 10:33
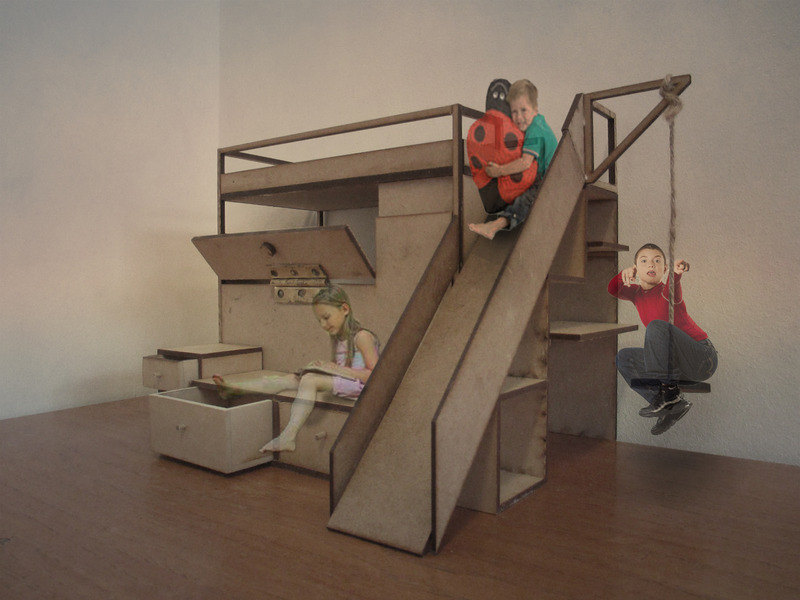
Completion of the final model and showing how kids would occupy it.
Posted 15 May 2014 10:27
Inside the chapel at Carmelite Monastery, Liverpool. Incredible protruded Flemish bond brickwork, flooded in natural light from above. Thurs 3rd April.
Posted 15 May 2014 07:59
Tour of Carmelite Monastery, Liverpool. Brick detailing junctions. Protruded Flemish bond brickwork.
Thurs 3rd April.
Posted 15 May 2014 07:56
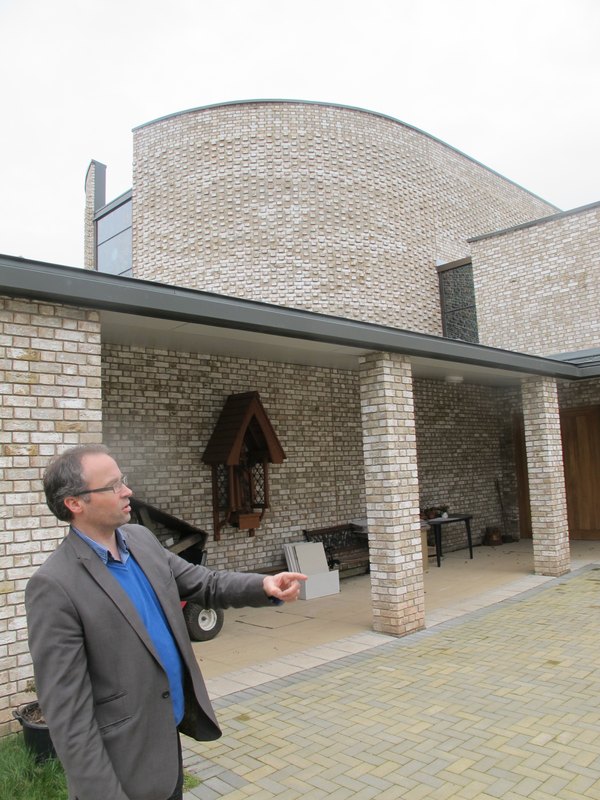
Tour of Carmelite Monastery, Liverpool by Project architect Philip Morton of Austin Smith Lord (pictured). Thurs 3rd April.
Posted 15 May 2014 07:52
View finder. Focus on silent atmosphere of amphitheater.
Posted 15 May 2014 03:48
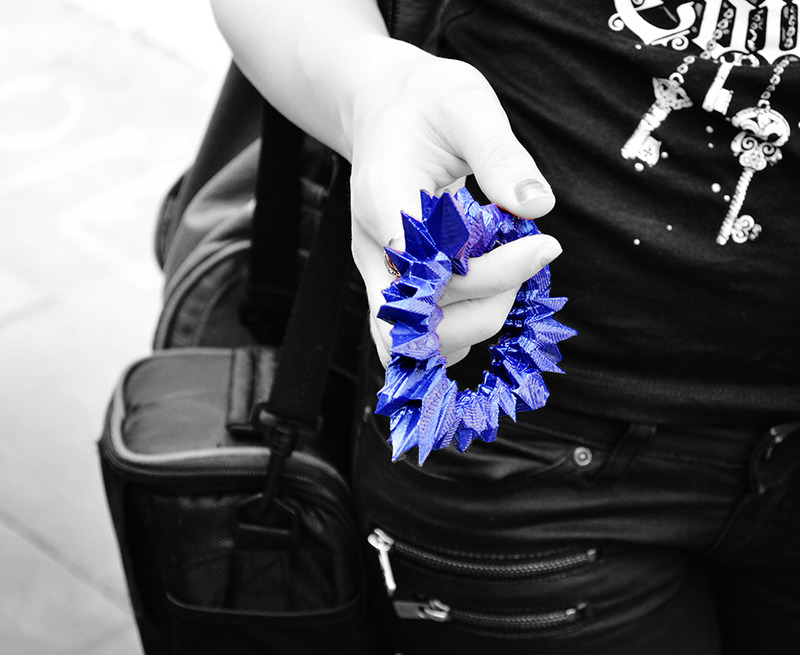
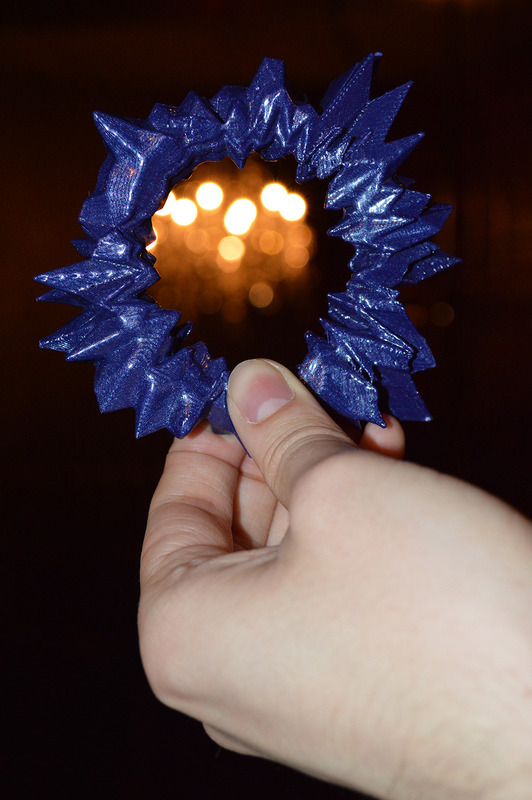
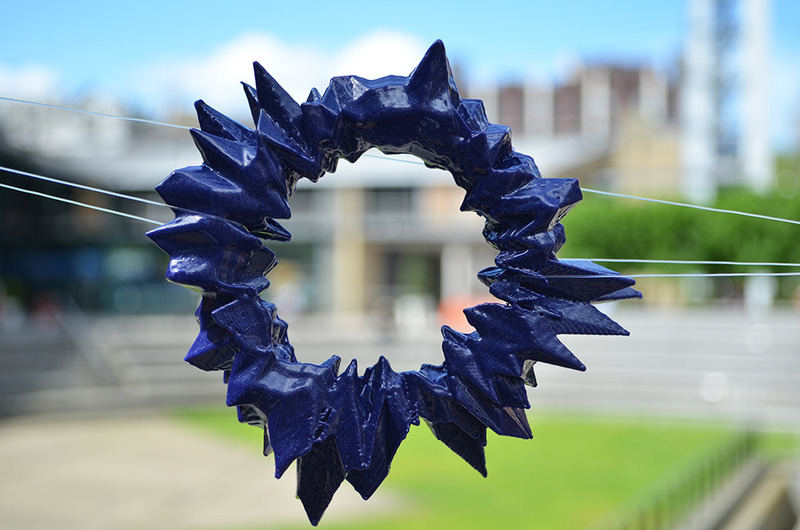
Spiky ring diagram of sound in Deansgate.
Posted 15 May 2014 03:40
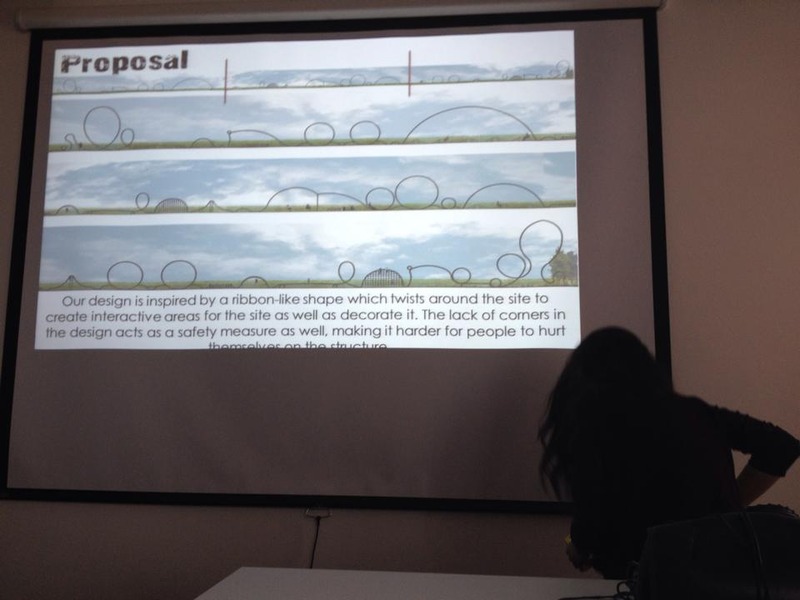
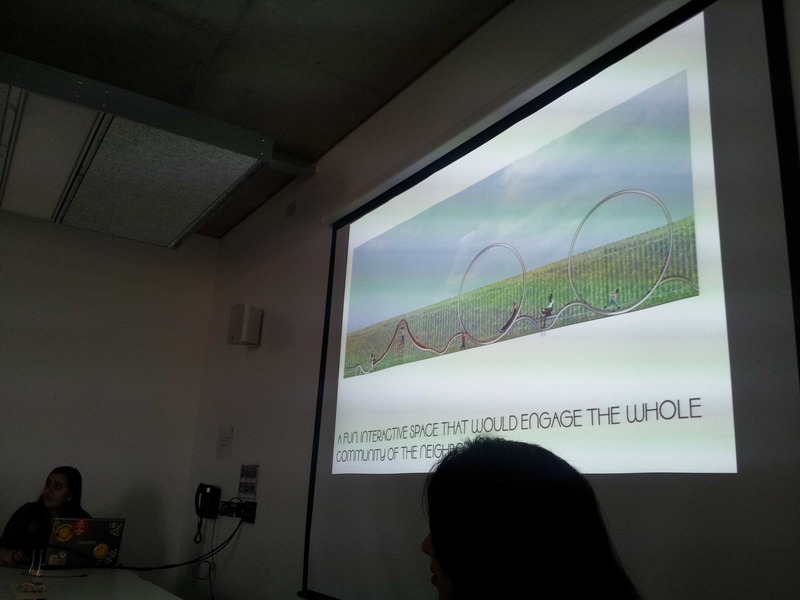
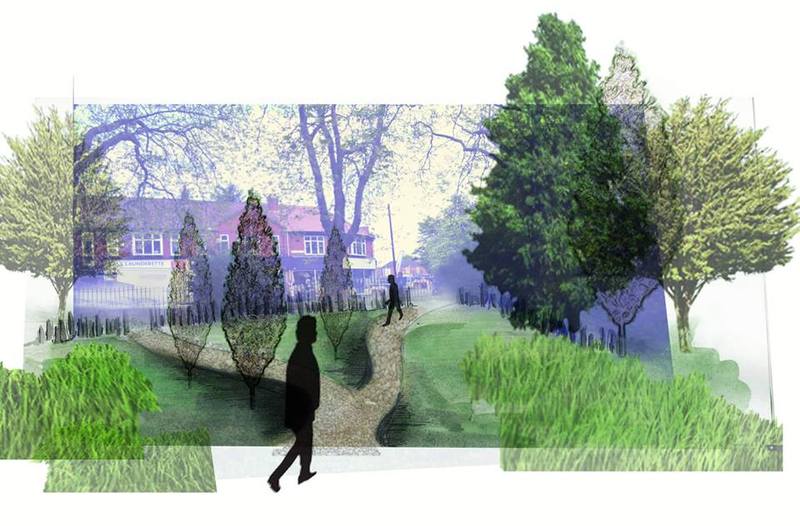
A visual proposed by our group to help save Withington Baths. A core theme of our design is to soften the transition from the main road to the entrance of the centre
Posted 15 May 2014 03:26
Essay analyzing and looking at the present day issues with china town and the possibility of the future.
Posted 15 May 2014 03:13
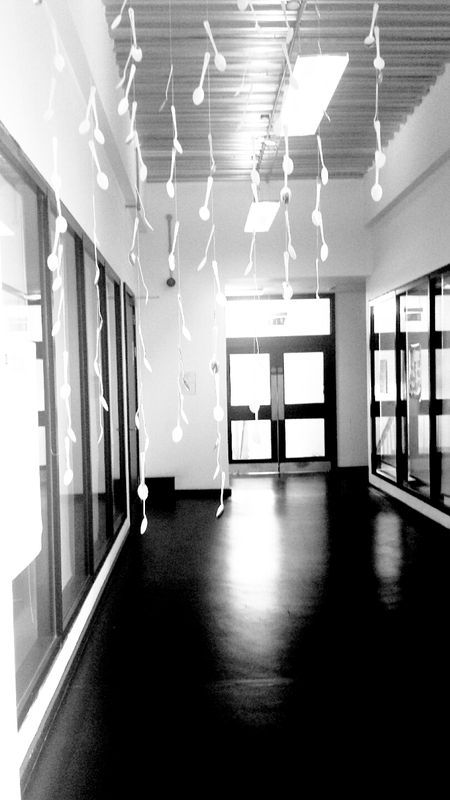
the early stages
Posted 15 May 2014 02:26
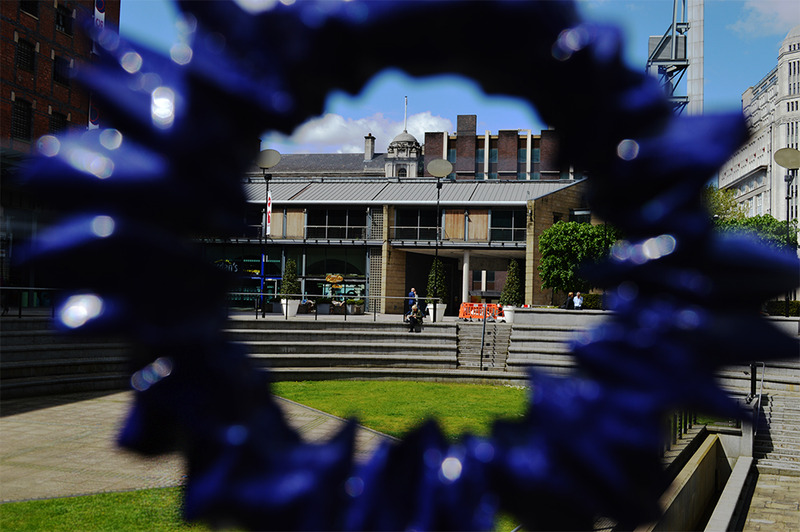
Looking through the audio sculpture ring into interiors of Revolution de Cuba.
Posted 15 May 2014 02:18
Day 7: Final model finished.
Posted 15 May 2014 02:09
OUR FINAL 3D INSTALLATION
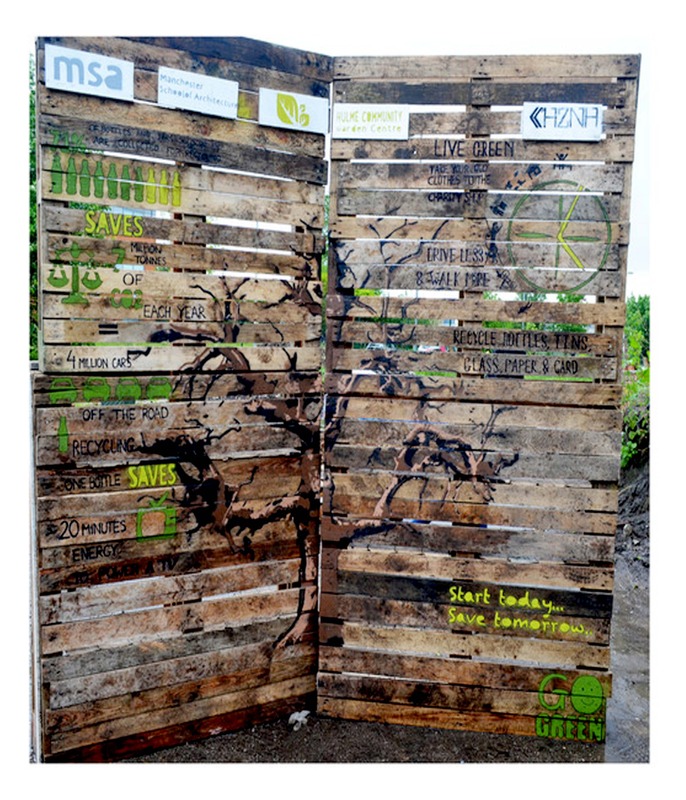
Posted 15 May 2014 01:24
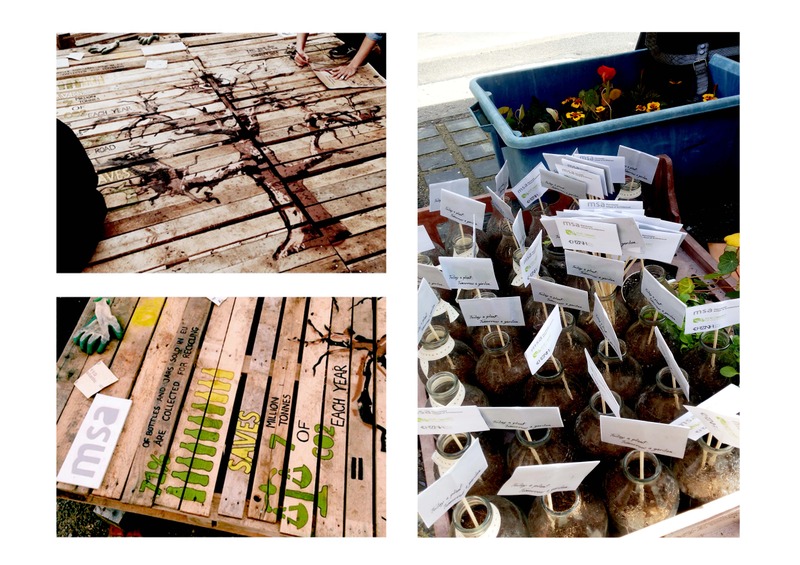
ON DAY 8 WE WERE COMPLETED WITH OUR 3D INSTALLATIONS AND DECORATING THE PLANT FOR HOME GARDENING
Posted 15 May 2014 01:17
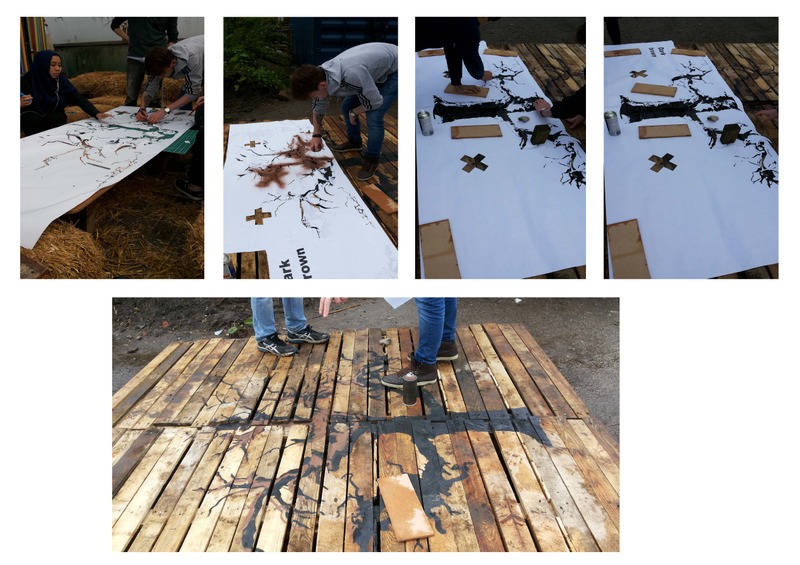
On Day 7 we started the infograghics by cutting out the stencils of a tree.
Posted 15 May 2014 01:06
Day 2
Working to build something that will catch up the children's eyes.
The same day we made stories and a map with our drawings to make the event entertaining.
Posted 15 May 2014 01:02
Day 6 we completed our 3D installation
Posted 15 May 2014 00:45
final model.
Posted 15 May 2014 00:40
The beautiful final product. What I learnt during this process (aside gaining a greater knowledge of construction) was that working with other people can be very difficult. It's important to know when to be assertive and when to step back. Also, when to let the client be in control and when to draw the line. I'm proud of what we achieved.
Posted 15 May 2014 00:25
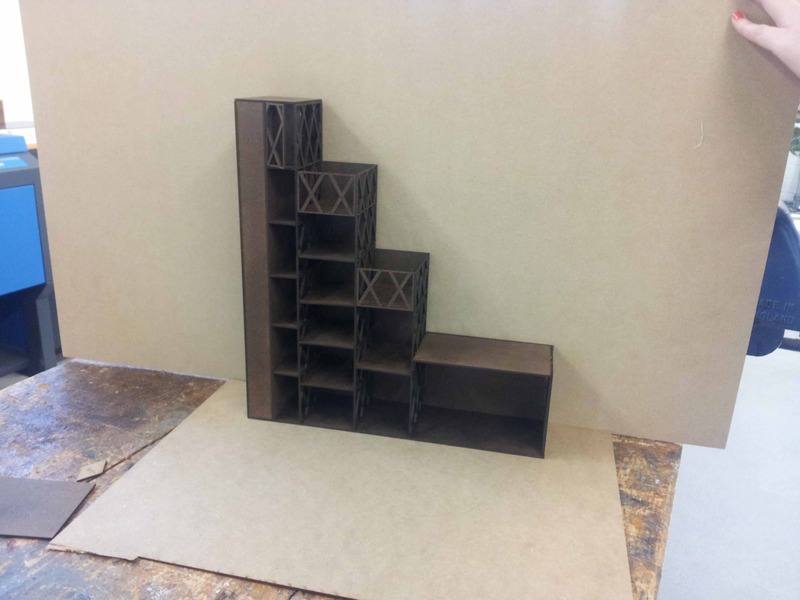
PDF file prepared for LAzer cutter.
Posted 15 May 2014 00:20
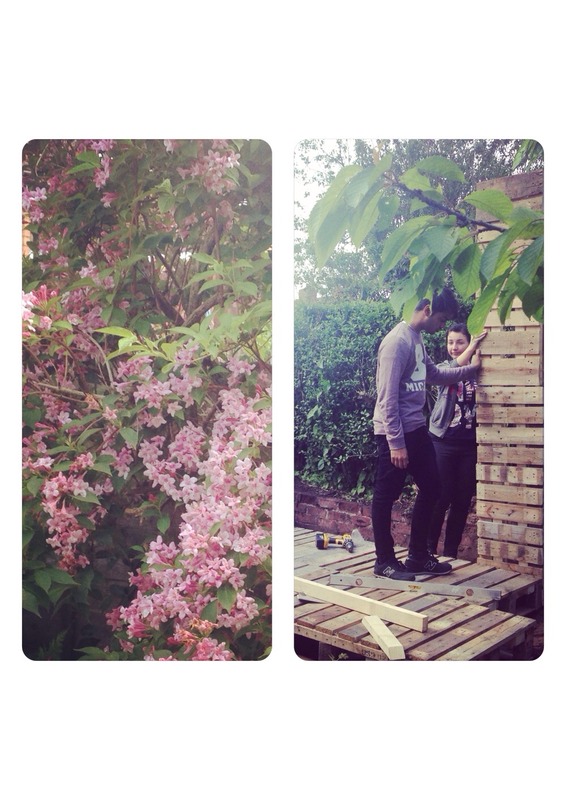
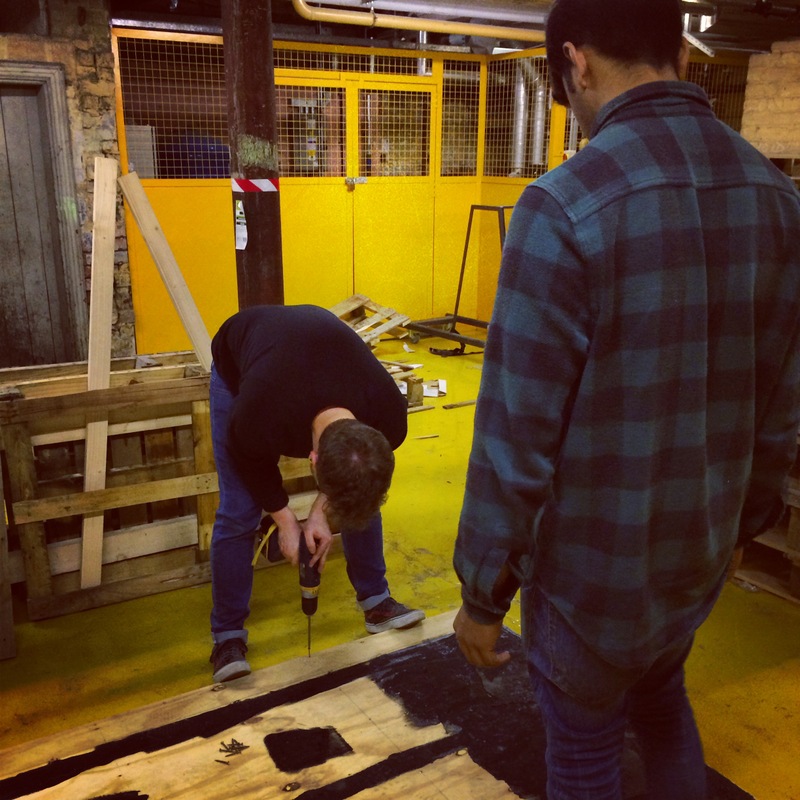
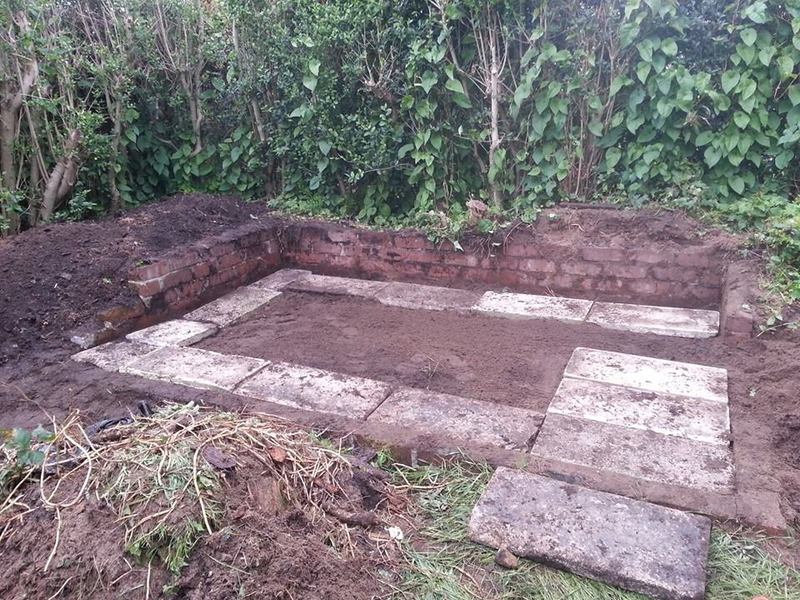
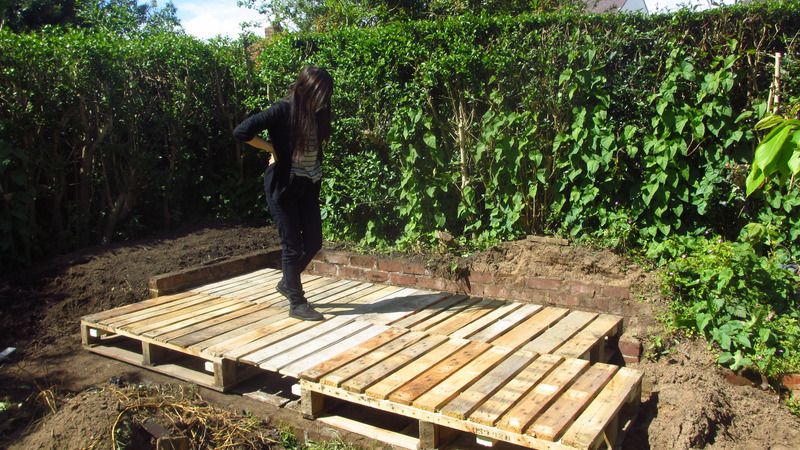
After a hard day's digging, we finished the foundations for the construction. Being outside digging and throwing worms around was a WELCOME break from staring at a screen working for my portfolio.
Posted 15 May 2014 00:19
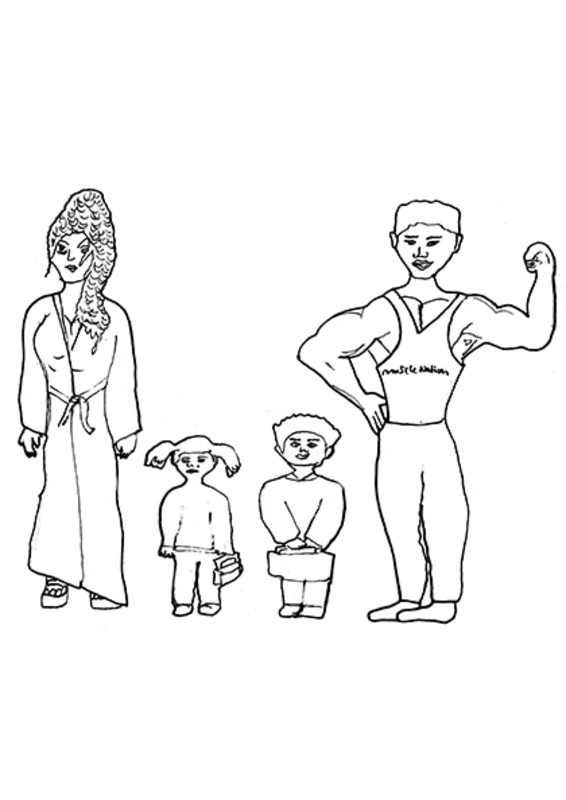
sketch of the client's (Familey of 4)
Posted 15 May 2014 00:18
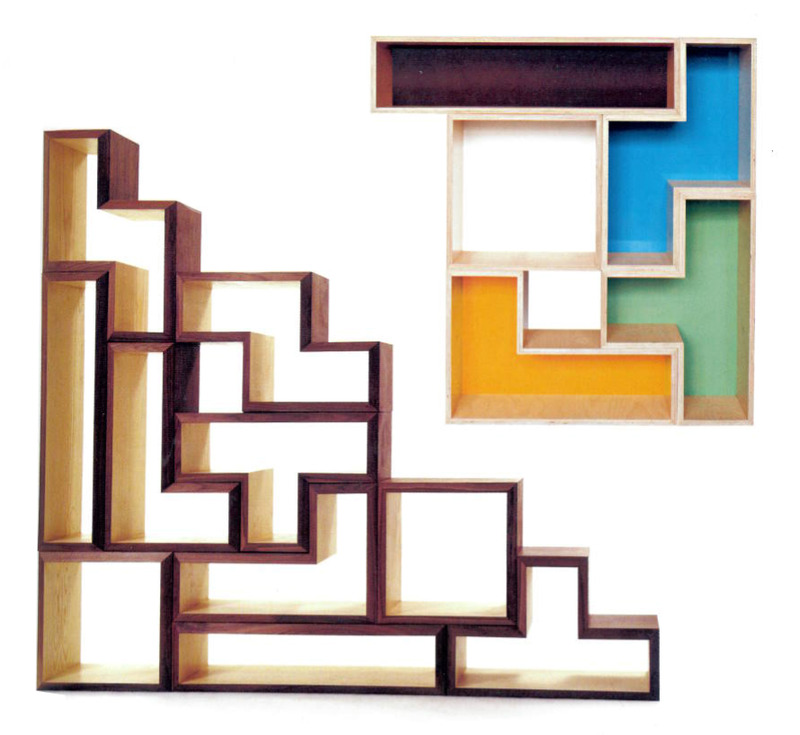
inspirationa design by john alex.
Posted 15 May 2014 00:11
Paul's installation expertise helped us to build an appropriate roof frame. The wood for this frame was bought especially for the project, which made me wonder whether we were missing the point of upcycling waste. I think that this marks the point where our desire to complete the project within a time limit overtook our desire to save the world.
Posted 15 May 2014 00:09
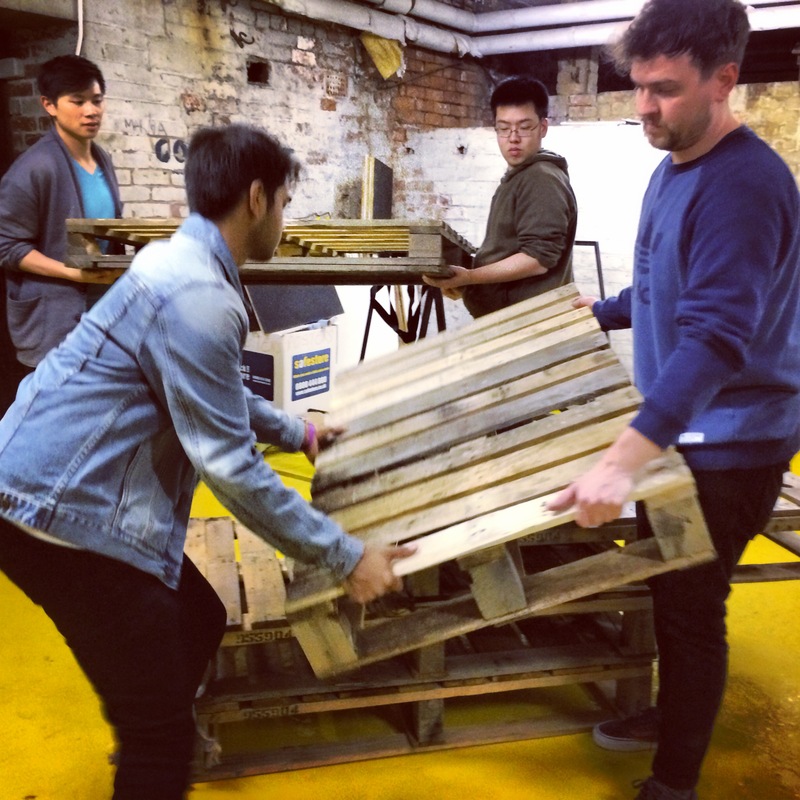
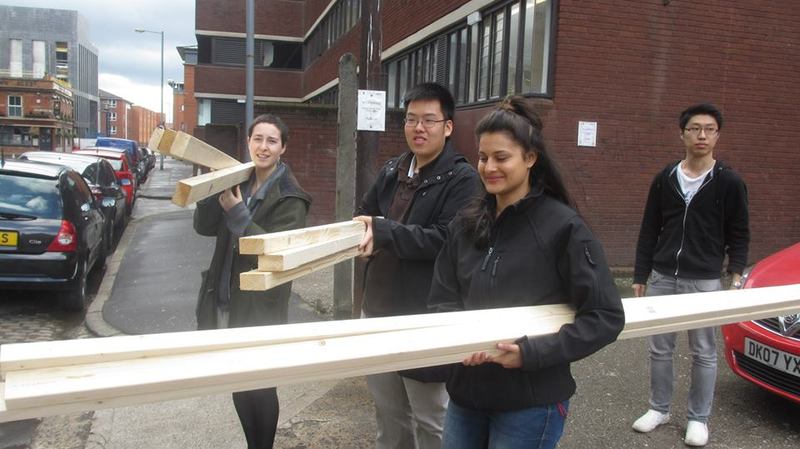
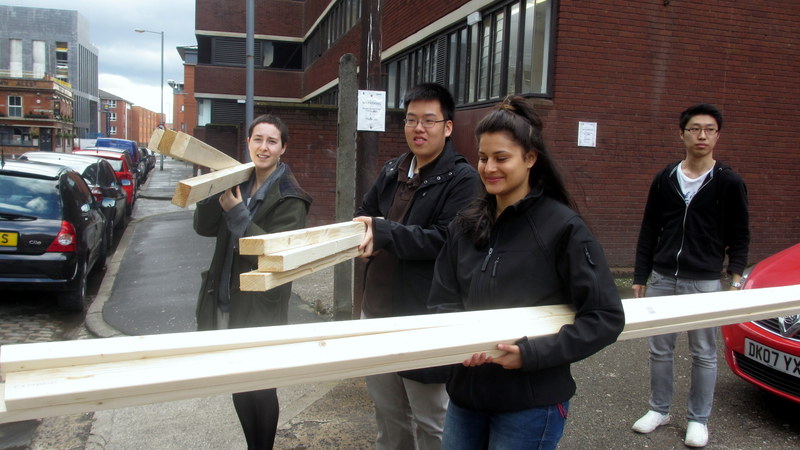
One of my favourite hobbies - carrying planks
Posted 15 May 2014 00:06
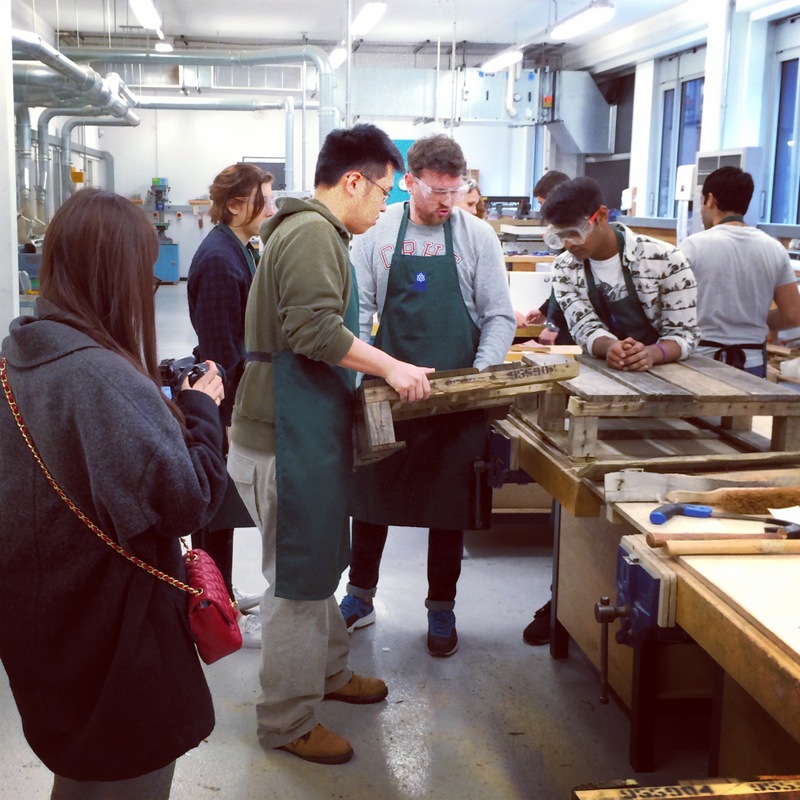
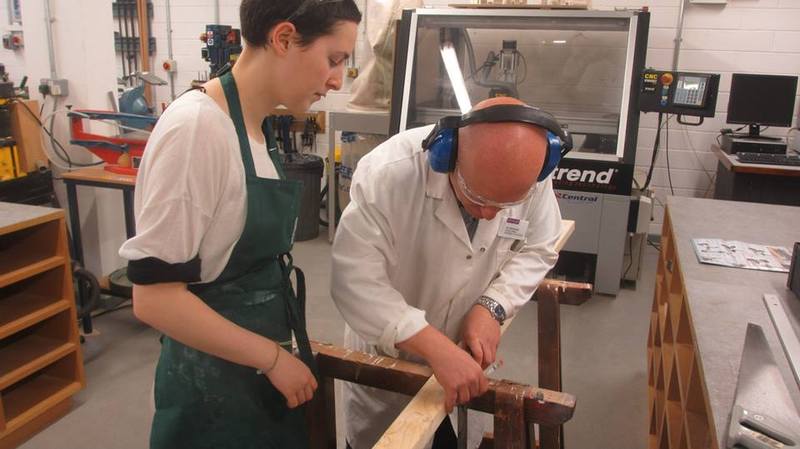
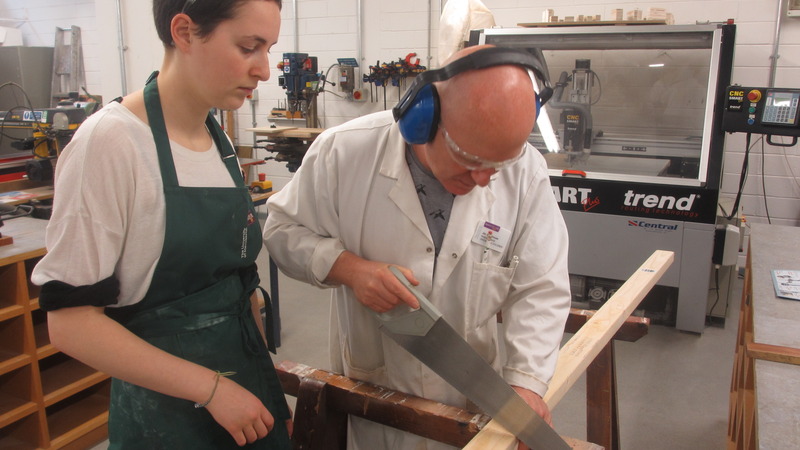
1 on 1 tutorial on how to saw a piece of wood, with Jim
Posted 15 May 2014 00:03
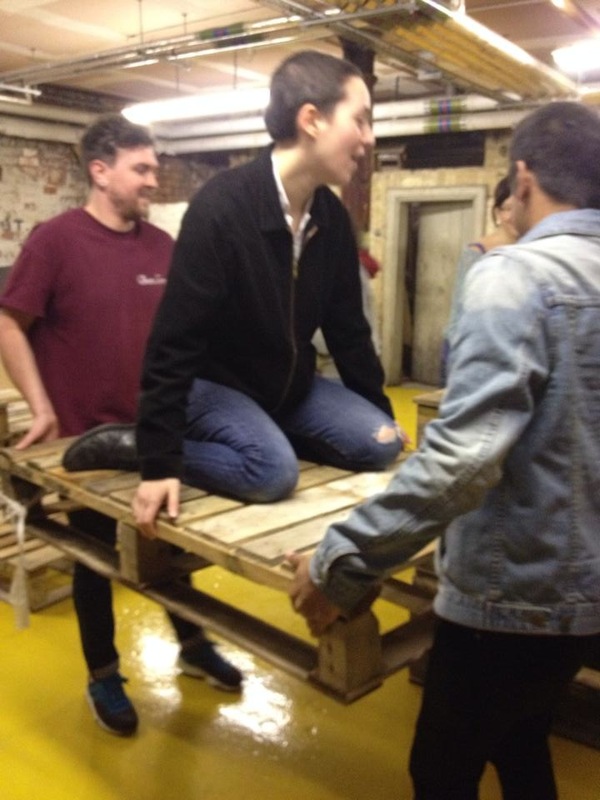
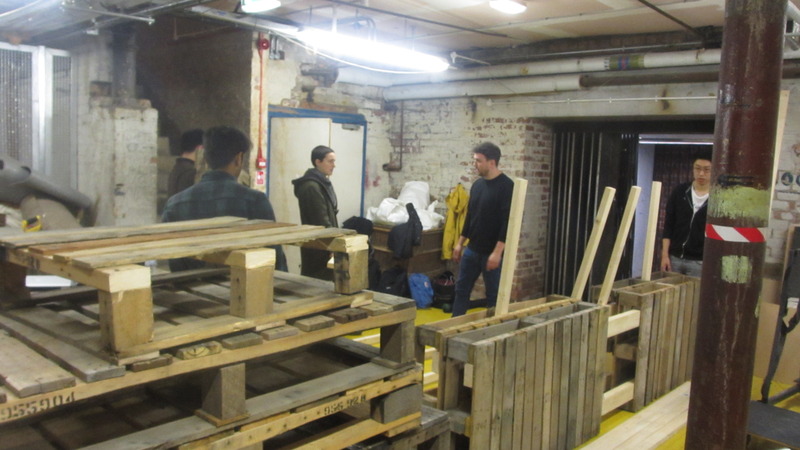
Having fun with pallets and friends!
Posted 14 May 2014 23:59
Final output.
3D model of recorded sound processed with a programme code.
Posted 14 May 2014 23:58
A computer model
Posted 14 May 2014 23:56
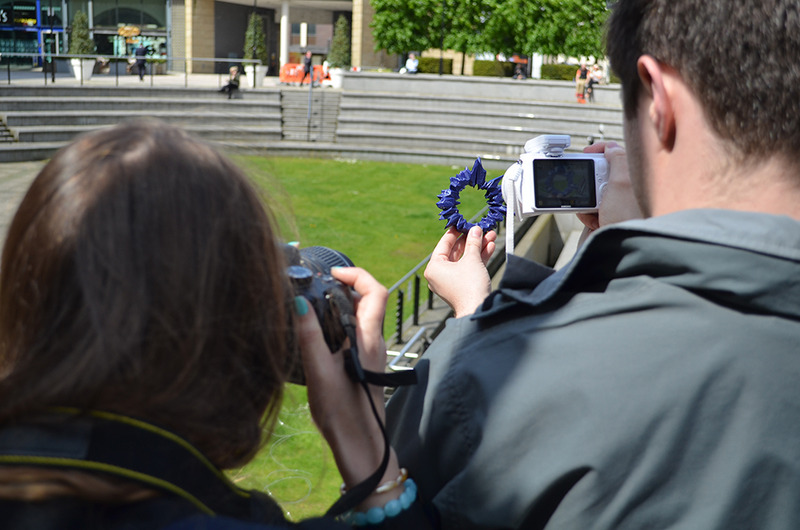
Making our final output.
Photographing our 3D model on the site.
Posted 14 May 2014 23:55
We spent many hours deliberating over designs, arranging pallets in different configurations in order to hopefully please the client. The above photo shows some sketched elevations, drawn to aid discussion.
Posted 14 May 2014 23:52