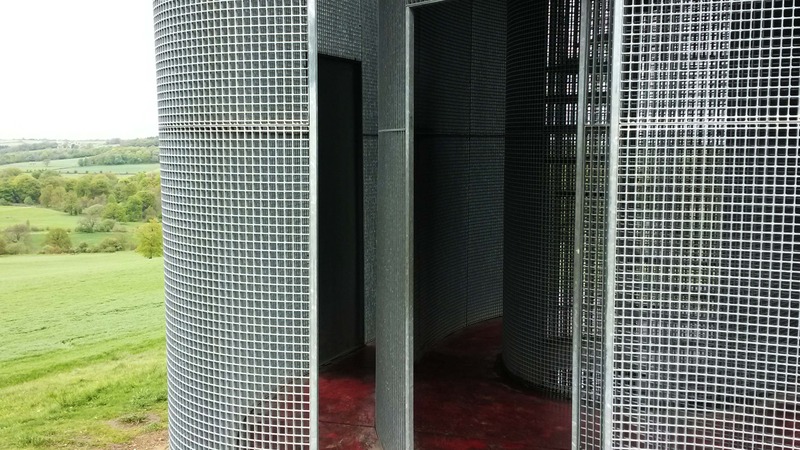
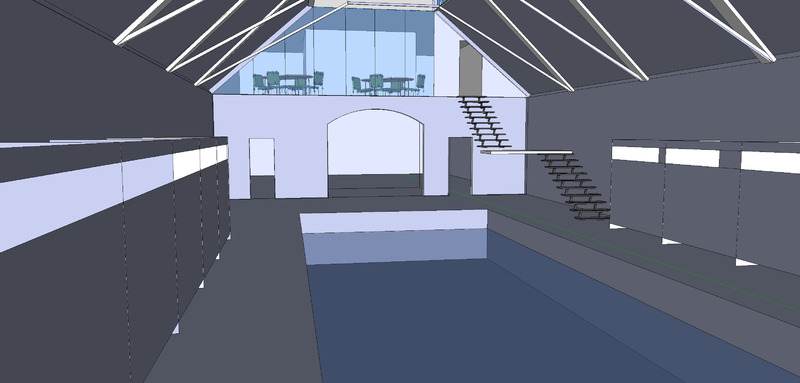
Interior2
Posted 14 May 2014 14:00
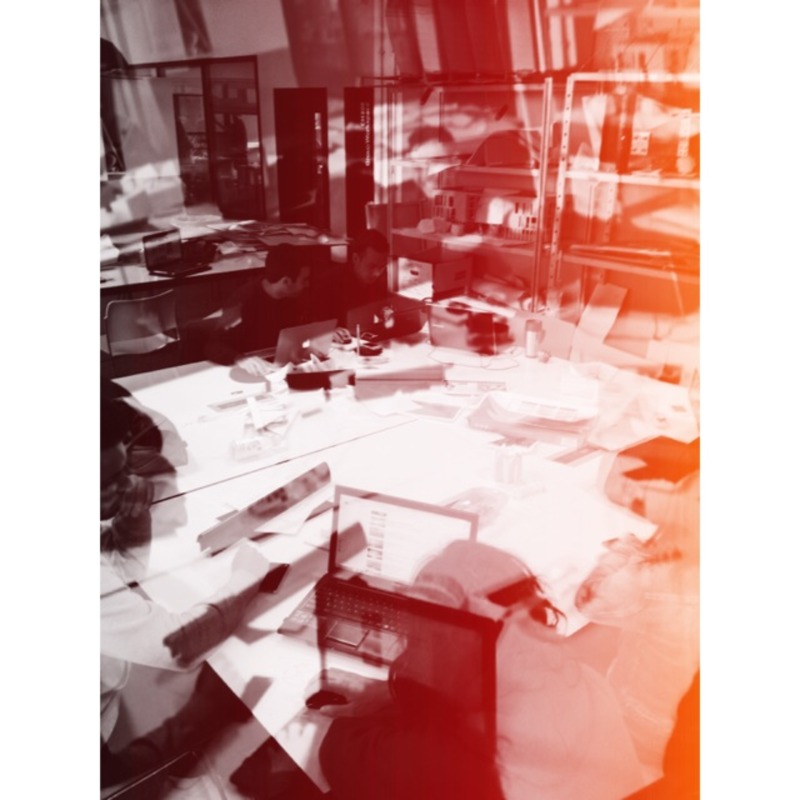
Public Engagement
Posted 14 May 2014 13:59
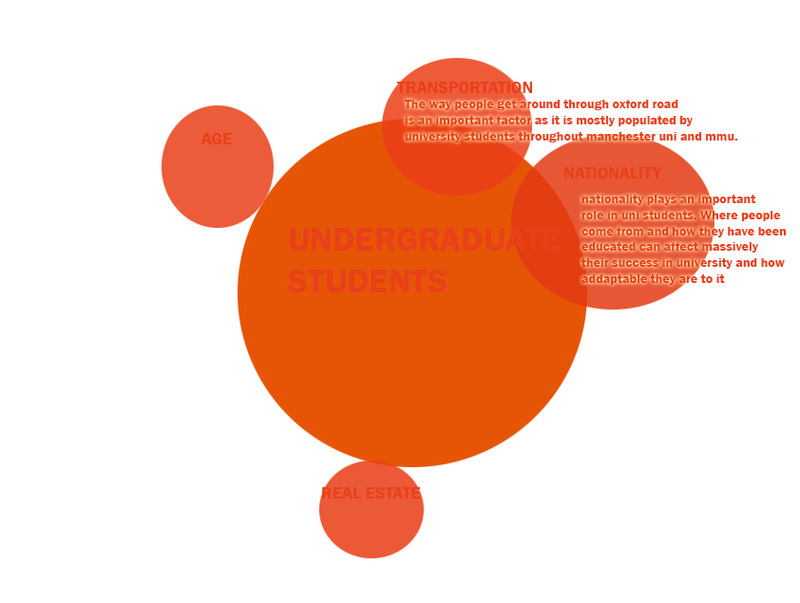
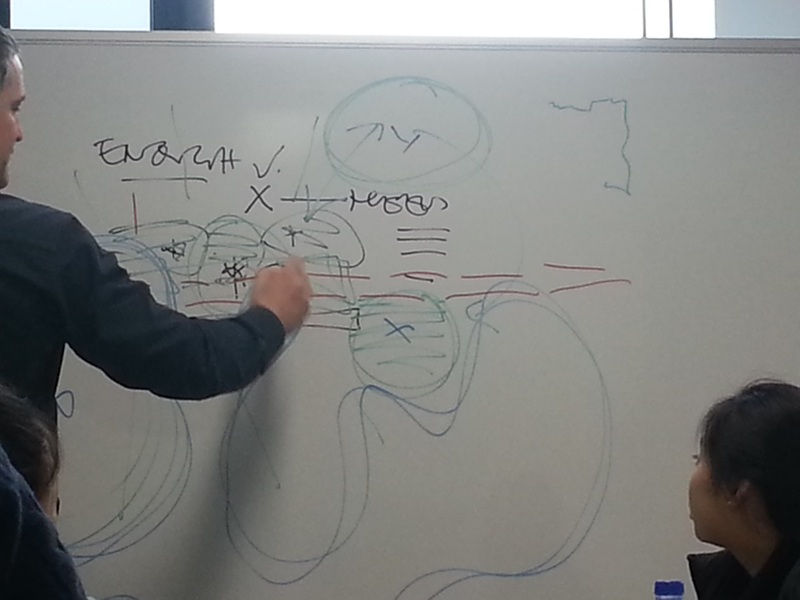
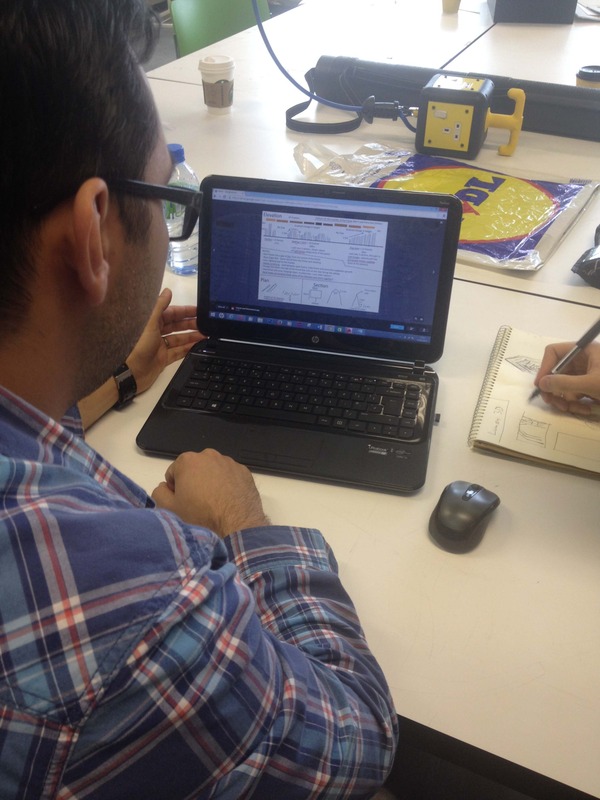
We made a diagram showing the relationship between our groups data (that of graduate's salary income) and with the other 4 groups to try and understand how that might link to the app.
Posted 14 May 2014 13:49
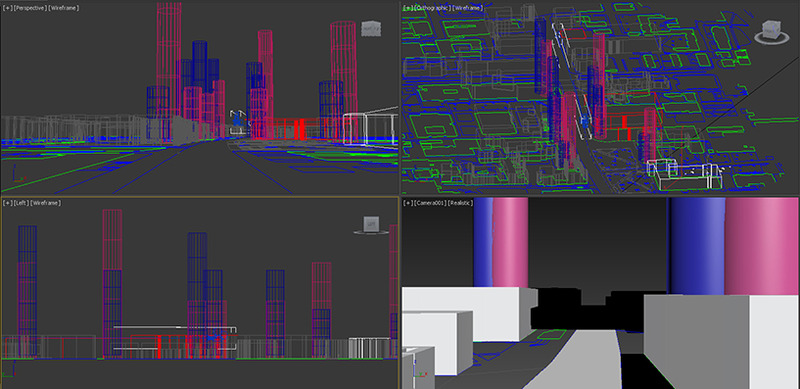
Importing our 3d Sketchup model into 3ds Max to make a video of the ocford road strip with our mapping. The diagrams represent the gender ratio of the courses in within both universities.
Posted 14 May 2014 13:45
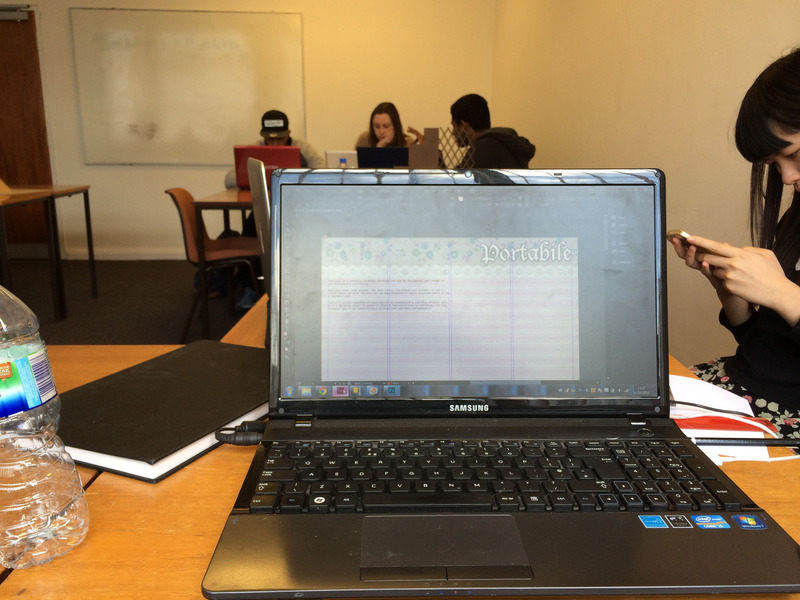
Today I spent on InDesign making the presentation sheets to be submitted to the Significant Furniture Competition.
Posted 14 May 2014 13:30
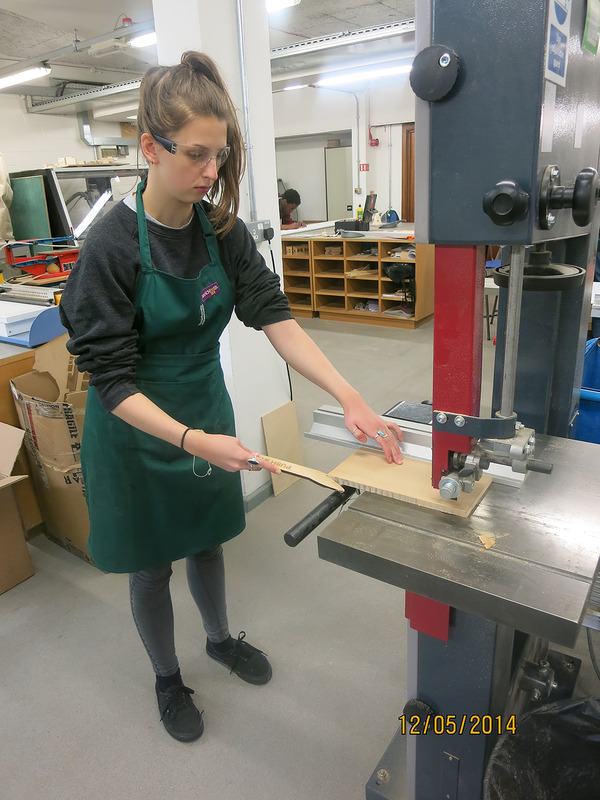
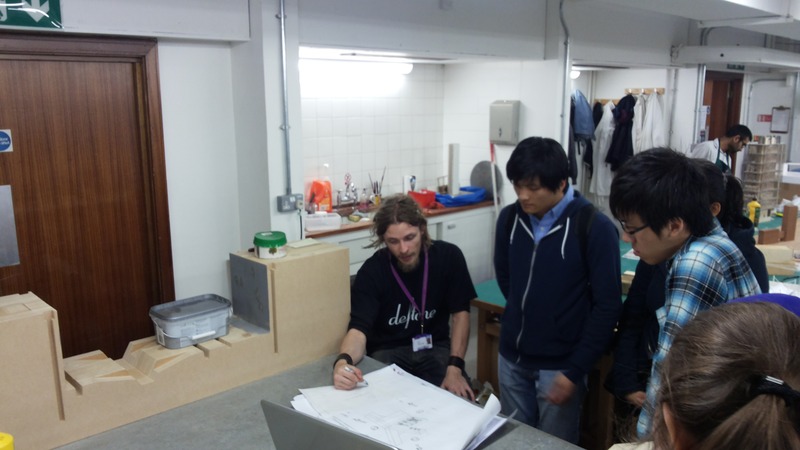
We headed to the workshop to make the pieces for our model. We used MDF and cut it on the bandsaw and on the Laser Cutter.
Posted 14 May 2014 13:23
Day Seven: Model by Event 6 and installation by Event 9.
Posted 14 May 2014 13:23
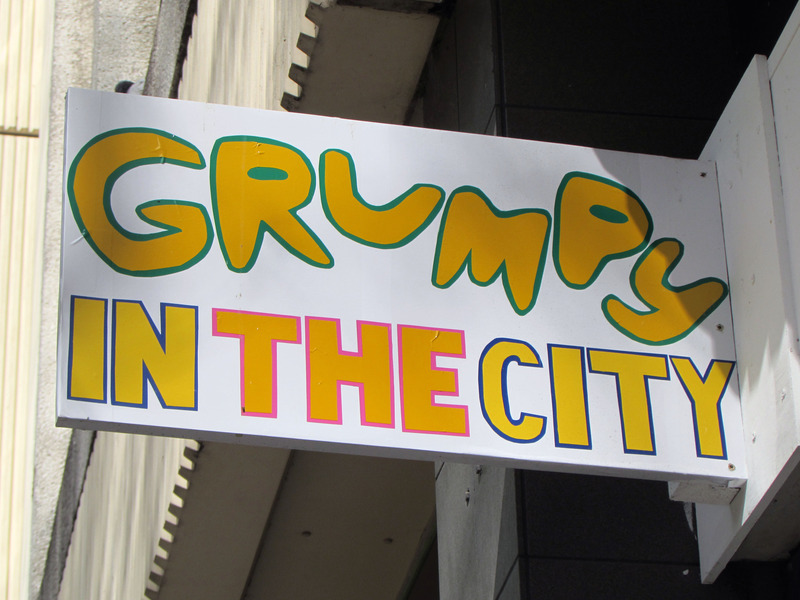
Welcome to Grumpy in the City to see Group 19 work where you can also purchase different materials.
www.grumpy.org.ukPosted 14 May 2014 13:22
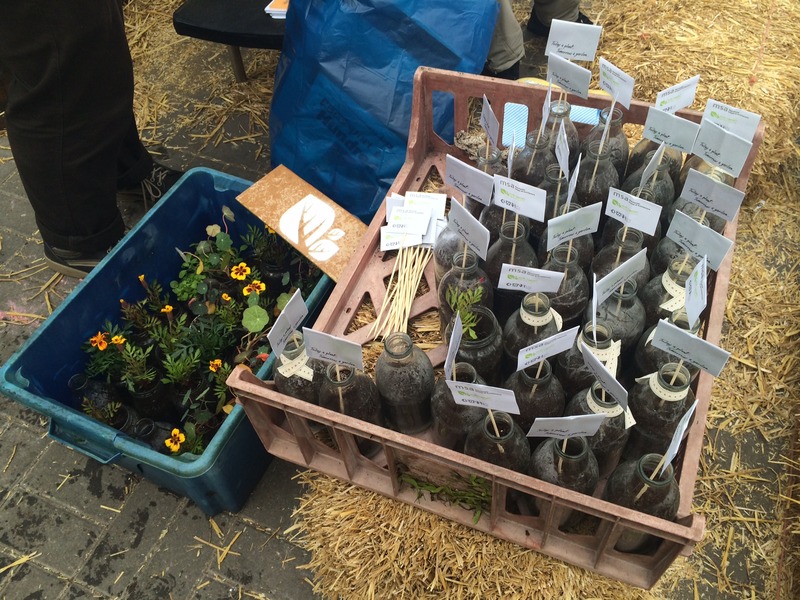
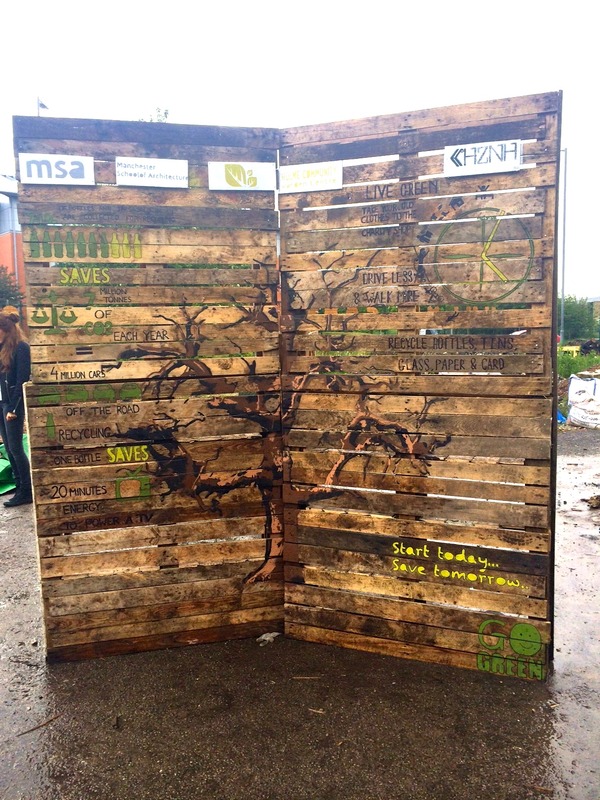
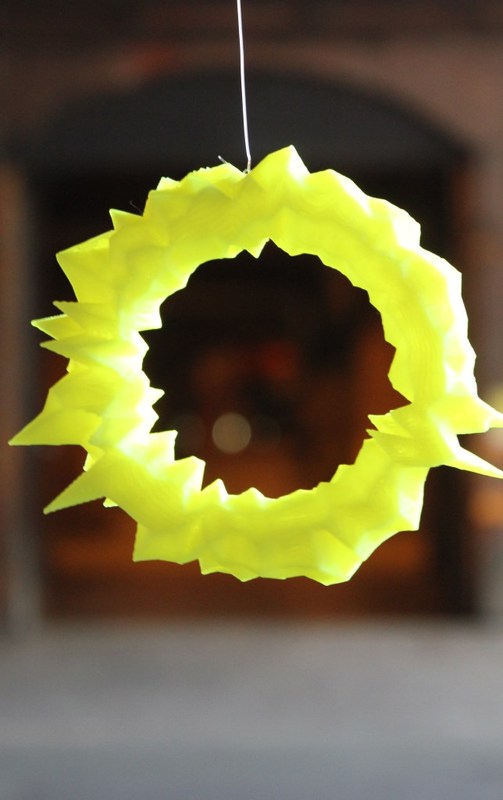
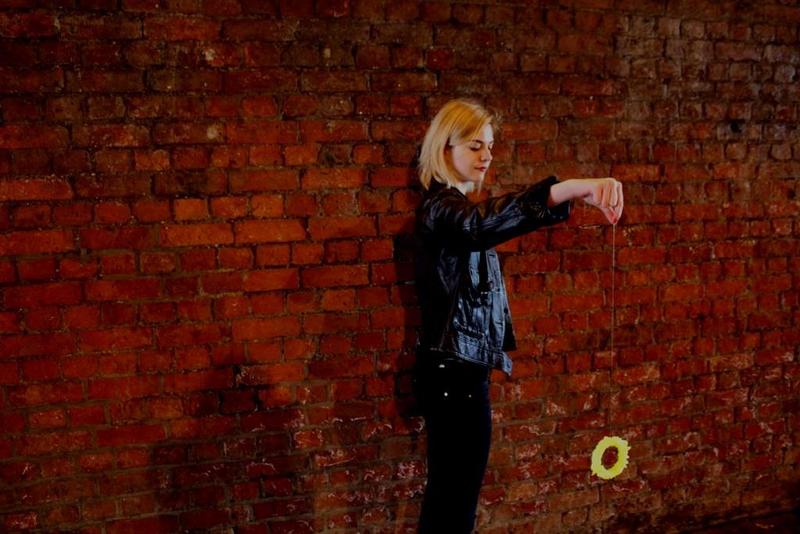
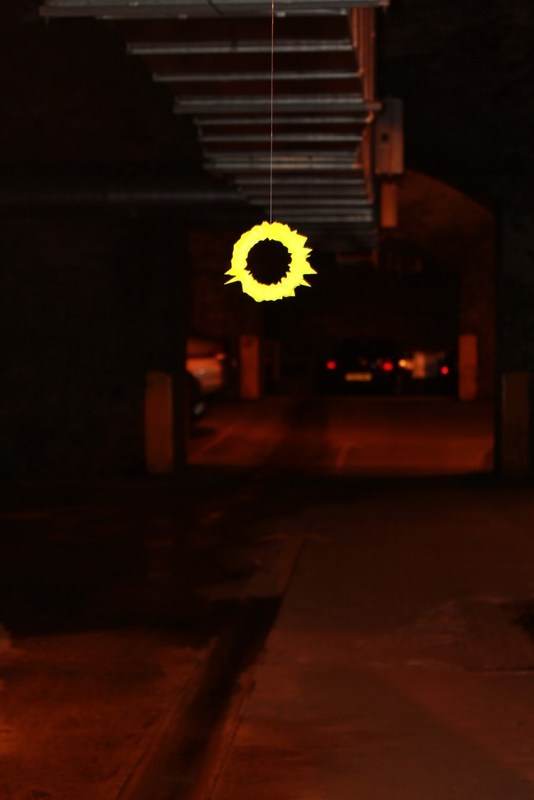
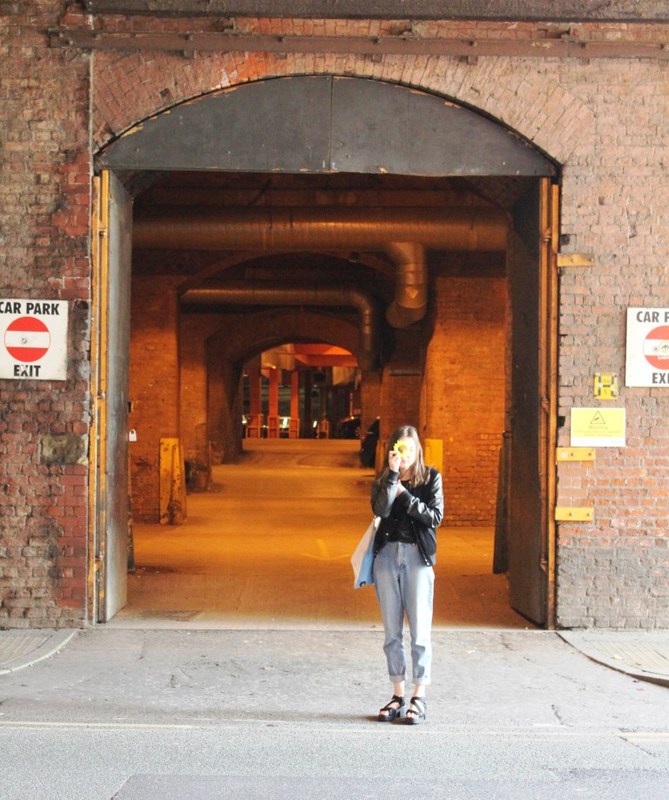
Event 09 - Community Art Project
The beginning of the flowers that will be handed to the public as part of their installation
Posted 14 May 2014 13:16
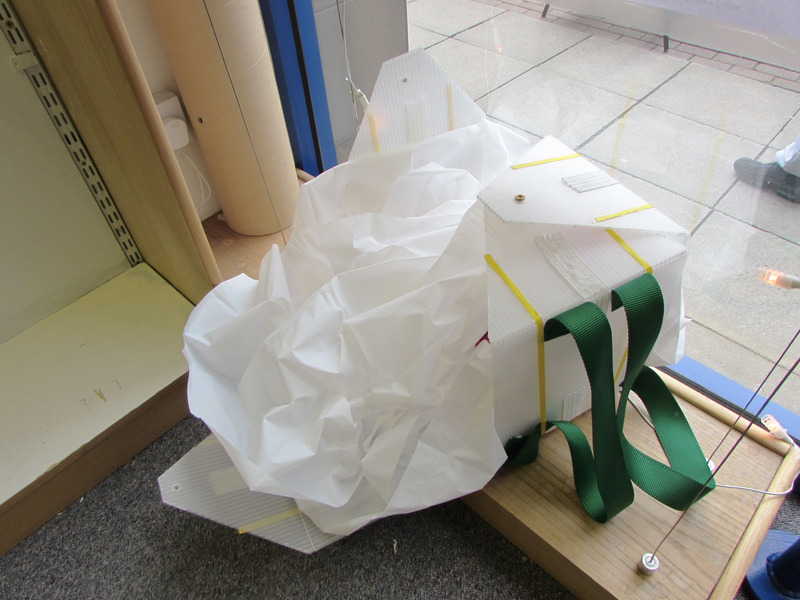
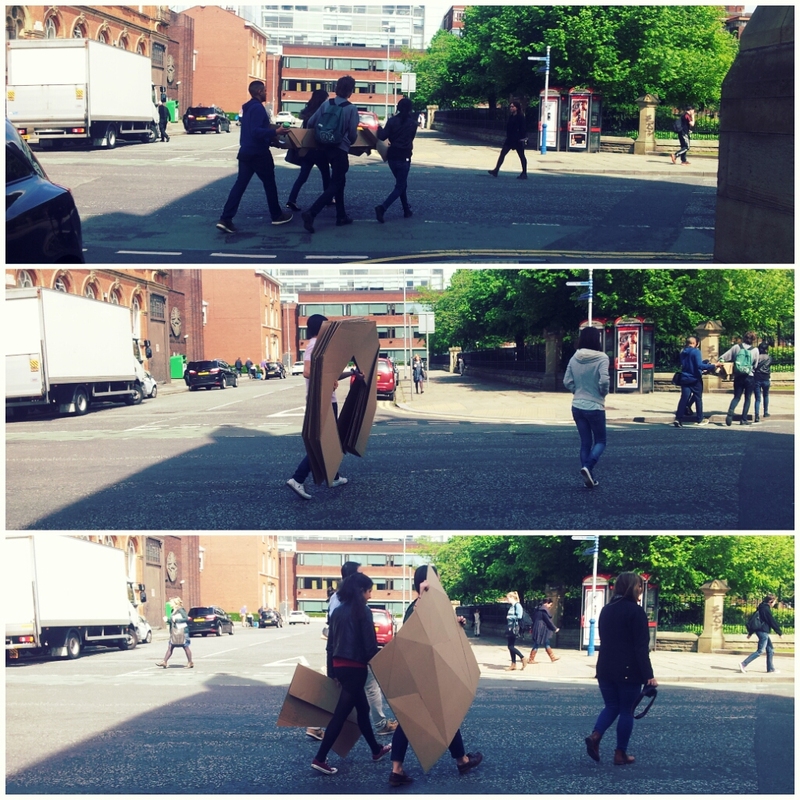
Final product was displayed in the shop window belonging to Grumpy Charity. It was free for any visitors to explore our wearable shelter designs.
Posted 14 May 2014 13:16
Event 09 - Community Art Project
Posted 14 May 2014 13:13
Event 09 - Community Art Project
Posted 14 May 2014 13:12
Our model on site
Posted 14 May 2014 13:07
Event 19 - Wearable Shelter
Experimenting with ways to create their design
Posted 14 May 2014 13:06
Event 12 - The Humble Brick
Designing and discussing their ideas
Posted 14 May 2014 13:05
Taking pictures on site
Posted 14 May 2014 13:04
Sound and site
Posted 14 May 2014 13:03
Day 05 // Event 06 // Discussing Ideas
Posted 14 May 2014 13:03
Sound and site
Posted 14 May 2014 13:03
Justi having fun
Posted 14 May 2014 13:02
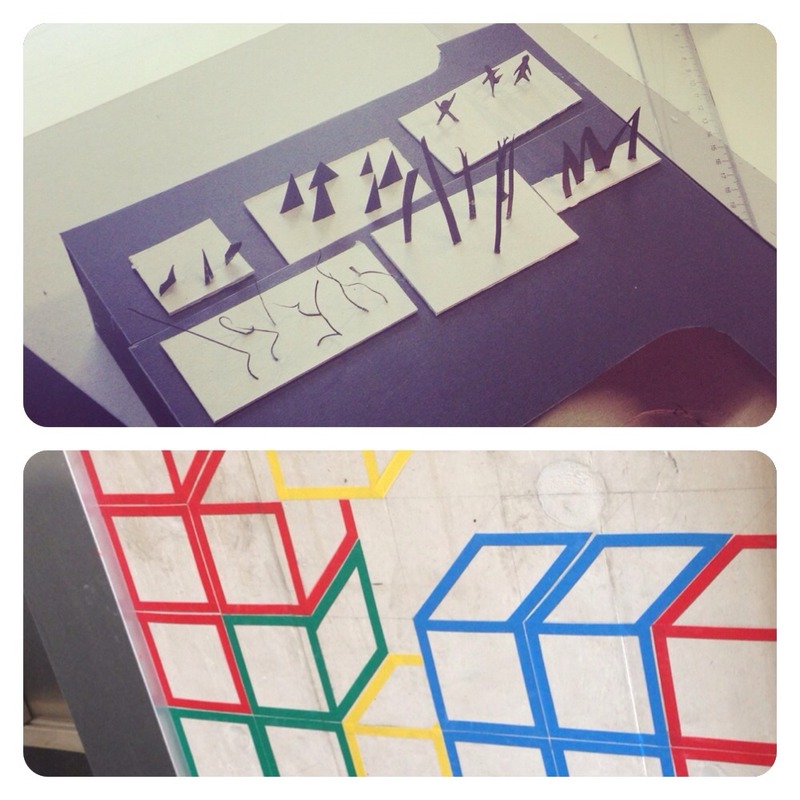
Day 05 // Event 06 // Wall Tetris
Posted 14 May 2014 13:00
Spending one day to visit the Yorkshire Sculpture Park.
Posted 14 May 2014 12:53
Making a timetable of when and where we were needed to take the best photos, after talking to the other events and finding out when their important days are
Posted 14 May 2014 12:53
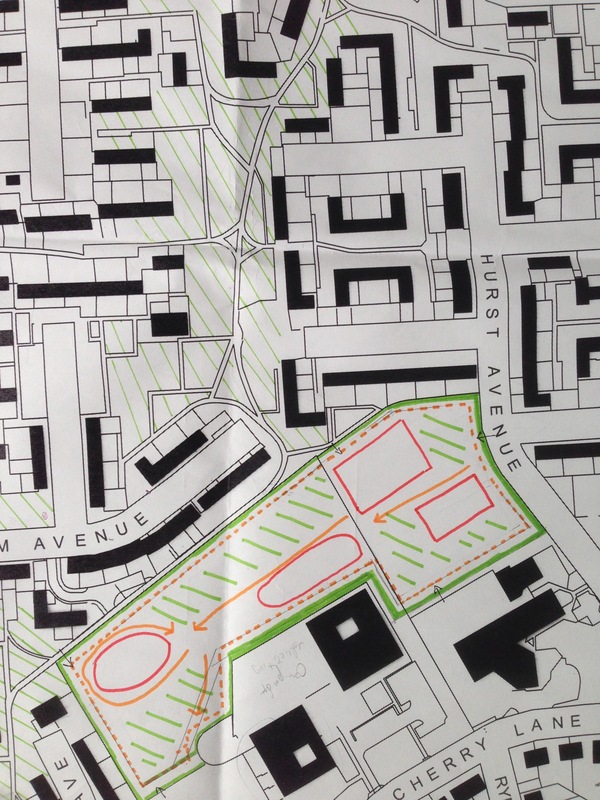
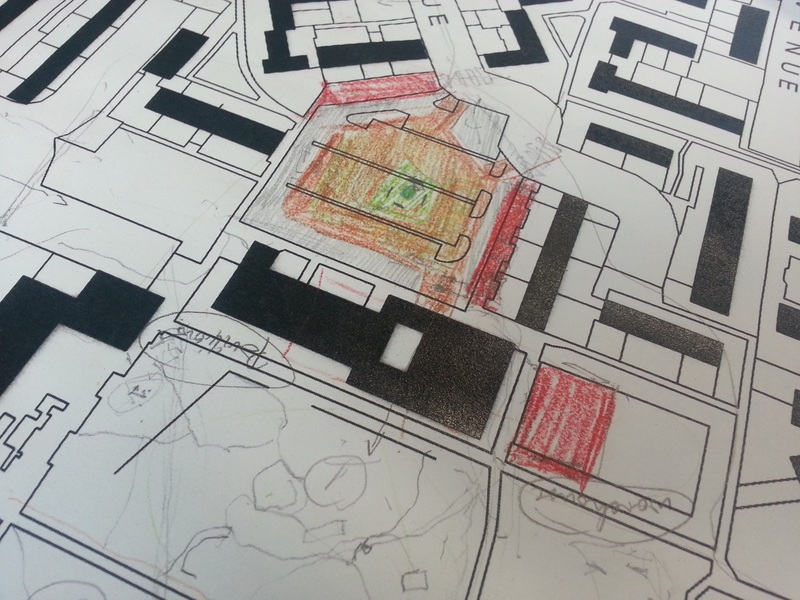
After a group tutorial with the landscape architect Paul Gray, we realised that our outdoor sports park shouldn't just be confined within the site boundaries but rather expand into the estate, in an attempt to 'draw' people in.
Posted 14 May 2014 12:51
Draft photocollage of the House.
Posted 14 May 2014 12:51
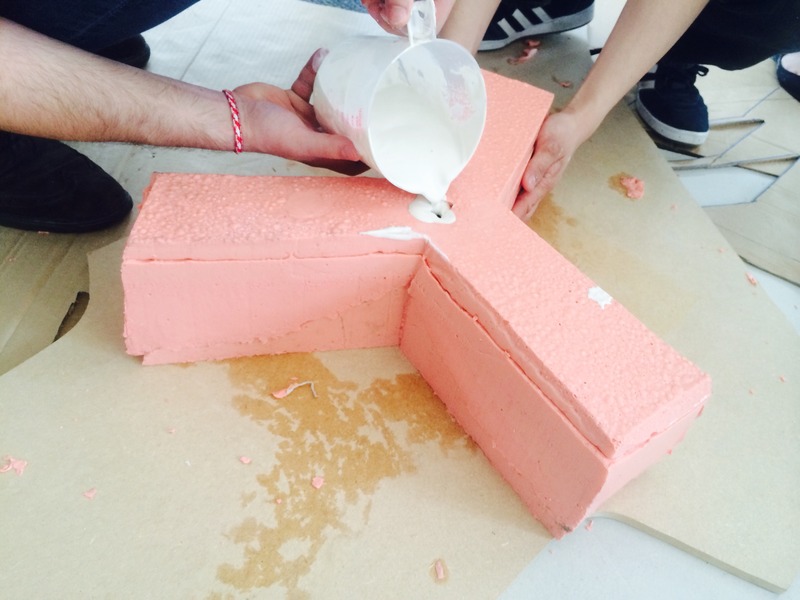
Pouring in concrete for testing the first 1:1 component.
Posted 14 May 2014 12:36
Mould ready.
Posted 14 May 2014 12:35
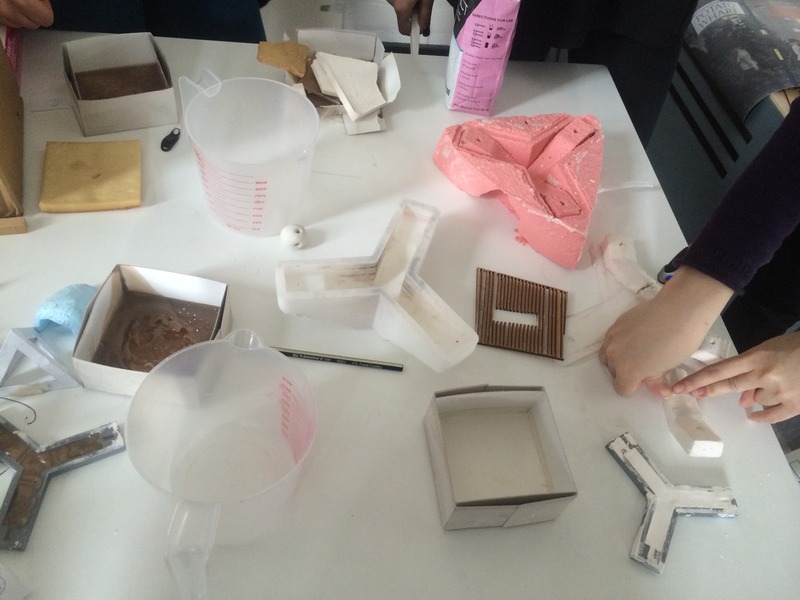
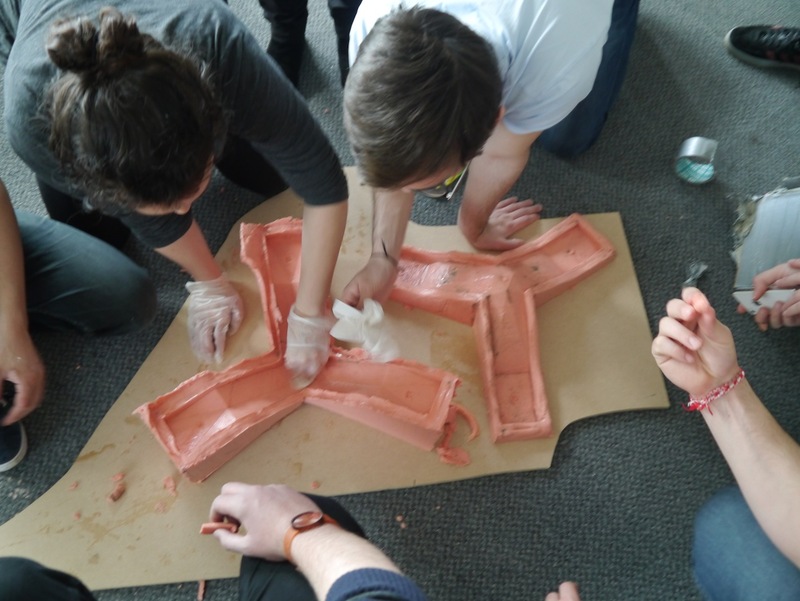
Creating the mould for the components.
Posted 14 May 2014 12:35
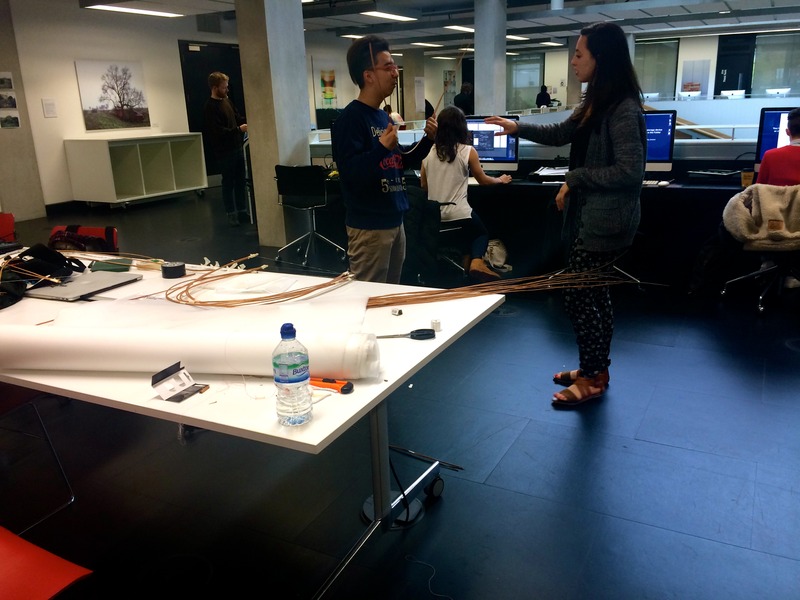
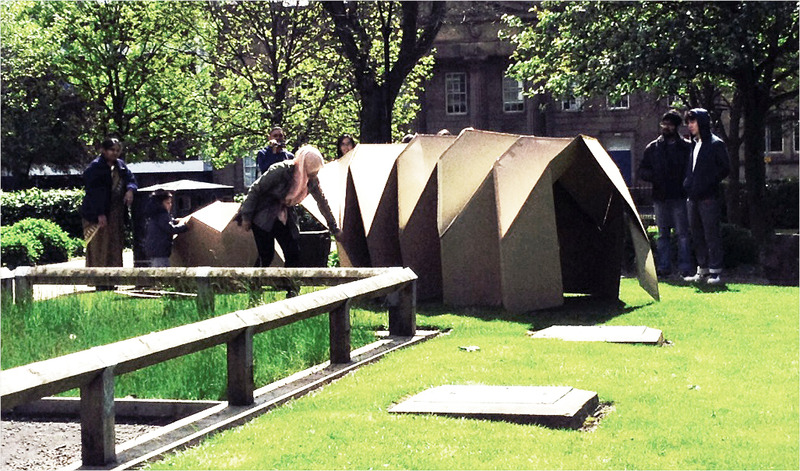
Beautiful day to take the models out and test it with members of the public
Posted 14 May 2014 12:35
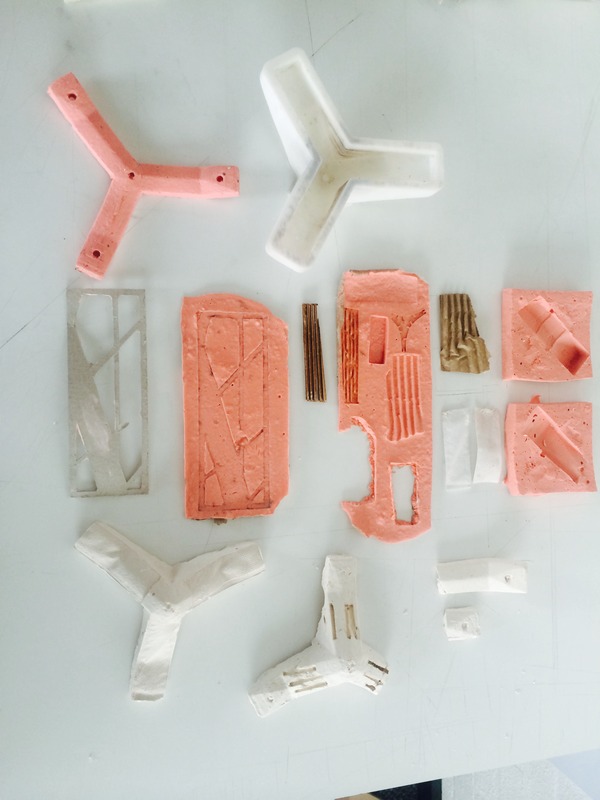
Material and texture tests organised.
Posted 14 May 2014 12:31
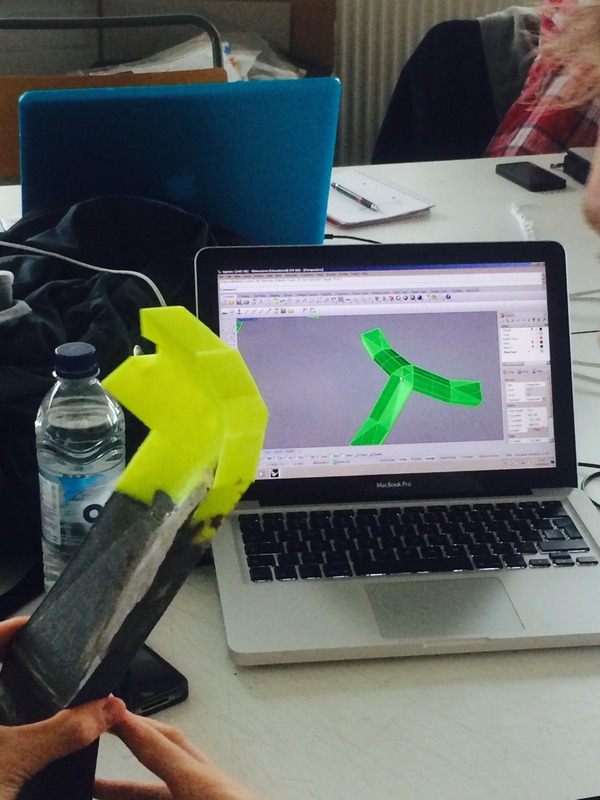
comparing the actual model with the rhino model.
Posted 14 May 2014 12:30
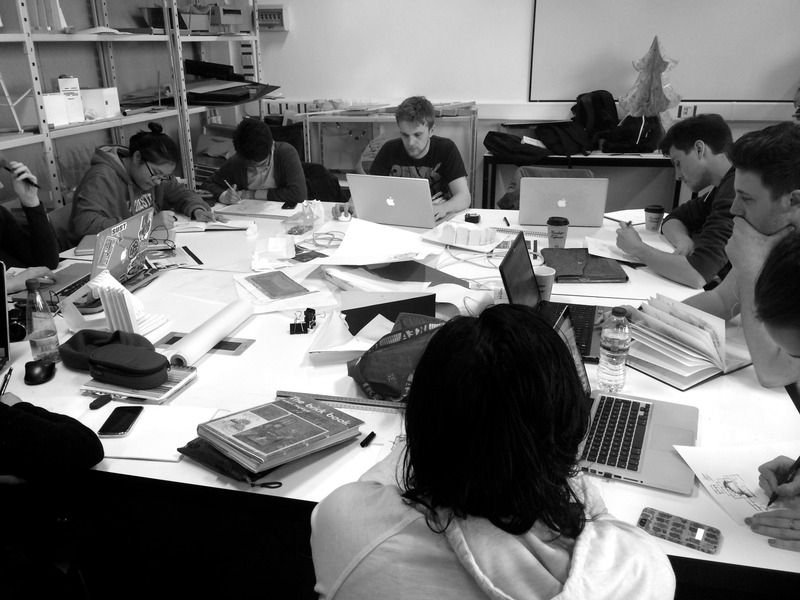
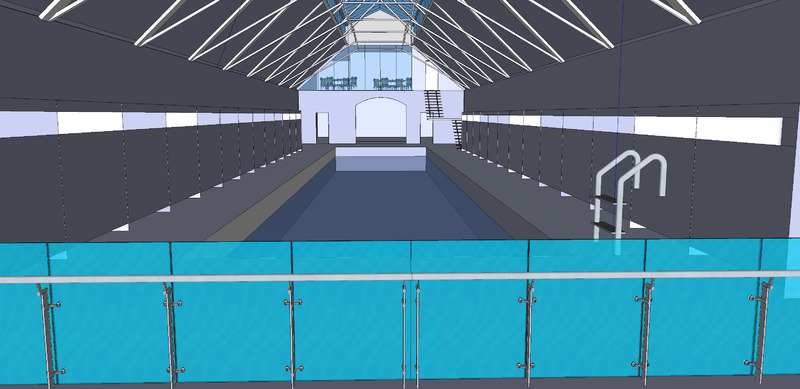
It took us a lot of hard thinking to come up with an interior layout that would optimise space. We used Sketch Up to create some quick and easy designs to choose from.
Posted 14 May 2014 12:28
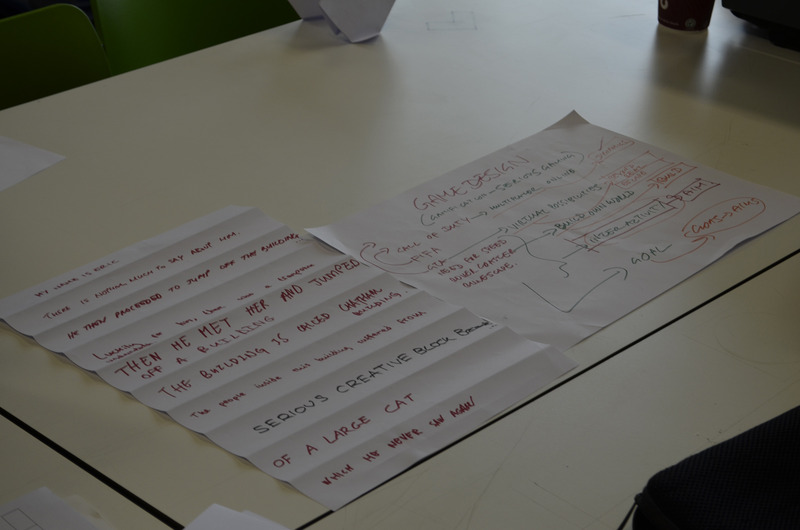
Working once again with Ullyses, we undertook a workshop which developed our understanding of what makes a 'game', so that this analysis could influence the final output of the Event.
Posted 14 May 2014 12:28
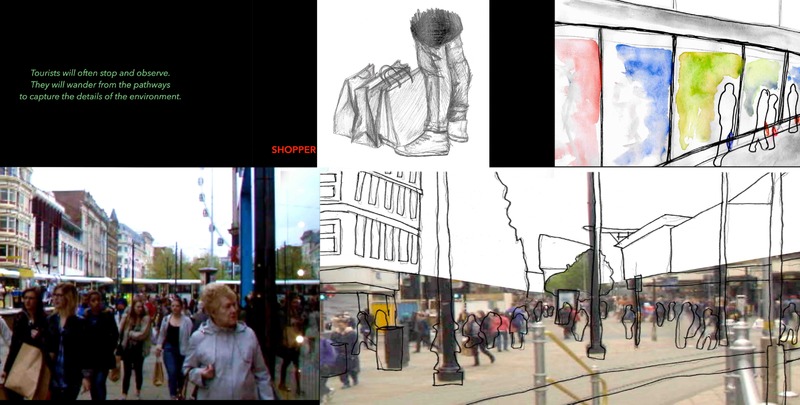
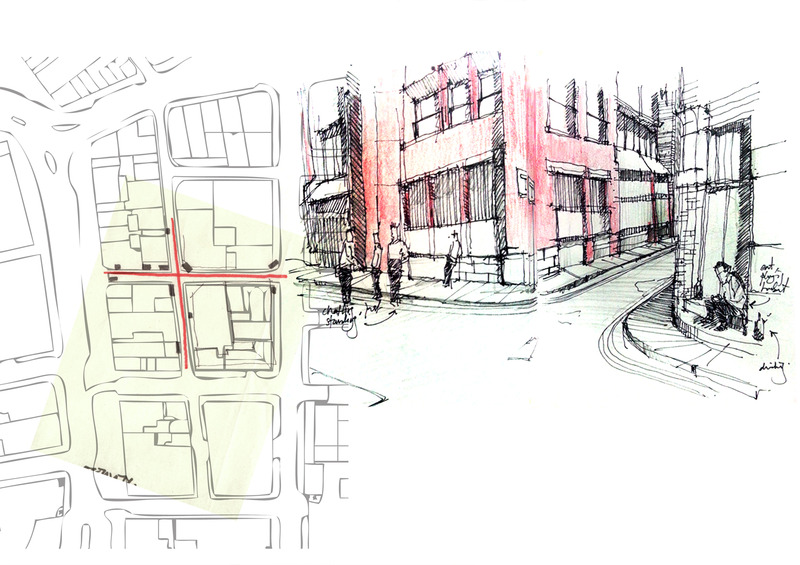
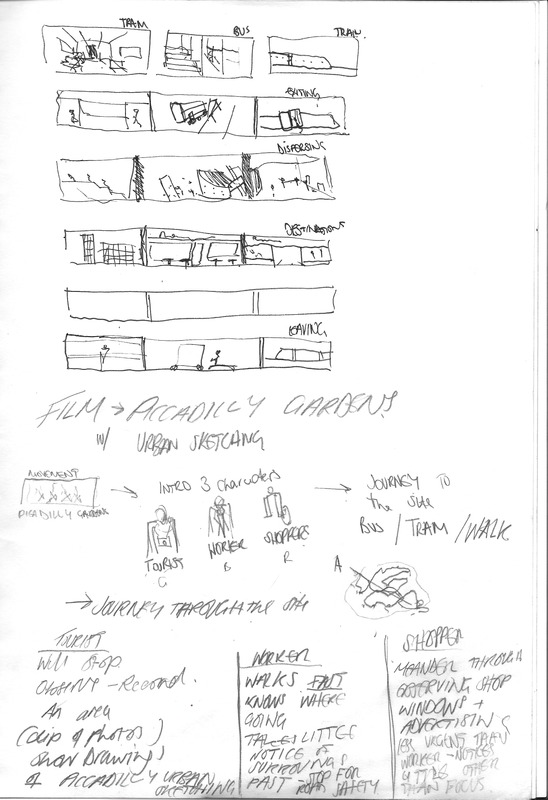
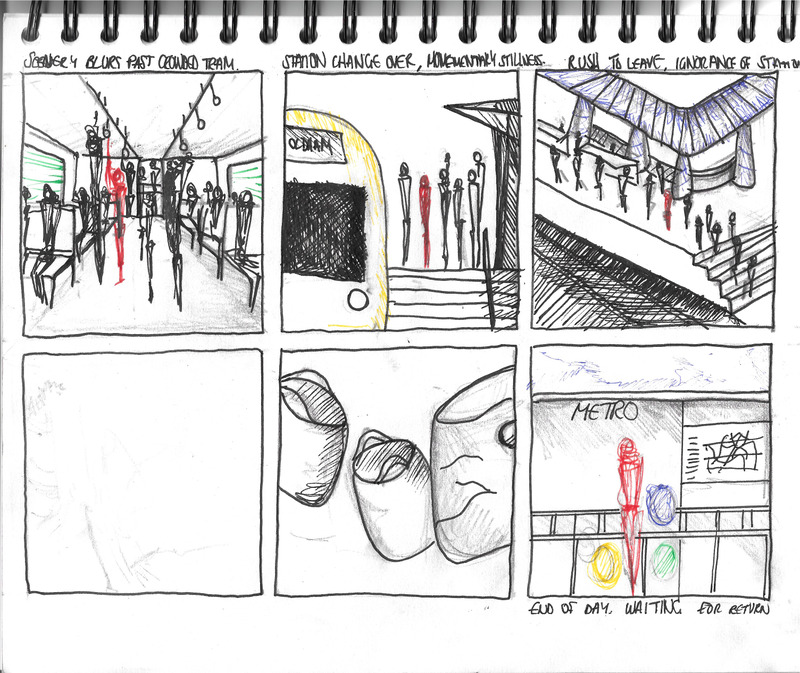
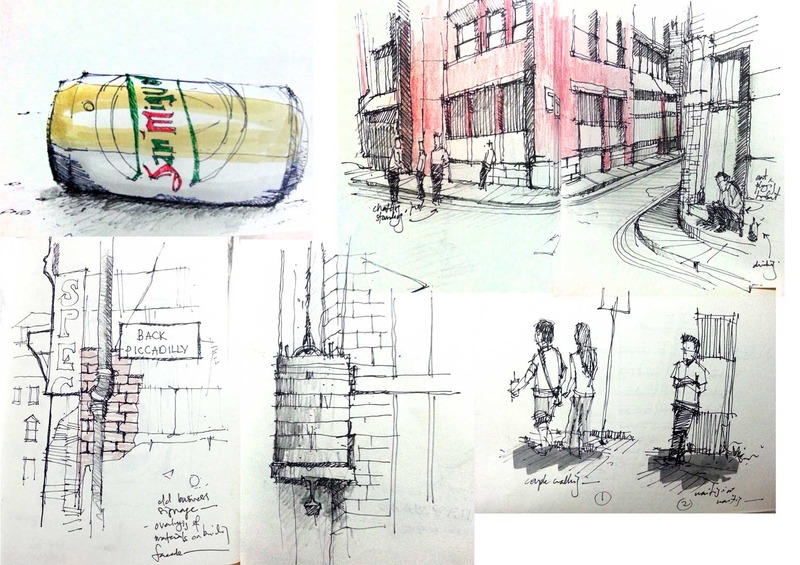
Creating a video including urban sketching techniques to represent varied views of Piccadilly, from a tourist, a shopper and a worker.
Posted 14 May 2014 12:28
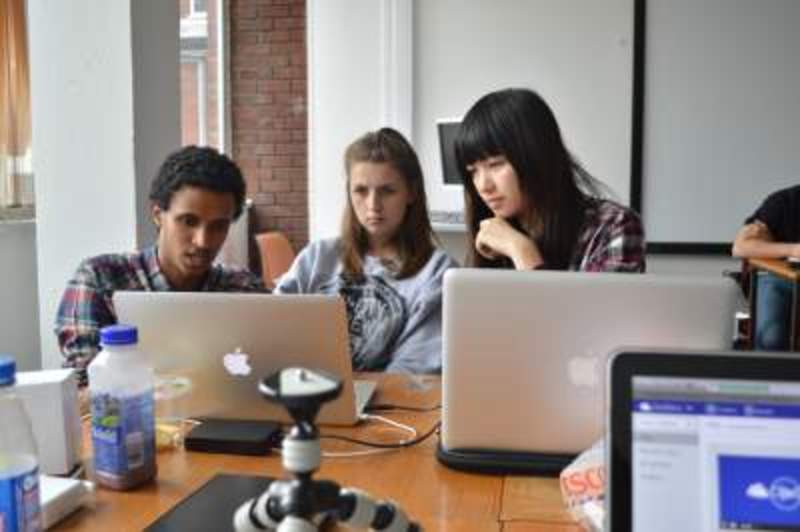
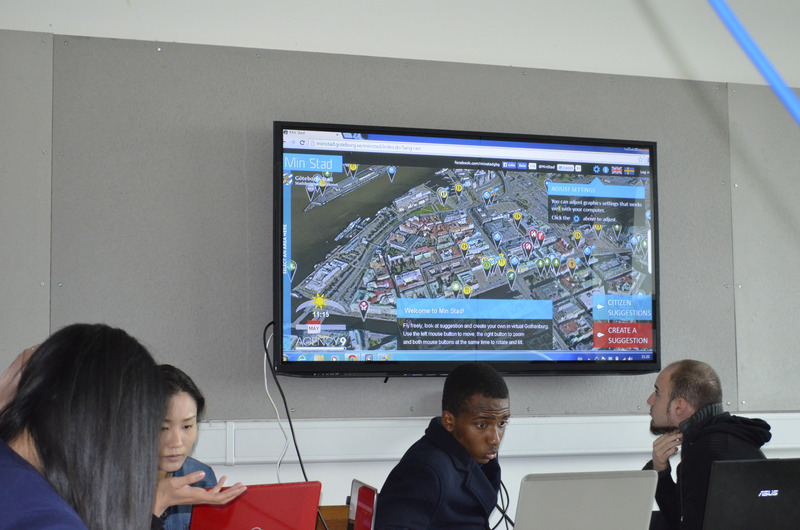
After meeting with our collaborator, Eric from Arup, we began to be able to see what our mapped data would look live visualised and geolocated within a 3D model of the Oxford Road corridor.
Posted 14 May 2014 12:27
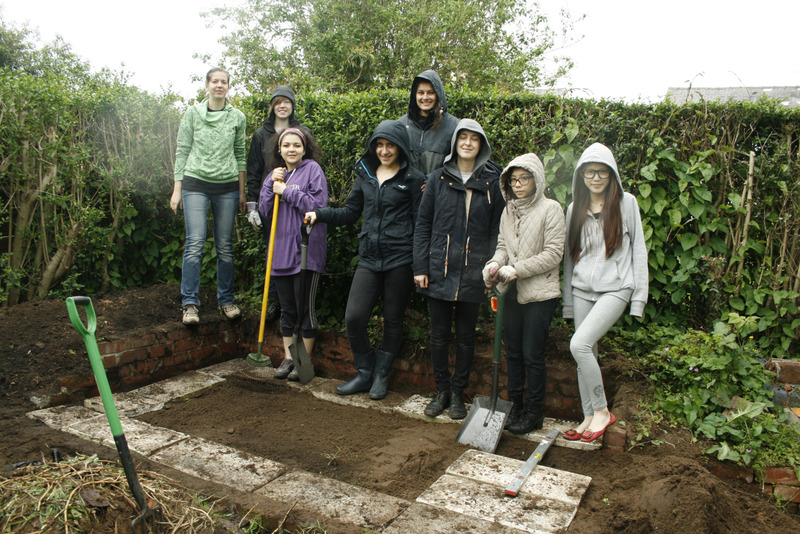
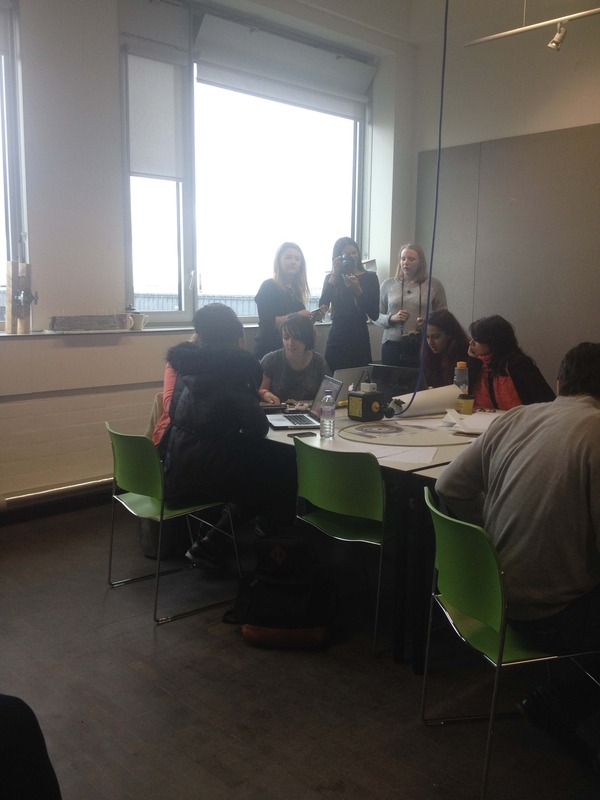
Girl power! Great job done only with a couple of hours with team efforts!
Posted 14 May 2014 12:27
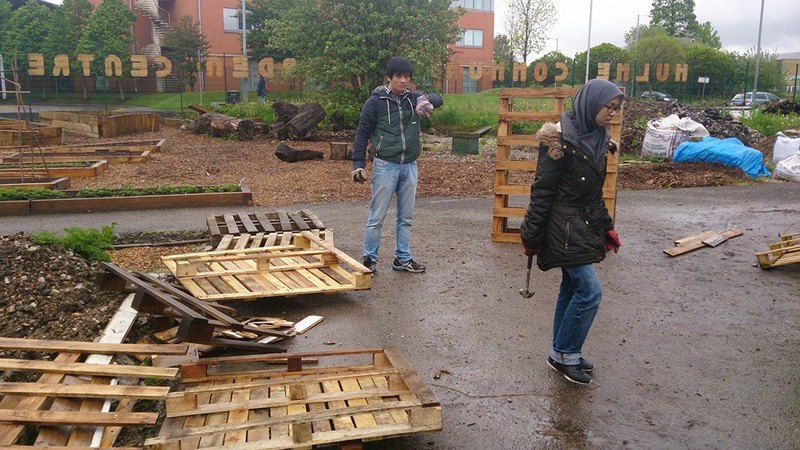
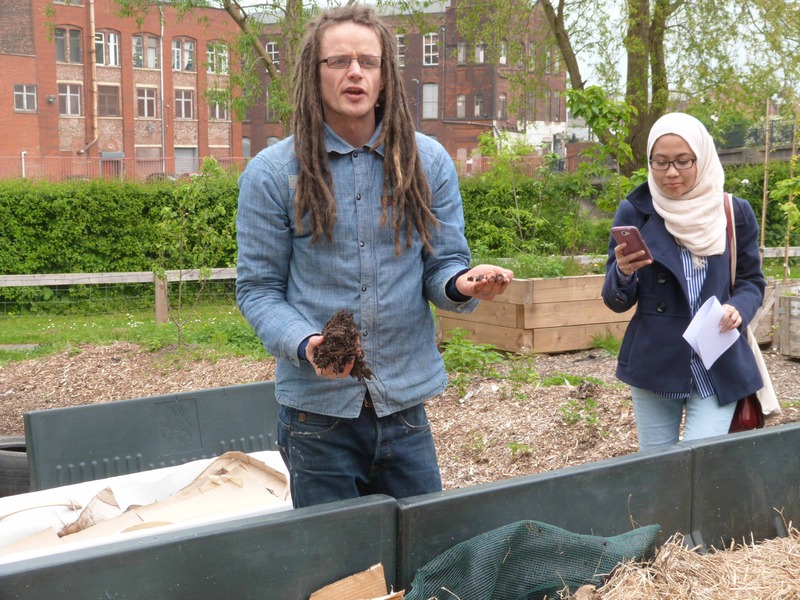
on Day 5 we went to Hulme community gardens and started our work for the 3D installation
Posted 14 May 2014 12:24
experimentation with alginate and different textures,
Posted 14 May 2014 12:23
hidden talent
Posted 14 May 2014 12:22
example of foster concept sketches for references
Posted 14 May 2014 12:22
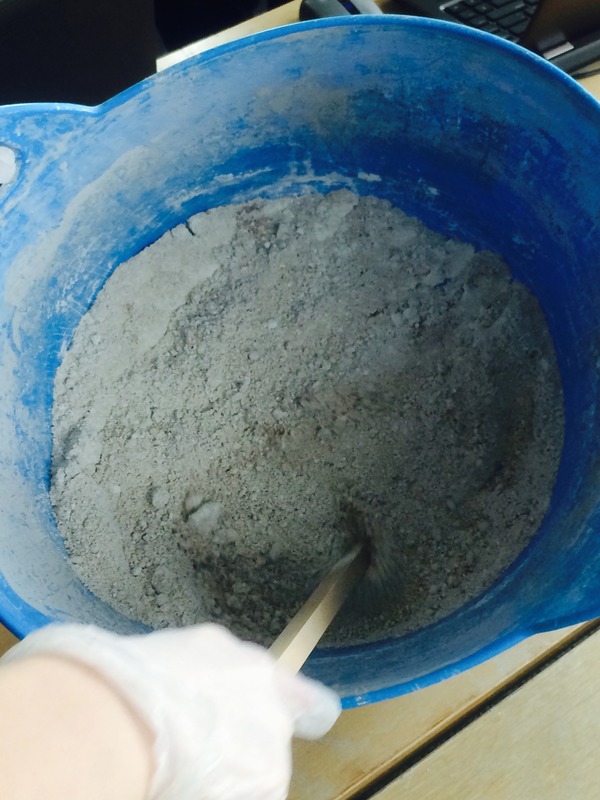
we decided to experiment with concrete by estimating ratios and checking the casting time.
Posted 14 May 2014 12:22
After we presented it was discussed that our design needed something more original than just a set if drawers. We proposed a honeycomb shape but found space was lost along the sides and that it was difficult to have different sizes of hexagon interlinking.
Posted 14 May 2014 12:22
concept sketches by foster for references
Posted 14 May 2014 12:22
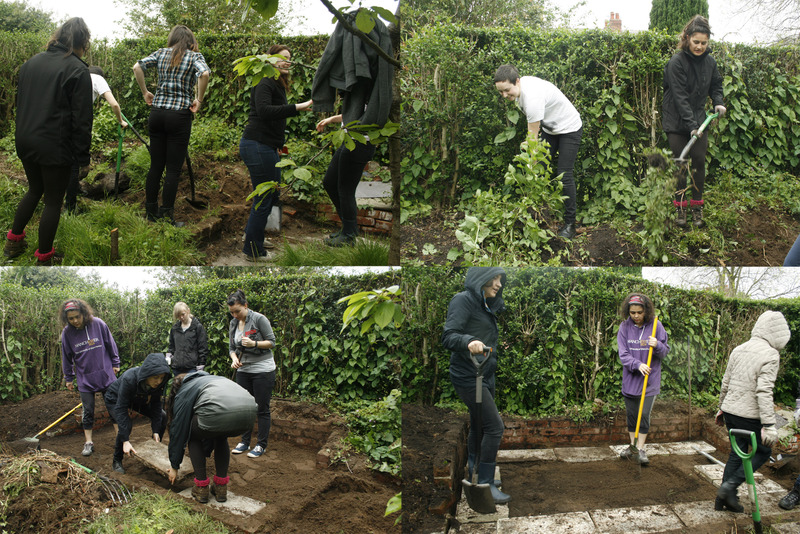
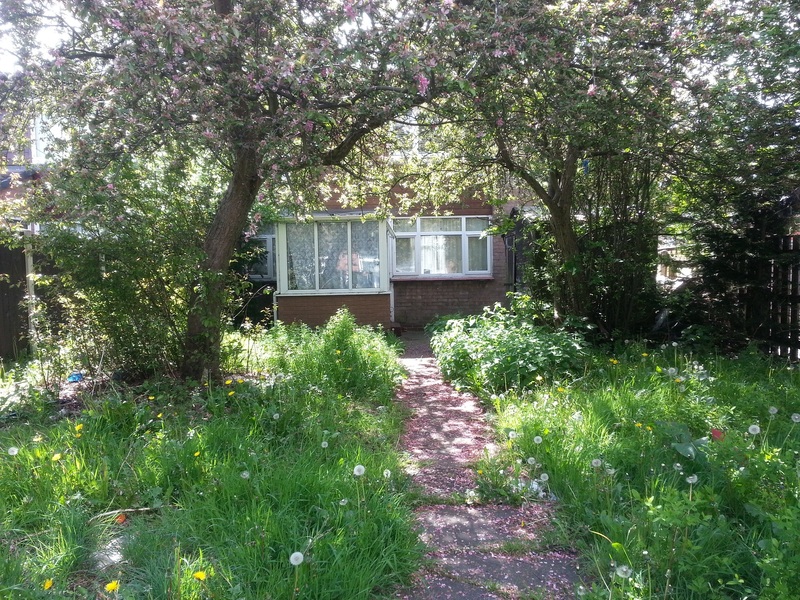
Day 8: Site preparation for installation of the Micro-shelter on the following day. Removing shrubs and weeds, digging out soil to level the ground and placing concrete paving flags for structural support.
Posted 14 May 2014 12:21
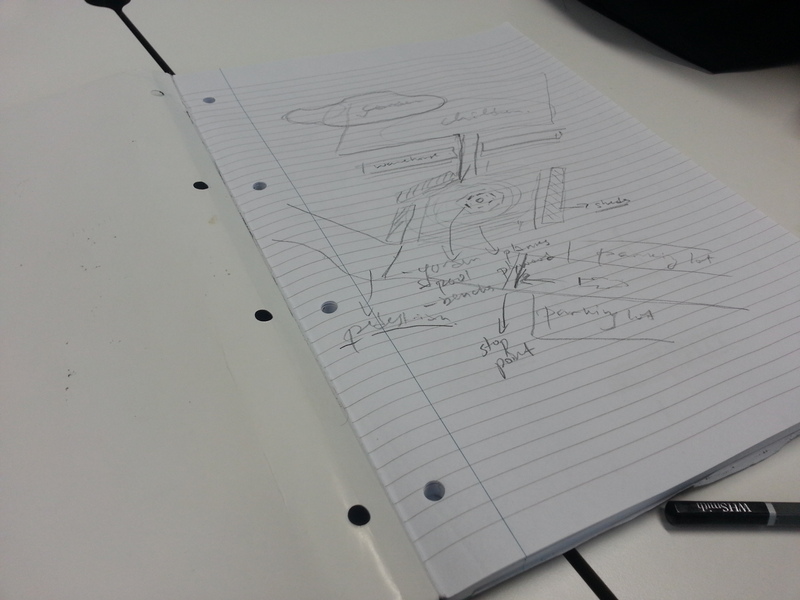
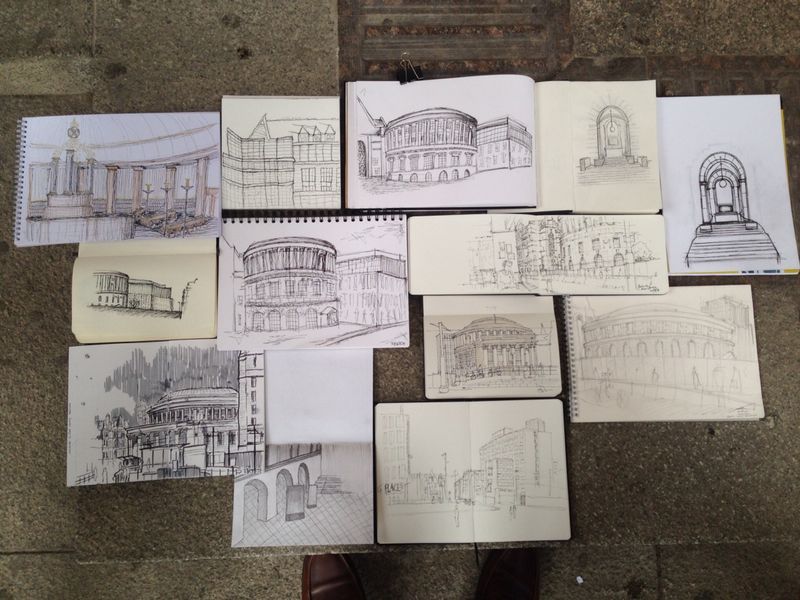
more site analysis sketches
Posted 14 May 2014 12:21
site analysis through sketches
Posted 14 May 2014 12:21
example of sketches
Posted 14 May 2014 12:20
we tested a lot of moulds with different materials, textures, and finalised what material and texture we would use for the final construction model.
Posted 14 May 2014 12:20
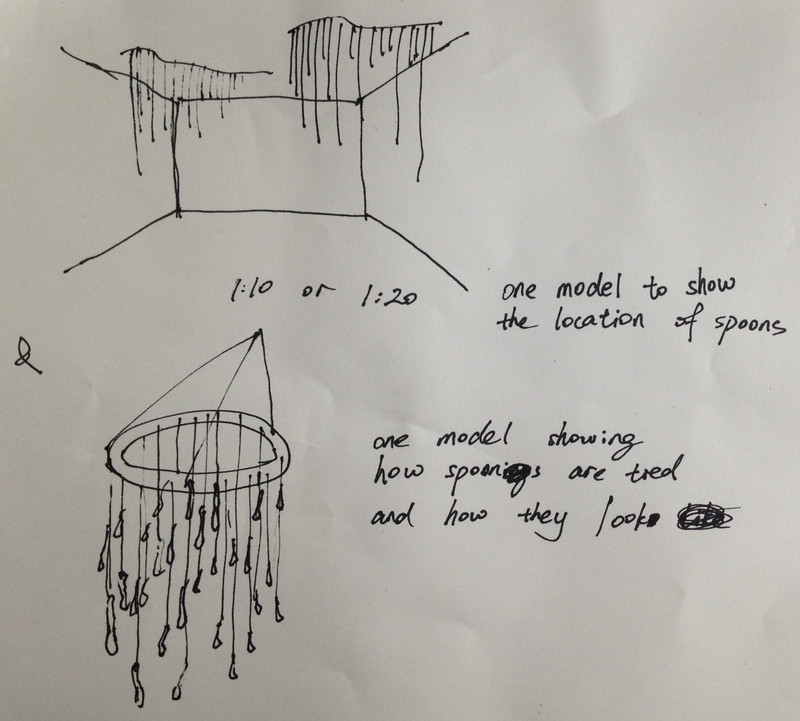
Session 6
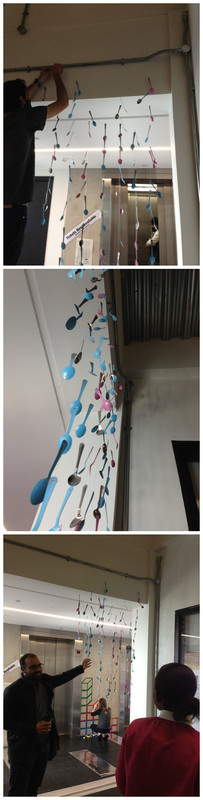
Hang the spoons on the ceiling and observe people's reaction.
Posted 14 May 2014 12:18
We went to the University Of Manchester's model shop to discuss the connections for the 3D installation.
Posted 14 May 2014 12:18
'how to use sketches' to develop ideas briefing...
Posted 14 May 2014 12:15
Session 5
We measured the dimensions of the site and then we sprayed the spoons.
Posted 14 May 2014 12:14
Day 2 of the events program saw us debating how to organise the interior of the wardrobe in order to have optimum usage efficiency. We created some drawings as well as a Sketch Up model and quick model of the basic form to present to the event coordinators.
Posted 14 May 2014 12:14
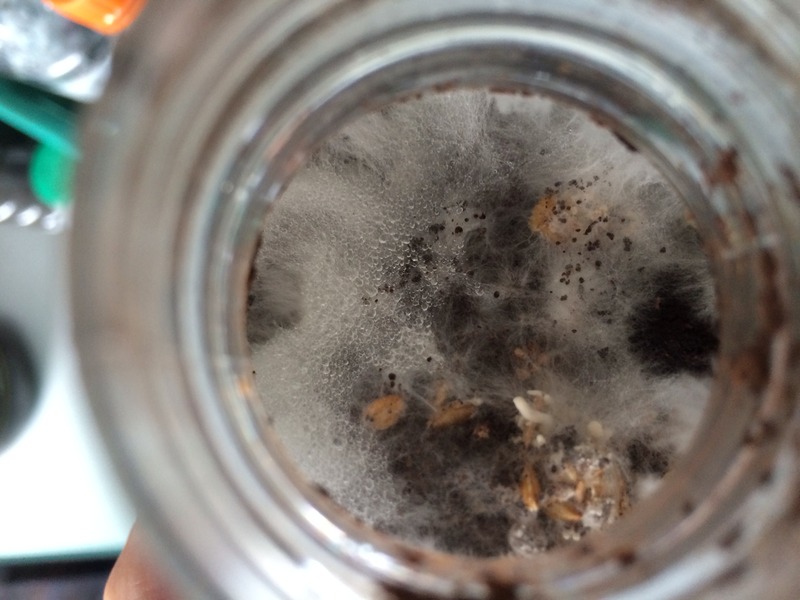
I can smell mushroom 😁 lets wait for few days more!
Posted 14 May 2014 12:10
trip to salford (forgot to upload them after visit )
Posted 14 May 2014 12:08
Understanding how to create different efficient ideas
Posted 14 May 2014 12:07
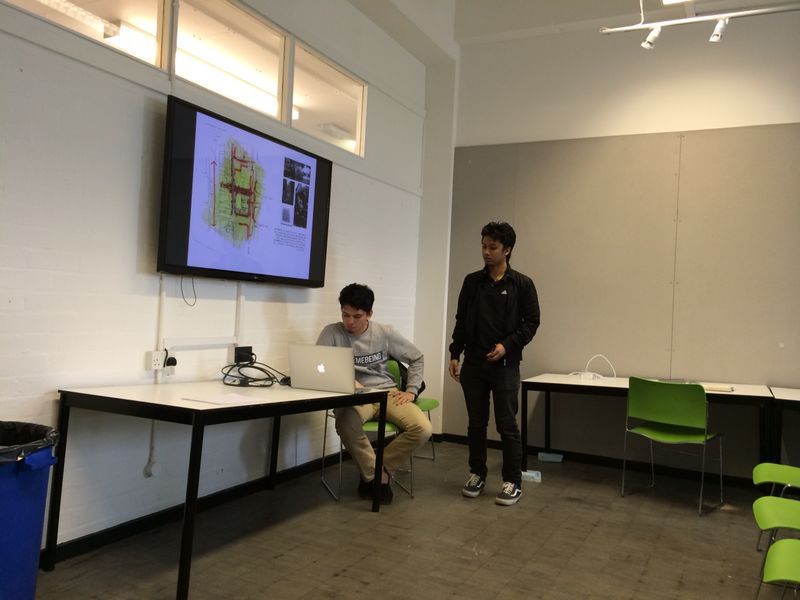
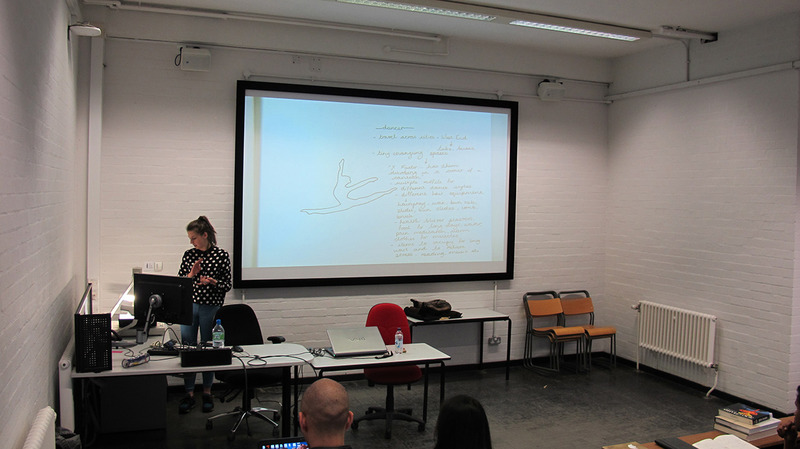
Presentation day
Posted 14 May 2014 12:06
Planning to create a film, sketching scenes, and ideas for the narratives.
Posted 14 May 2014 12:06
6th May - After visiting Shudehill, observing and interviewing people. We drew a comic book depicting a story of someone occupying the the site.
Posted 14 May 2014 12:04
Trip to sale. Exploring what a good neighbourhood should be like.
Posted 14 May 2014 12:03
trip to salford
Posted 14 May 2014 12:03
Session 4
Group discussion about the model
Posted 14 May 2014 12:02
Group meeting. Creating ideas for a new project in Sale.
Posted 14 May 2014 11:59
My idea was a portable wardrobe/ dressing table for a performer, particularly that of a ballerina. Its size and shape was inspired by a large suitcase due to its ability to be transported with ease.
Posted 14 May 2014 11:59
2nd May - Editing Videos from piccadilly gardens in Studio
Posted 14 May 2014 11:58
from a different angle
Posted 14 May 2014 11:57
Event 00 came by while we were having tutorials to take photos!
Posted 14 May 2014 11:57
At the next meeting, we start to thinking about the design geometry,materials ,architectural elements and arrangements of the garden, based on the Chinese philosophy and culture. We agreed to connect 3 access points(2 main front entrances and the back one which connect the car park with the garden.The shape of the path was based on Ying & Yang philosophy,which connect a centre temple with the entrances.Fish bones, stones, grass and vegetation are some of the elements, which we are going to use to our project.Tai chi and relax zone will provided to the park.
Posted 14 May 2014 11:56
The two negatives that form the component.
Posted 14 May 2014 11:55
Session 5: We had tutorial with both groups in order for them to show us their progress and to advice them on how to proceed and make the best for the final presentation of the two proposals to the collaborator.
Posted 14 May 2014 11:54
Discussing our idea with landscape architect
Posted 14 May 2014 11:54
started the 3d model
Posted 14 May 2014 11:50
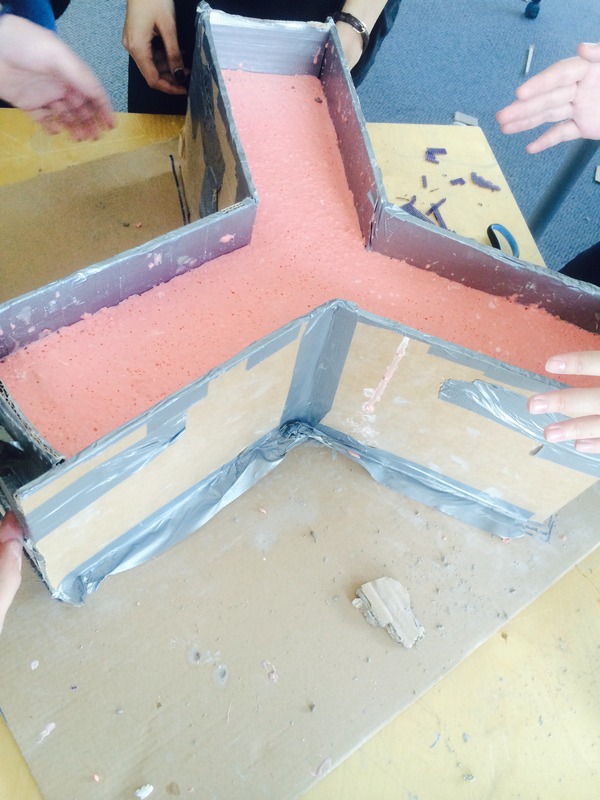
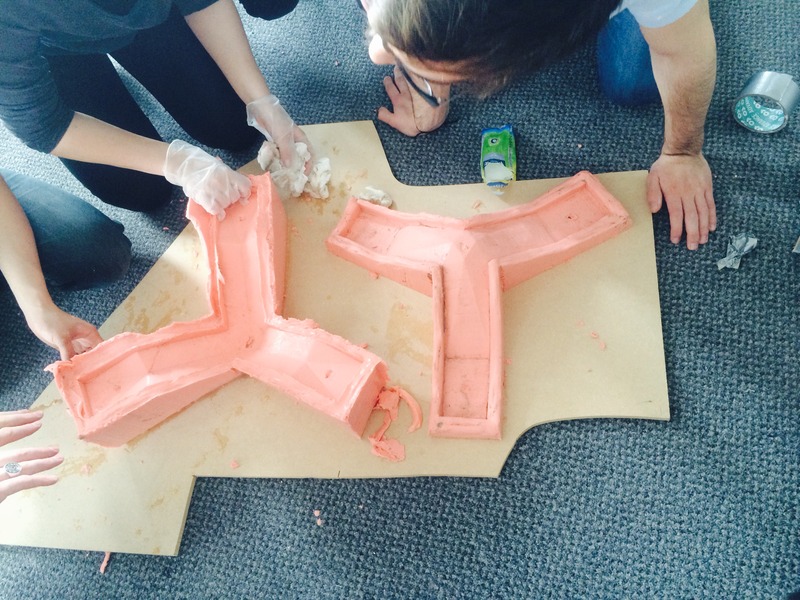
We built a cardboard structure around the component that would allow us to build the casts. The casts were made out of Alginate a flexible and quick setting material.
Posted 14 May 2014 11:48
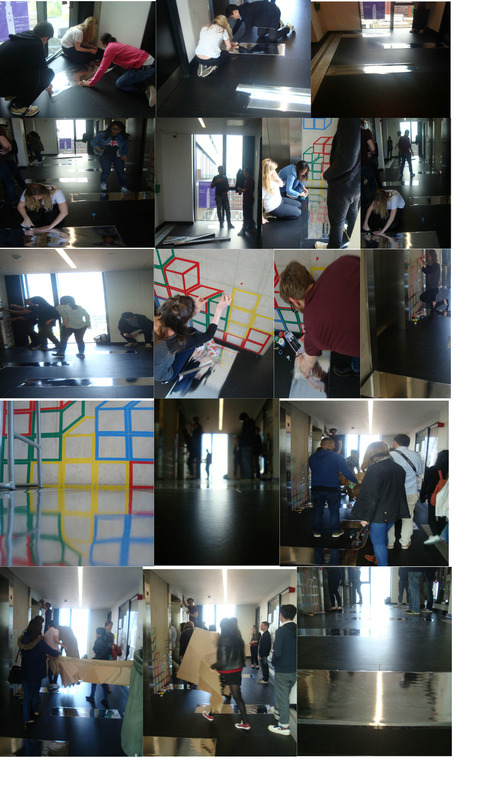
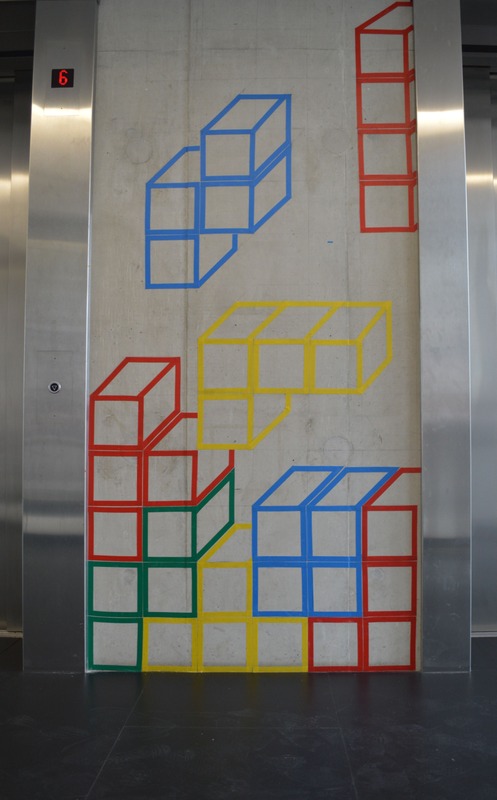
Day 6. Installation day, here is the process of installing our design which is all about admiring reflections & light from a real life third dimensional perspective whilst waiting for the elevator, the material worked really well although the effect got people looking at the sheets,they did not however tread on them which was the desired effect..maybe they just appreciate hard work!!
Posted 14 May 2014 11:46
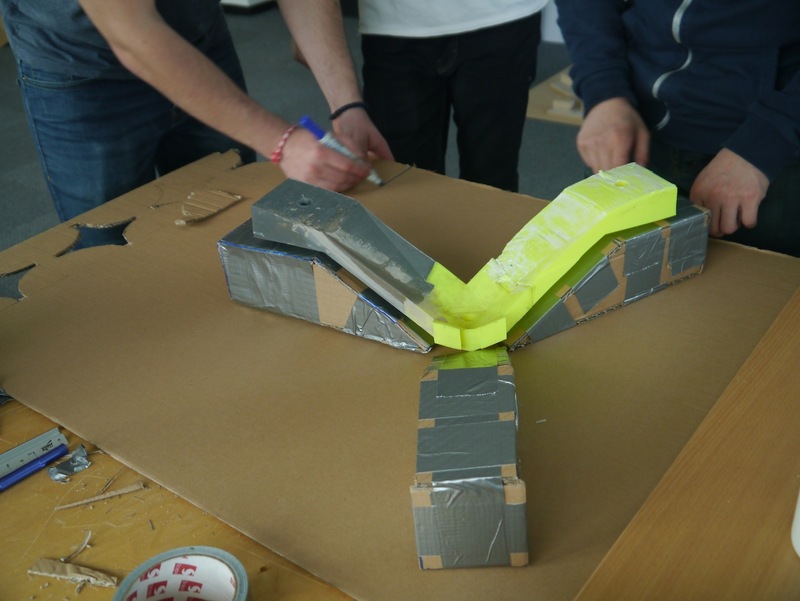
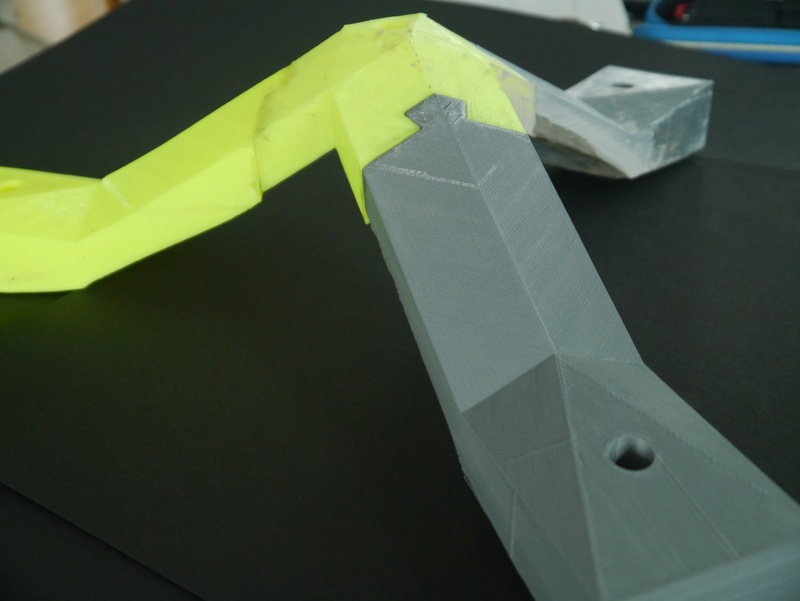
We realised the size of the component meant we would need a lot of them, and the time it takes to cast each component meant this is not practical. We therefore redesigned the component and increased it's size. This was 3D printed in 4 parts, which were then glues together, and we begin to create the mould.
Posted 14 May 2014 11:39
Sixth Session (Final)
-Final day of events and we installed our (9) sheets.
-It is spaced out relating to the tiles along the floor, skipping one tile per sheet.
-Unfortunately people seem to avoid stepping on the sheets, perhaps it looked quite fragile.
Posted 14 May 2014 11:38
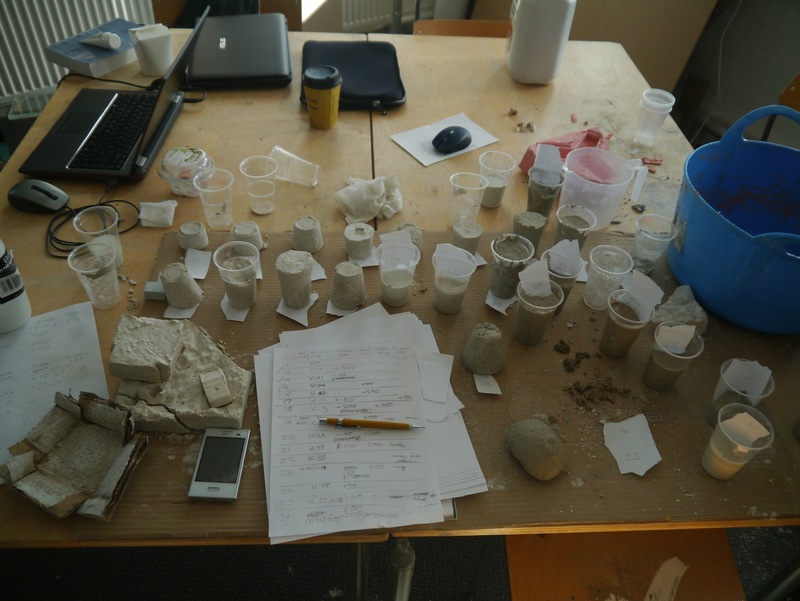
Number 13 was our favourite, as it had a relatively white colour, and took only an hour to set rock solid (for concrete this is quick). The mix was of 800ml of cement, 750ml of sand, 250ml, and 200ml of hardener.
Posted 14 May 2014 11:35
We decided to look at a stronger material than plaster. We looked at using various mixtures of Snowcrete (white cement), Postcrete (quick-drying ready mix cement), sand, water, and a hardener. We recorded each test's mixture and the time it was mixed and poured. We were looking for a good colour (preferably white) and a quick setting time.
Posted 14 May 2014 11:33
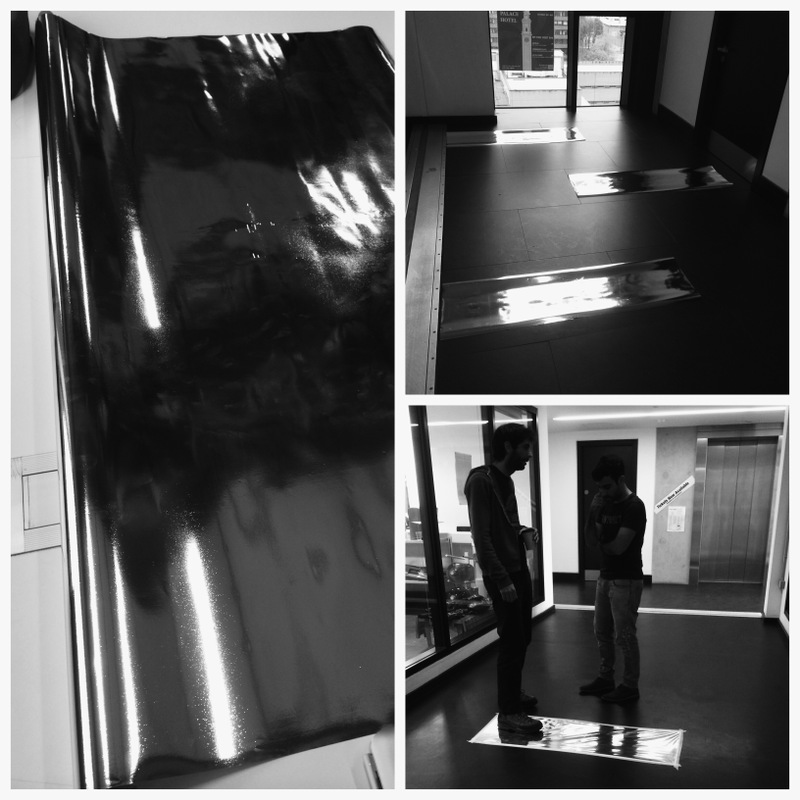
Fifth Session
-Our material was delivered (reflective sheeting).
-Decided on the composition and scale of the sheets.
-We tested some in the space before finalising on final day.
Posted 14 May 2014 11:32
FINAL DAY!!! The installation is complete with the spoons hanging and tied from a small pipe just before the lifts. Initially we recorded some people ignoring the installation, thinking that it shouldn't be touched. However with some encouragement, with the sound of the spoons there was a more playful element which arose. We also noticed that when there was more than enough people walking by, someone wold just touch it and create a musical tone, which intrigued the person to interact with the installation further. In Reflection, we noticed that or someone to interact with it further, it would be a better idea to have placed the spoons on the whole crossing with shorter lengths. However overall we did achieve our main aim for people to interact with the installation musically.
Posted 14 May 2014 11:29